Cheyenne Garden Gossip

Gardening on the high plains of southeastern Wyoming


Tomatoes at altitude

Growing tomatoes without staking them is a common practice where Charlie Pannebaker is from. Photo by Barb Gorges.

There’s more than one way to grow a tomato in Laramie County

Published in the Wyoming Tribune Eagle Nov. 18, 2022.

By Barb Gorges

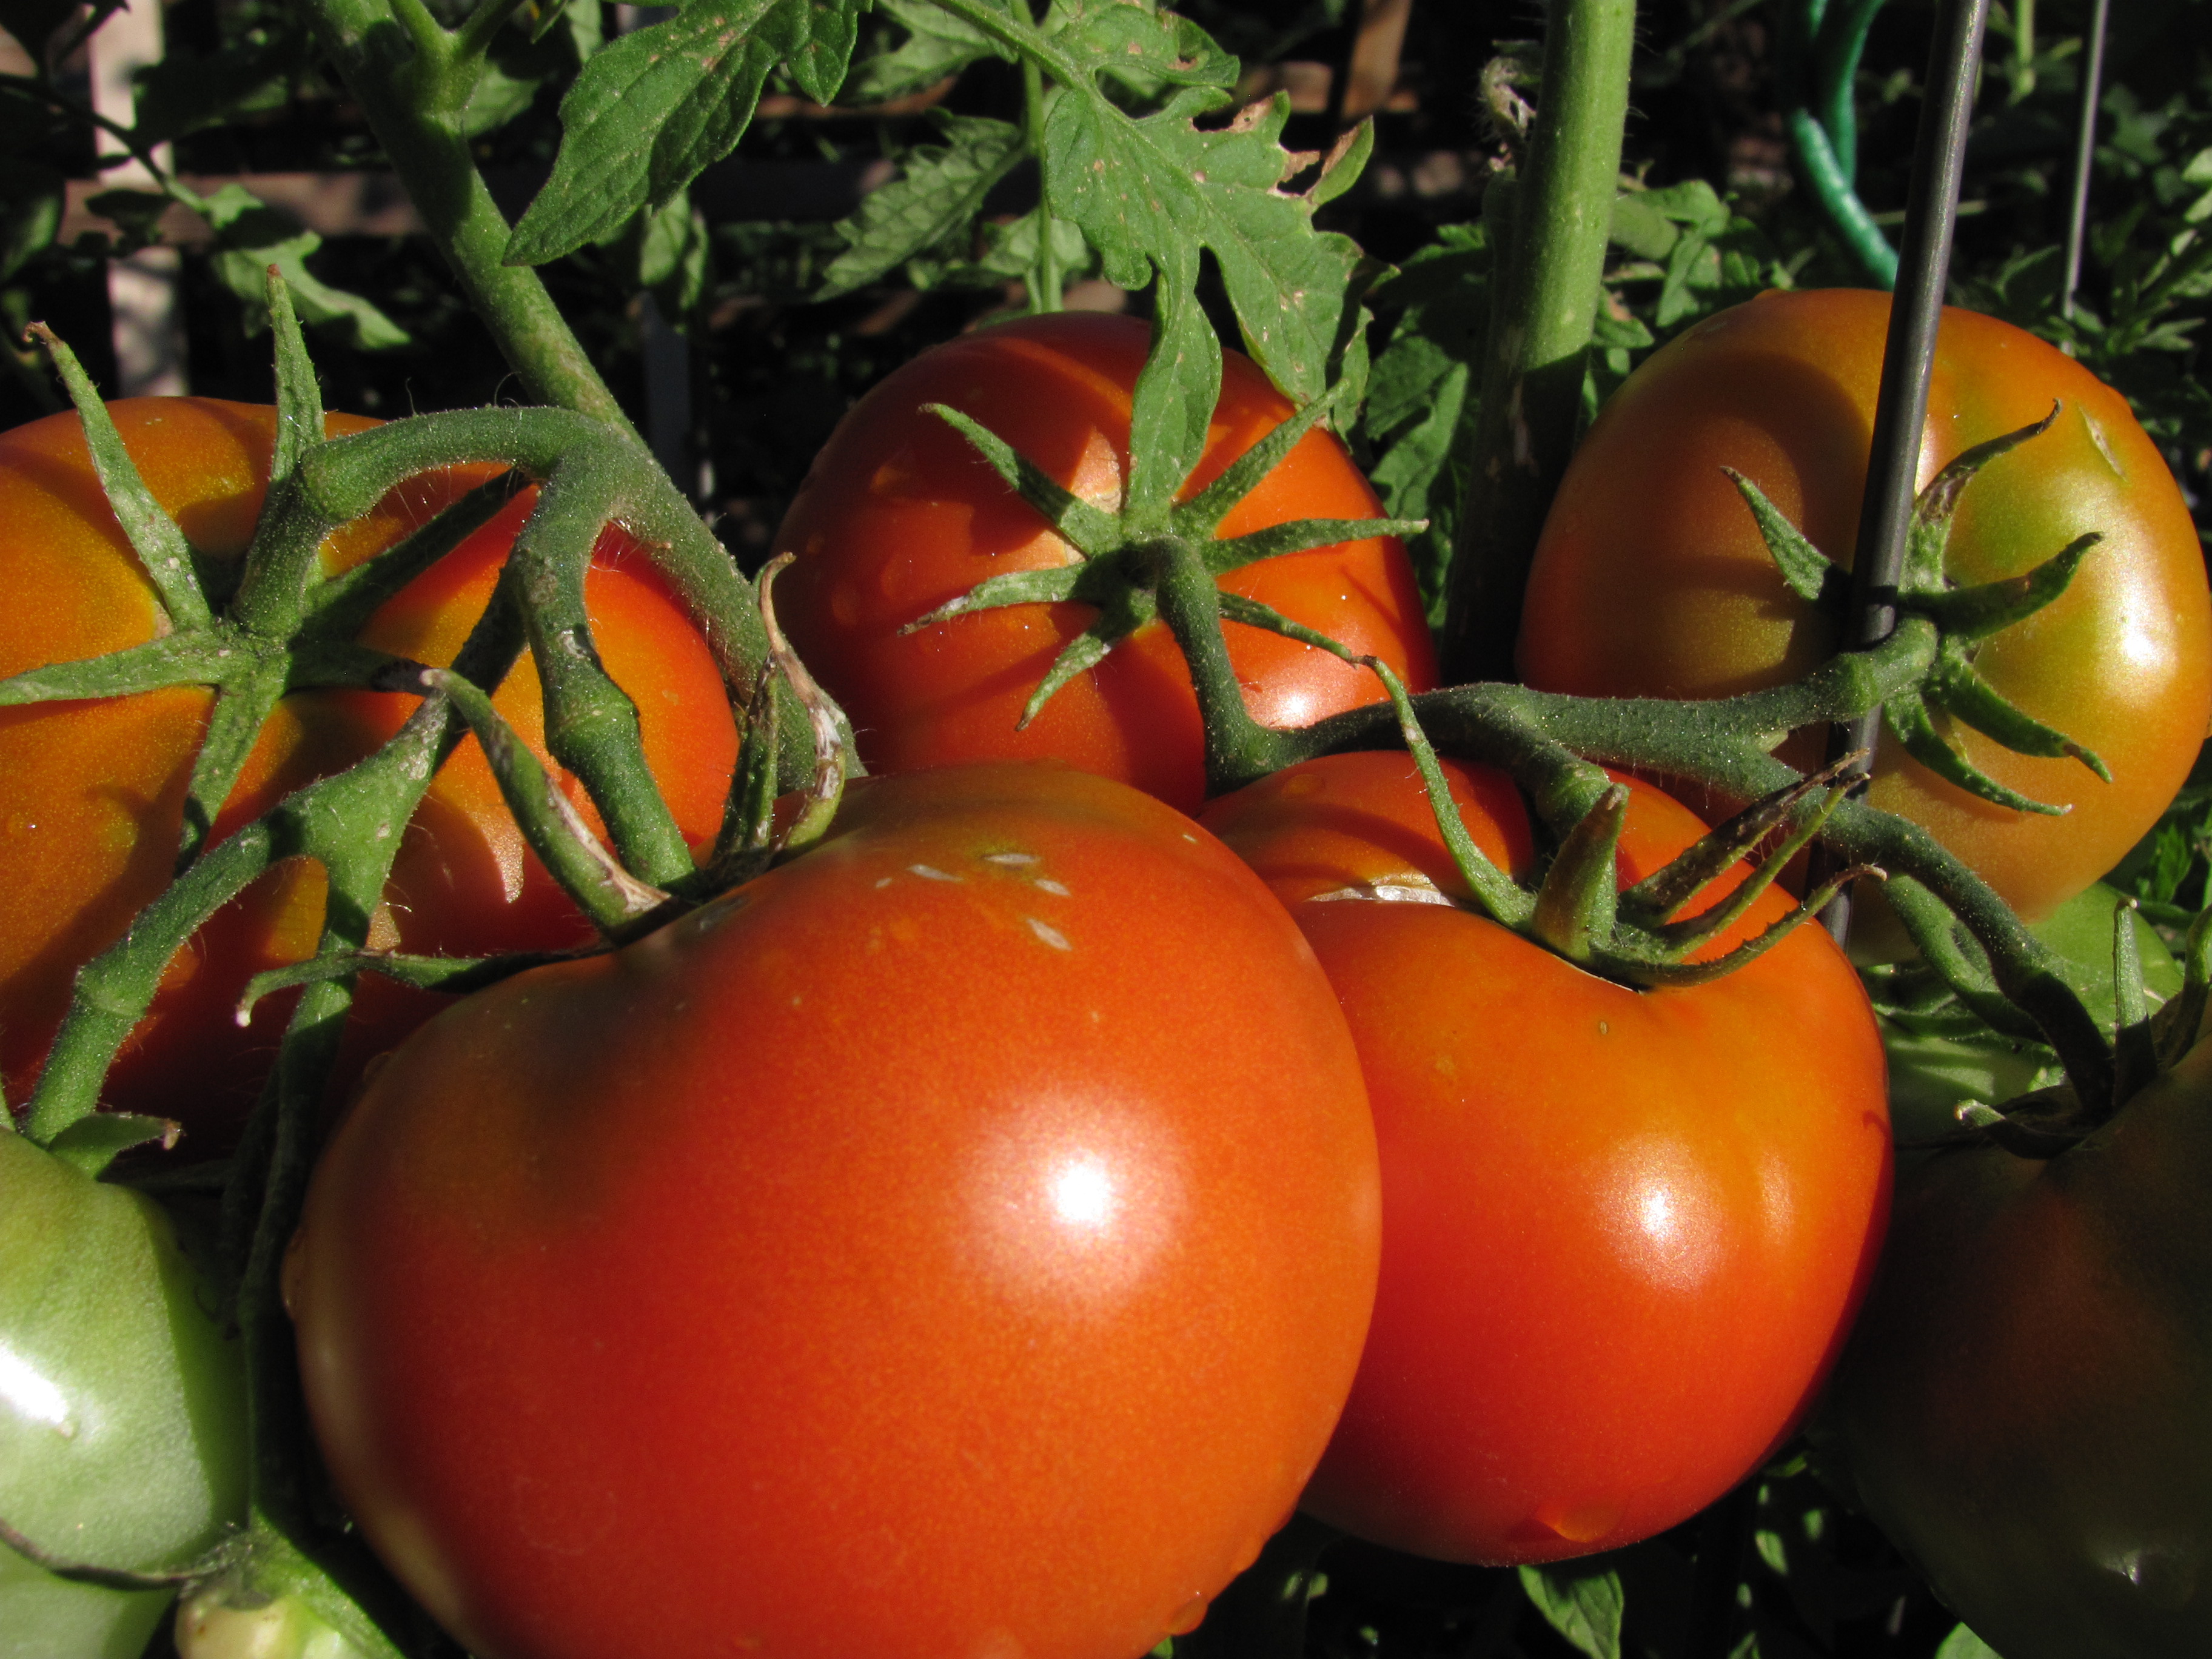
            Tomatoes are the epitome of backyard vegetable growing. They test both your gardening know-how and your ability to adapt to your circumstances.

            This past summer, two of Laramie County Master Gardeners’ informal garden tours, open to members, friends and family, featured tomatoes, but grown in radically different ways. However, both gardens were located west of town at substantially higher (read “colder”) elevations than Cheyenne.

Ron Morgan discusses his greenhouse tomato growing method. Photo by Barb Gorges.

            The first garden, off Happy Jack Road about halfway to Curt Gowdy State Park, is the playground of Ron Morgan. His solution to cold growing conditions 500 feet higher than Cheyenne is to use a greenhouse.

            With plenty of experience in the construction trade, Ron built a sturdy wooden frame covered in plastic sheeting used for high tunnels and other less-than-permanent structures. Wind and hail made short work of the sheeting, so he installed rigid plastic, 6 millimeter twinwall, which has survived the hail so far.

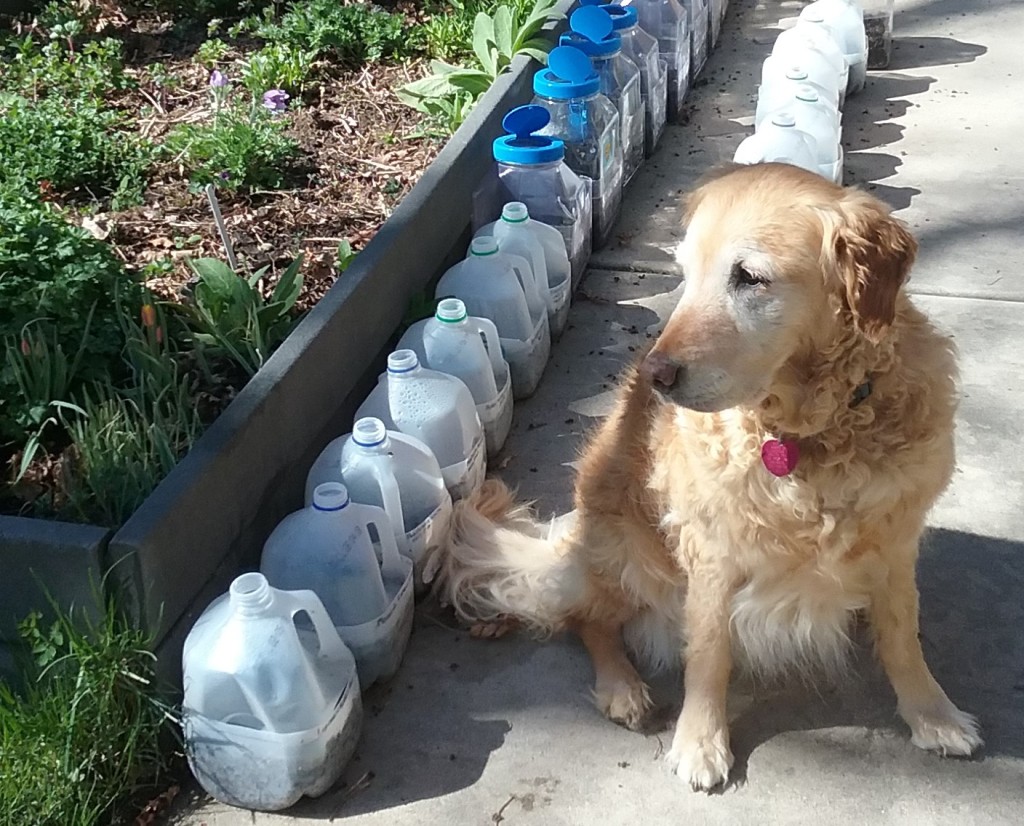
            Ron is also an able internet researcher, and found a clever irrigation system he could build out of used kitty litter buckets and new rain gutters, based on Larry Hall’s “Gutter Grow System.”

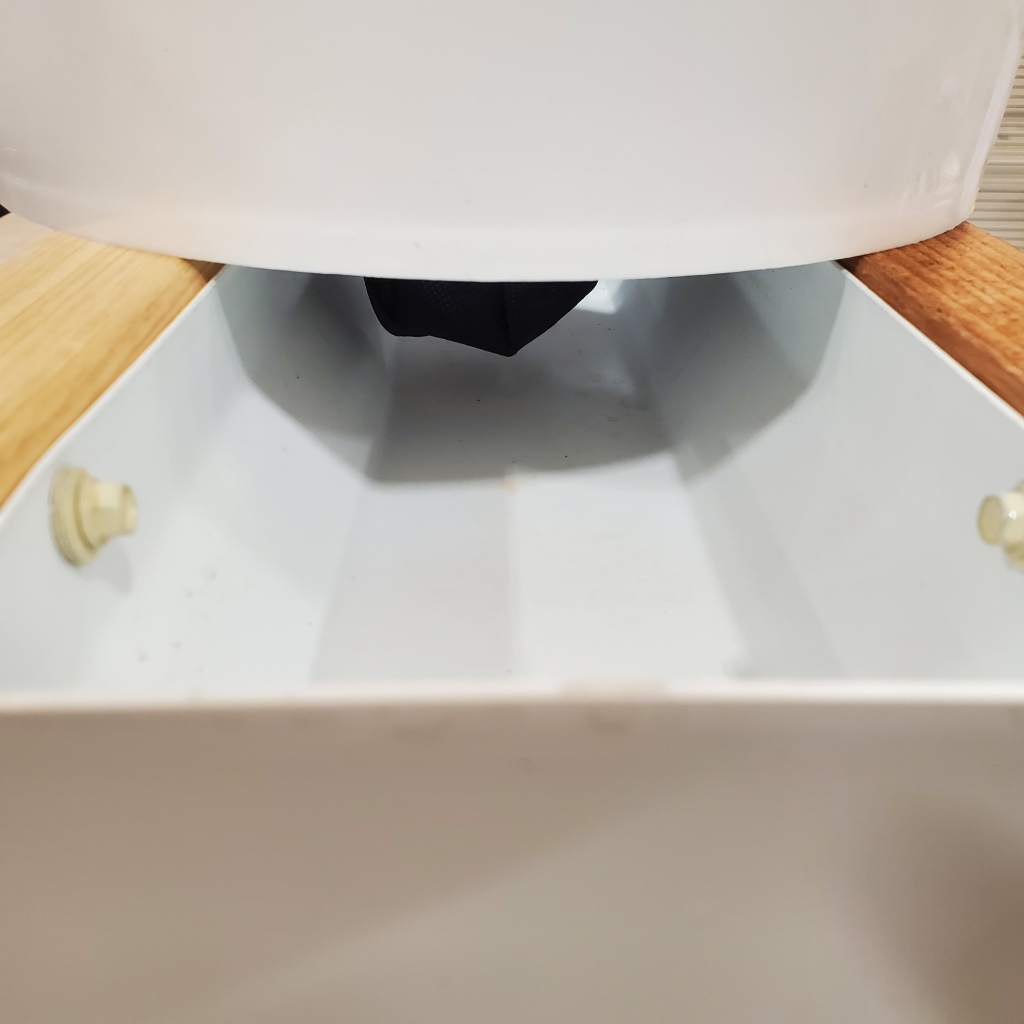
            Each tomato plant gets its own 5-gallon bucket. A hole is cut out of the bottom and a small basket-like device fits in it, extending below. The buckets sit side by side on top of the rain gutter, with the soil in the little baskets catching the water that fills the gutter, watering the buckets by osmosis. A float determines when more water is automatically added to the gutter.

            Ron has 104 buckets on one system, 23 on a shorter system, and is currently growing a few other kinds of vegetables besides tomatoes. You can see how once it is set up it saves time and water.

Ron Morgan grows tomatoes in his greenhouse using a 5-gallon-bucket and gutter system for irrigation. Photo taken Aug. 30 by Barb Gorges.

            Ron also uses an economical support system for his vining tomatoes, training them to grow upward by way of strings attached to the ceiling. Little plastic clips clip onto the string and hold the stems. He adds more clips for each stem as it grows. But he also pinches off any secondary stems, or suckers, to concentrate all the energy into the primary stem.

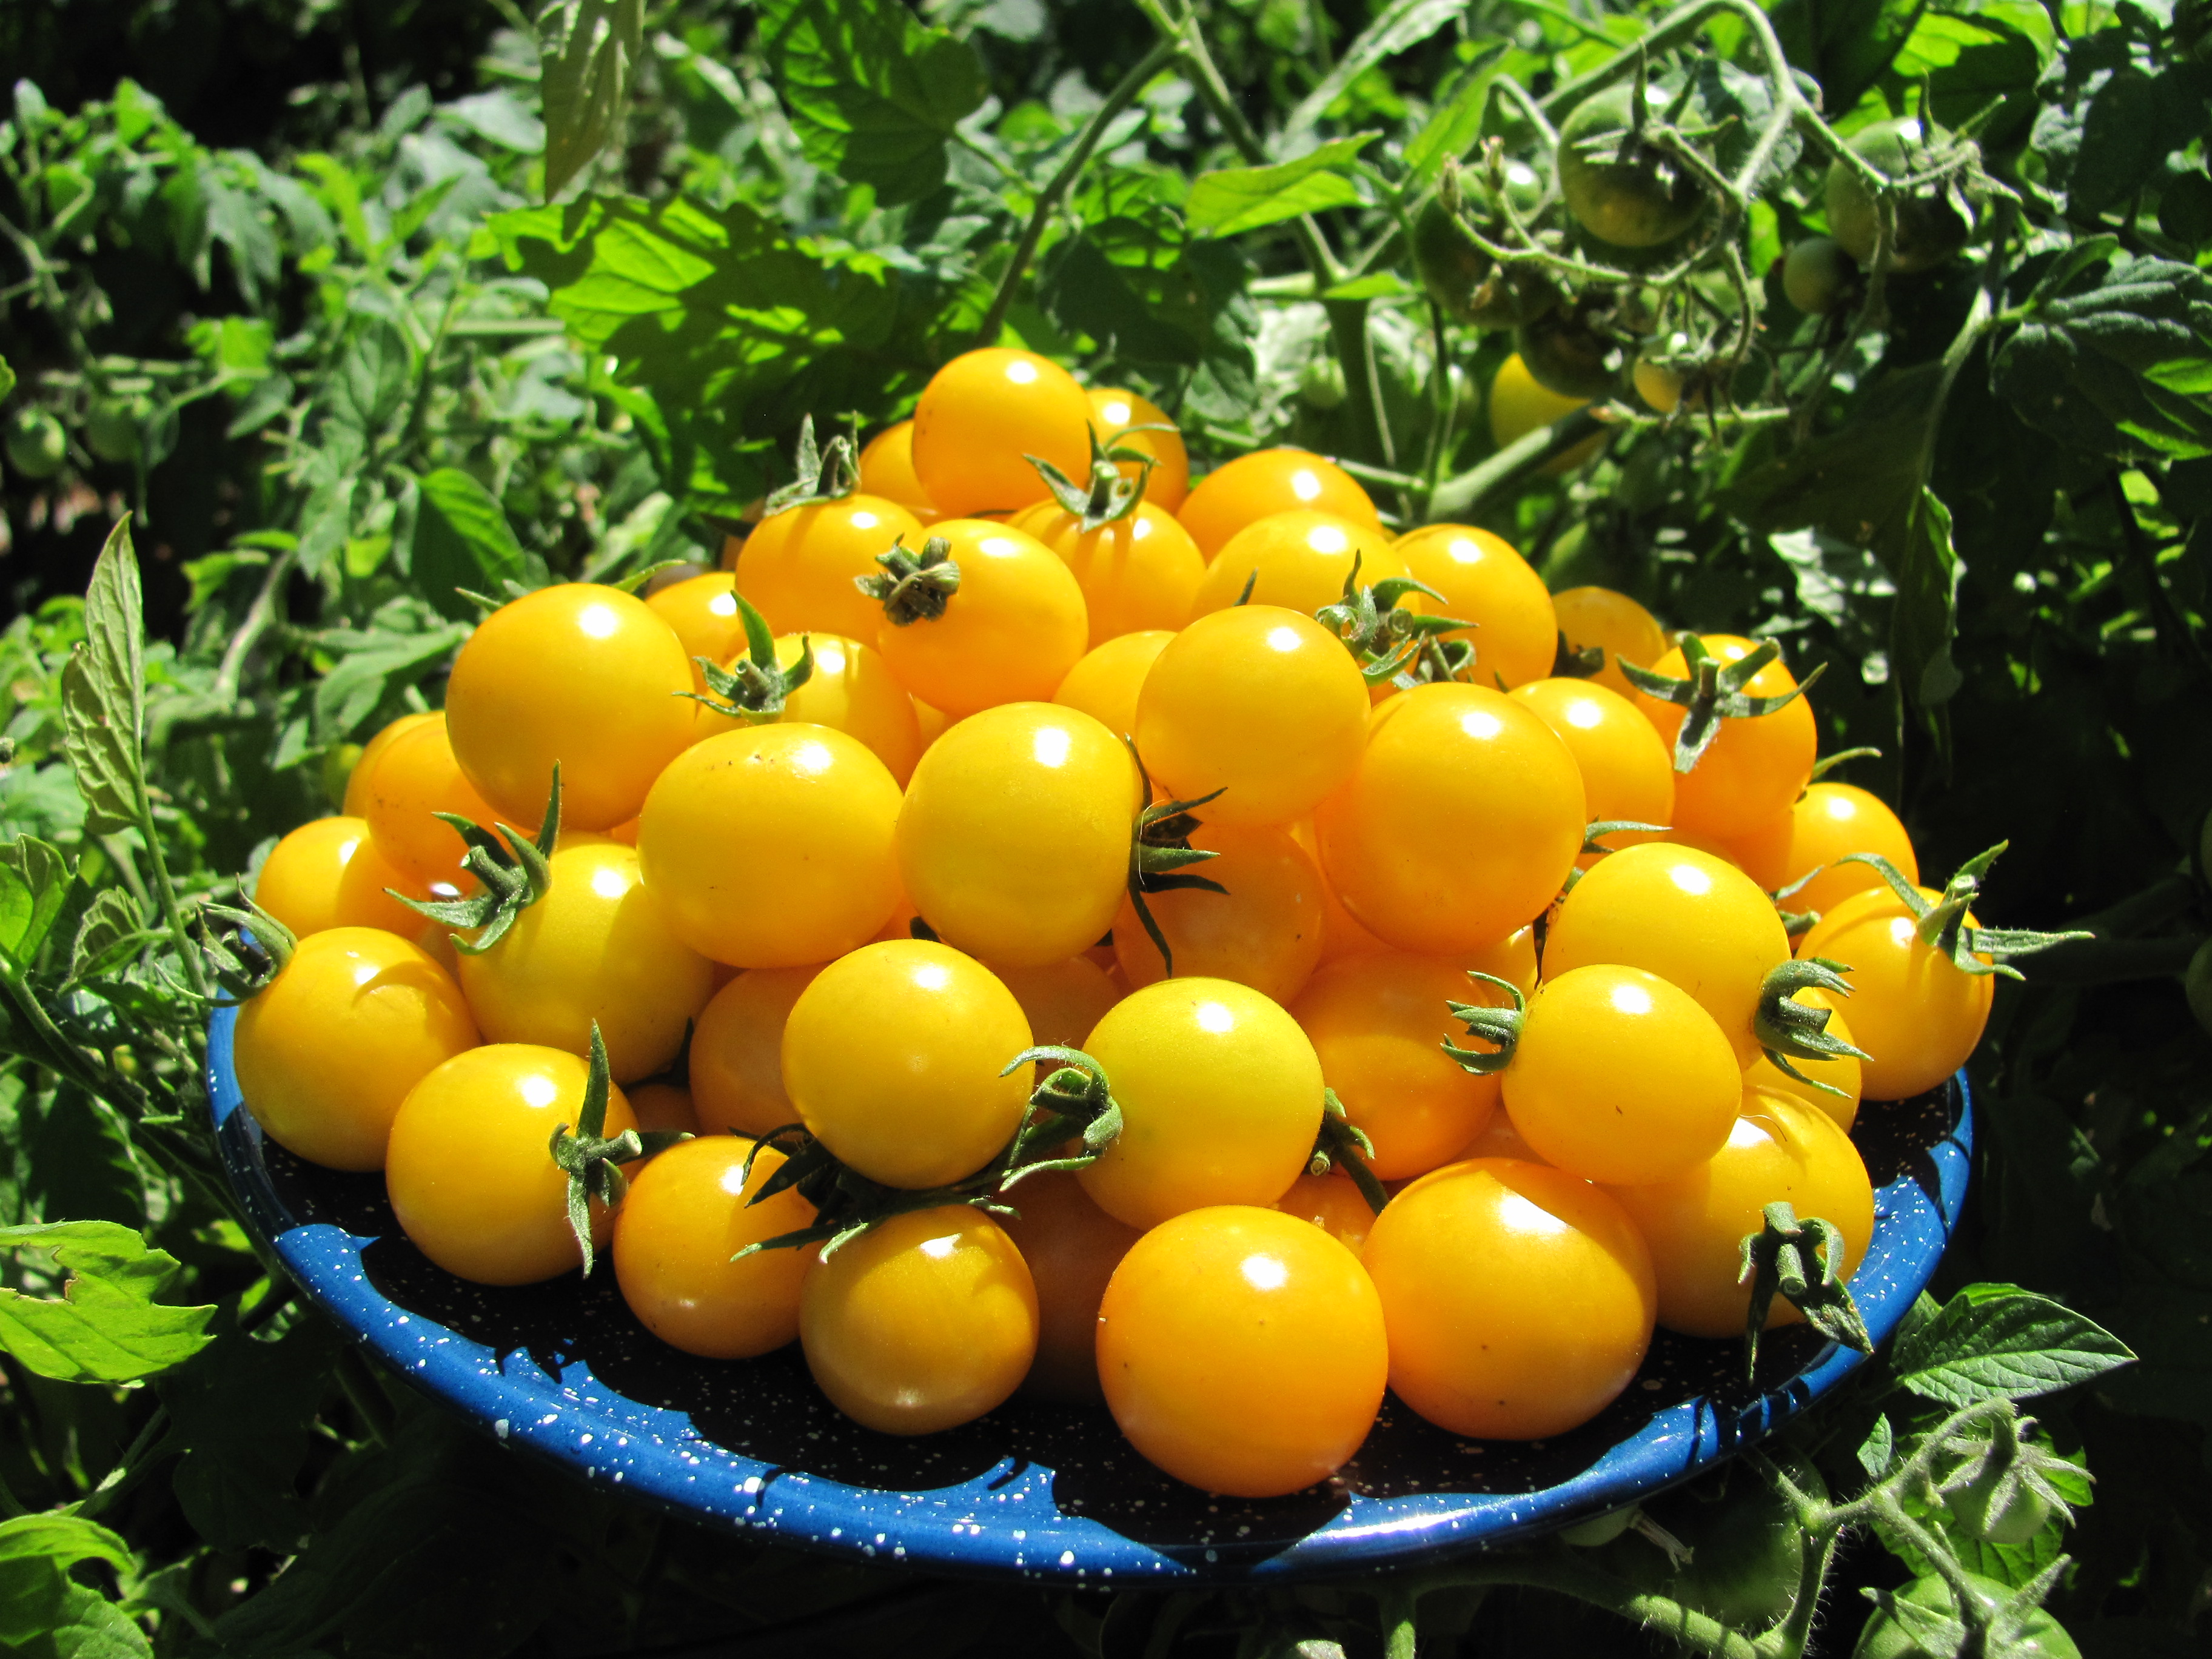
            Ron said his favorite tomato for flavor is a cherry-type called “Sweet Millions.” It forms grape-like clusters. His favorite mid-sized tomatoes are “Tasty Beef” and “Big Beef.”

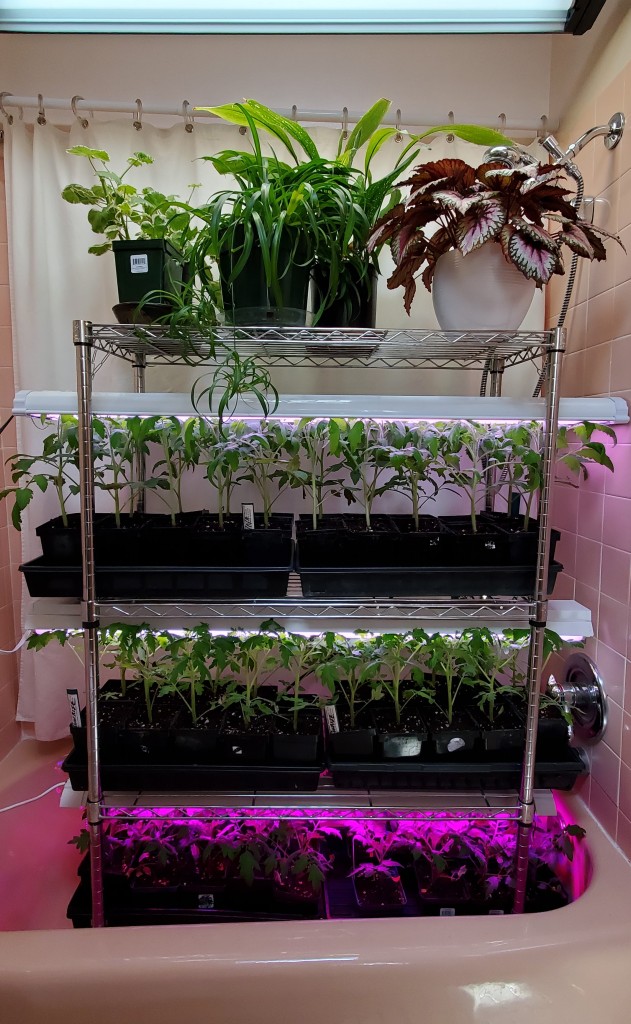
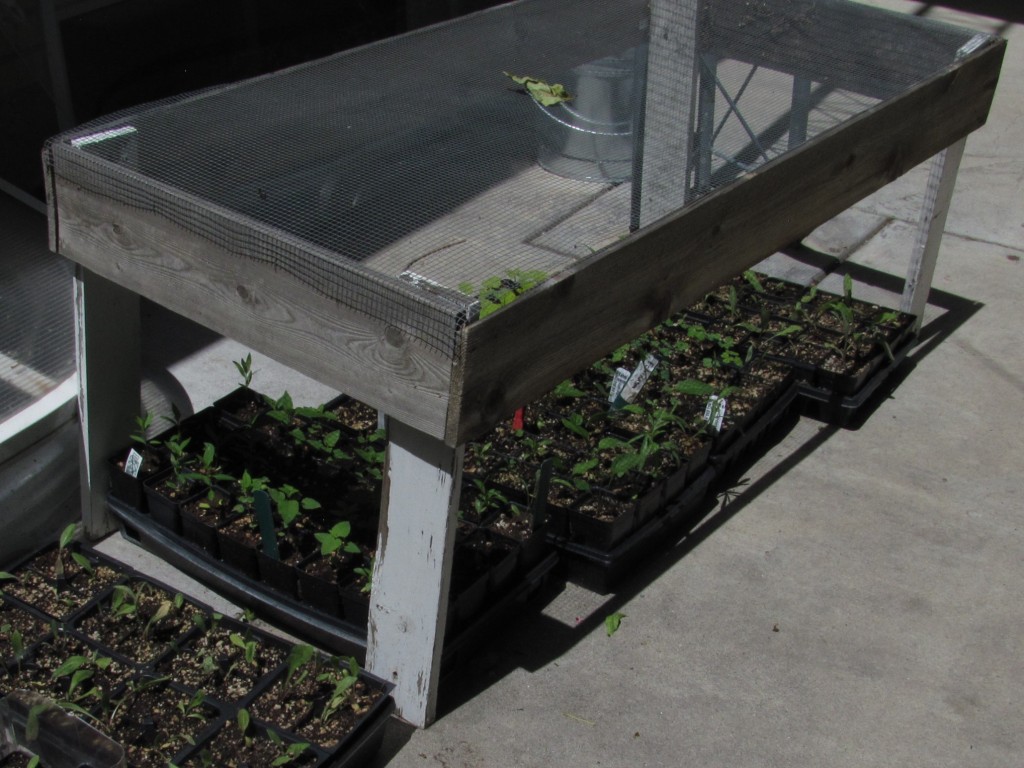
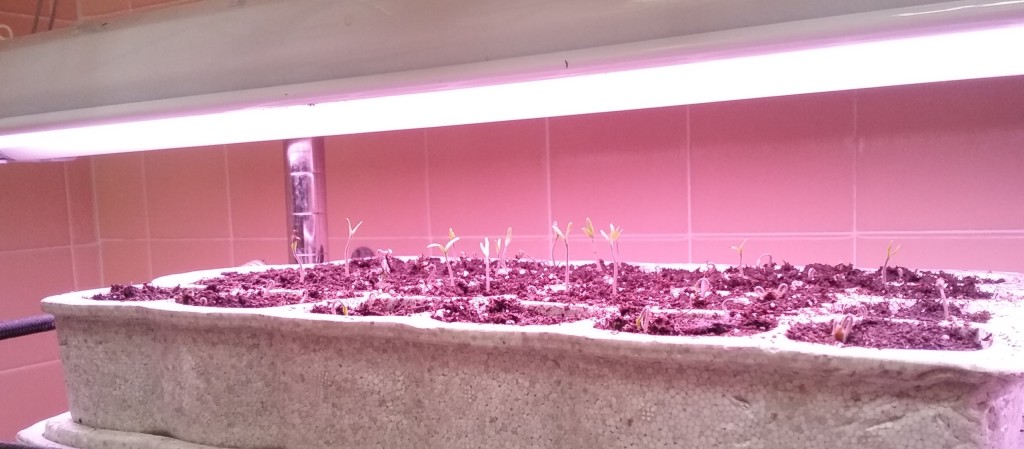
            He starts his vegetables in his shop under lights. Though he could transplant them to the greenhouse in April, Ron’s found the required heating isn’t cost effective. He waits until the first or second week in May to plant them – still a couple weeks earlier than in an unprotected garden. By mid-summer he uses shade cloth to keep his plants from getting sunburned.

Charlie Pannebaker, red shirt, discusses his tomato trials with visiting Master Gardeners Sept. 8. The empty row is where the beans have already been harvested. Photo by Barb Gorges.

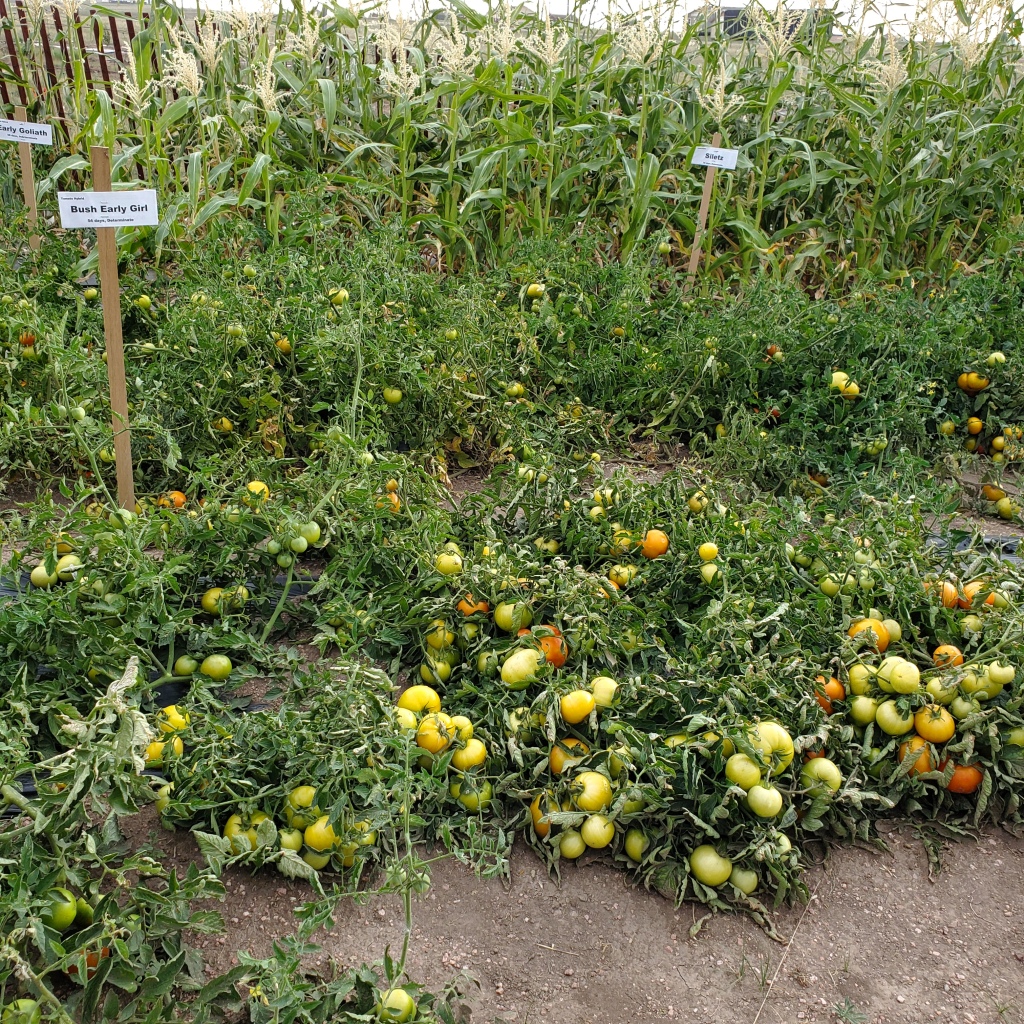
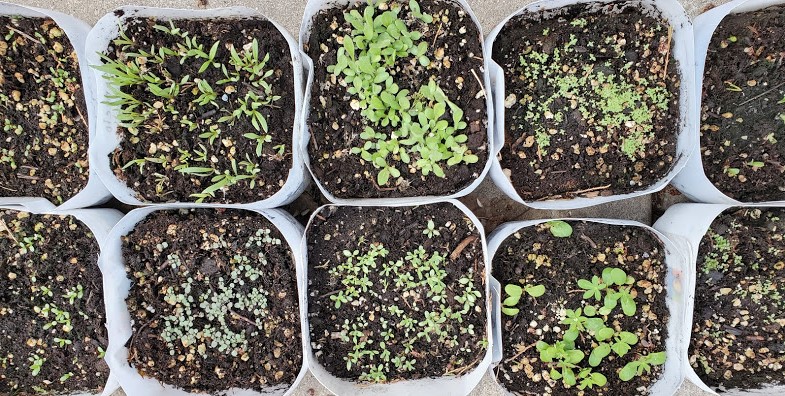
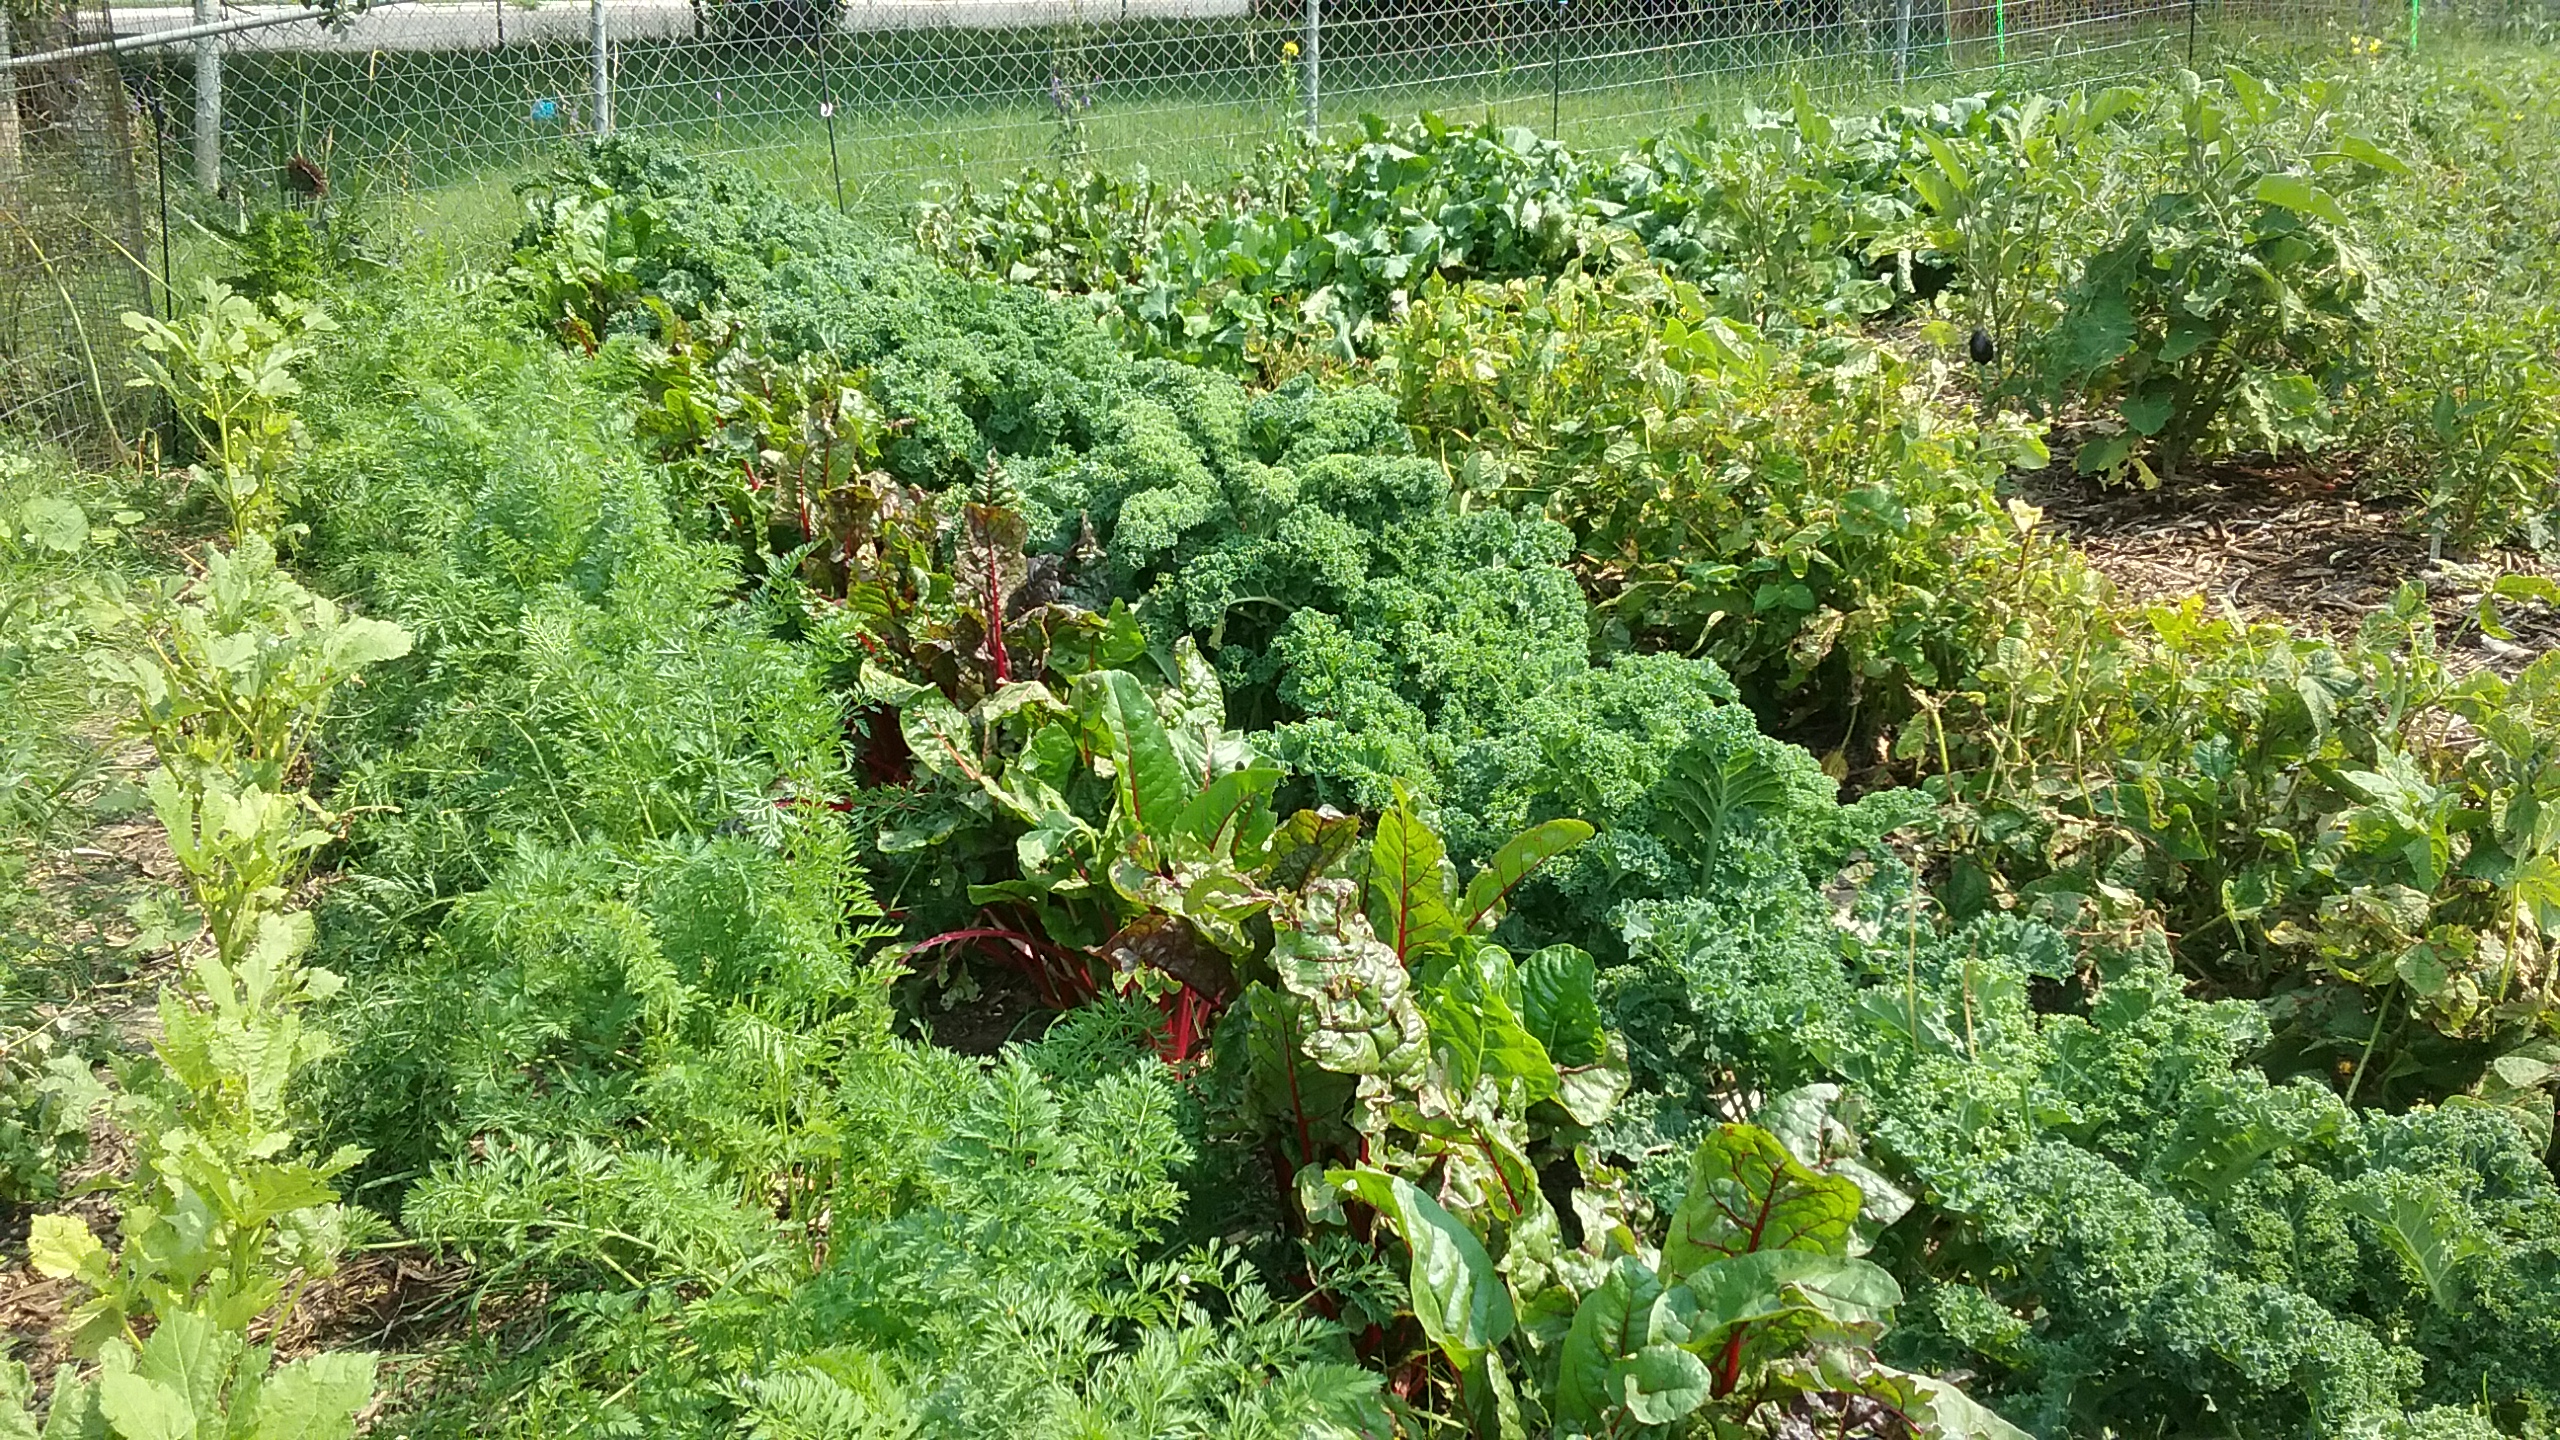
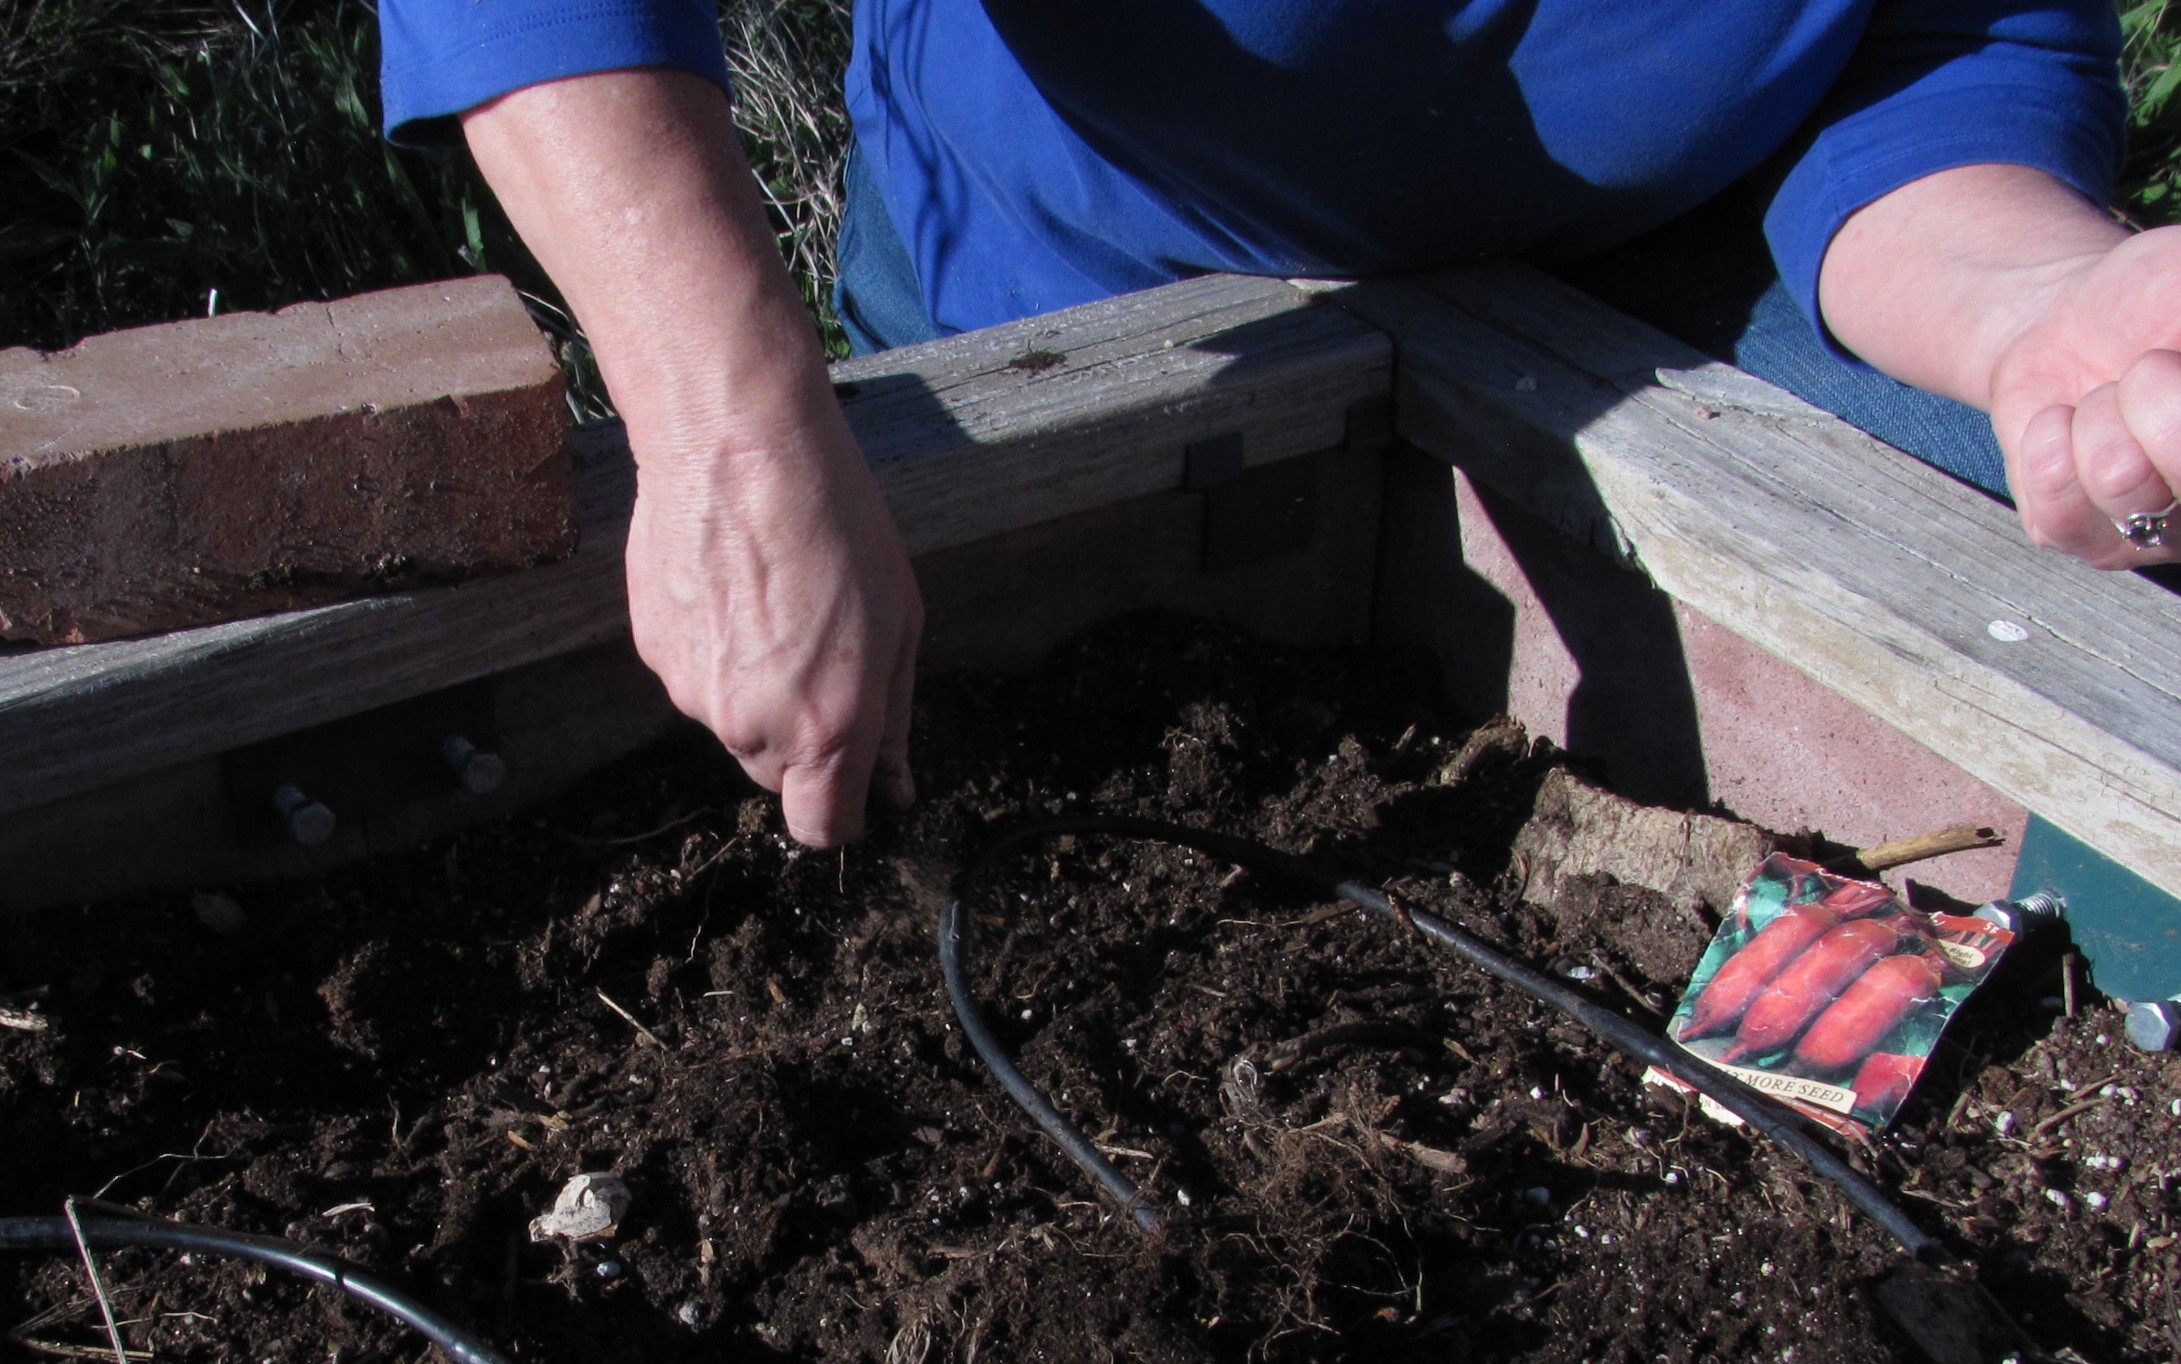
            Charlie Pannebaker, on the other hand, lets his tomatoes sprawl on the ground, uncovered. This summer he trialed 10 varieties to see which would be the earliest, tastiest, most productive in his growing conditions.

            None of the visiting gardeners had ever seen tomatoes grown without a support of any kind, but I had, at the Rodale Institute near Emmaus, Pennsylvania. I asked Charlie if it was a Pennsylvania thing. It might be, as it turns out he grew up on a Pennsylvania farm, and this was the way farmers grew tomatoes.

            Charlie and his wife moved to their place off Horse Creek Road a couple years ago, after 30 years in southeast Colorado. He knew his new place at 6900 feet elevation, 800 feet higher than Cheyenne, would require short-season vegetable varieties.

            When we visited September 8, jumbles of tomatoes in tangles of vines lay on top of black plastic in rows along the drip irrigation lines.

            A month later, after unusually late killing frost, Charlie sent me his results.

            Of the total 507 pounds from all 10 varieties, the top four producers made up 70%, or 337 pounds. They were, beginning with the most productive, Fireworks, Siletz, Bush Early Girl Hybrid and Summer Girl.

            However, he and his wife, Fran, liked the taste of Ru Bee Dawn best and he liked Summer Girl for shape, size and uniformity. Fireworks had the best fruit quality – Early Girl had a lot of blossom end rot.

            Fourth of July had fruit ripening two weeks earlier than the others. It had the best yield through August, until the higher yield varieties passed it in September and October (unusually late for killing frost this year).

            Next year Charlie is planting Fireworks for yield, Fourth of July for earliness, Ru Bee Dawn for taste and Summer Girl for fruit quality.

            He hopes to find new varieties that combine all four attributes, as well as look for an early paste variety.

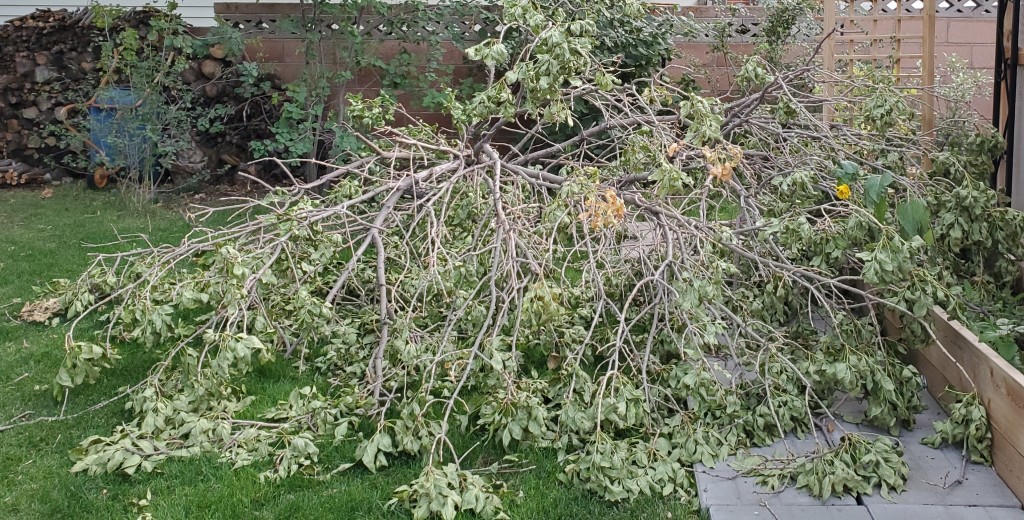
            And Charlie should think about getting some hail protection in case there’s no drought to dry up the hail next year.

“Bush Early Girl” is one of Charlie Pannebaker’s trial tomatoes. Photo by Barb Gorges.


1 Comment

Ruthless gardening

Overall, daffodils are hardier than the average tulip. They are more likely to resist hungry wildlife, snow and drought, and return every year. Daffodils come in a variety of shapes, sizes, bloom times and shades of yellow and orange. Photos by Barb Gorges.

May garden notes: tulip failure, ruthless gardening, bare root planting and mulching everything

Published May 7, 2022, in the Wyoming Tribune Eagle.

By Barb Gorges

            You know the ditty, “April showers bring May flowers.”

            There is truth to it—if you didn’t water your tulips during our dry April (or last summer), your tulip buds three or four weeks later may be small or not open at all. Quite a contrast from last year. The daffodils and small bulbs don’t seem to be affected as much, but the earliest ones were zapped by that cold snap. The best defense is a variety of bulbs slated to bloom at a variety of times March through June.

            My perennial flower beds are mulched every fall by falling tree leaves. The flowers’ stems keep them from blowing away. Underneath, it usually stays moist. In April I start removing layers to expose the early flowering crocus. I start clipping stems, chopping them in small pieces to add to the remaining mulch. But there are a couple areas that blow out and I can never keep mulch in place. This spring I noticed the bare areas have mysterious half-inch diameter holes in the ground. I think they might be ground-nesting bees overwintering. So bare ground isn’t such a bad thing.

            Neither is the broken top on the neighbor’s spruce tree, where the Swainson’s hawks have their nest again this year. Neither is the rotten section of another neighbor’s tree where the red-breasted nuthatches are thinking about nesting. Neither are the stringy dead leaves still in my garden that the robins are pulling for nesting material.  

            There is a time for ruthless gardening. I was reminded by Shane Smith, the Cheyenne Botanic Gardens’ founding director. He was featured in a webinar series last month hosted by the American Horticultural Society titled, “Conversations with Great American Gardeners.” I’d heard him say it before. Do you really want to spend hours hunting scale on a houseplant week after week? Instead, disinfect a cutting and toss the rest of it, which I did, or replace it with something new from the nursery. Isolate the new plant until you are sure it isn’t infected.

            I couldn’t resist the exotic tomatoes in the Baker Creek Heirloom Seeds catalog but at least I chose short season ones. So, our bathtub nursery has Berkeley Tie Dye Pink and Thorburn’s Terra-Cotta in addition to my husband Mark’s Anna Maria’s Heart. The extras will be available at the Laramie County Master Gardener plant sale, May 14, 9 a.m., at Archer.

            I’ve found homes for amaryllis I’ve started from seed. It takes as many as four or five years until they bloom. Friends are reporting back and some have hybrids of the two I have, a pink and white and a red. However, a lot of the newer varieties of amaryllis have been bred to be sterile, so no hybridizing fun with them. But they can bloom again. No need for dormancy if you don’t mind them blooming naturally sometime between January and April instead of Christmas.

            Bare root planting. It’s good for trees, shrubs, tomatoes, flowers, everything. When trees and shrubs are sold in pots or “balled and burlapped,” remove all the packing material, wire, twine and dirt. Spread the roots out in a shallow hole that is wider than it is deep. Don’t add anything but the dirt you dug out. You want those roots to spread beyond the hole instead of becoming dependent on potting soil and fertilizer, circling around and around and the tree being at risk of blowing over a few years later (search “plant a tree” at https://cheyennegardengossip.wordpress.com/).  

            Bare root also works for flowers and vegetables. But you may amend the soil with plenty of compost for vegetables—they are hungry. For perennial flowers, especially natives, match the kind of plant with the type of soil you have and leave it unamended.

            It is better to mulch than to hoe. Make sure the mulch, whether wood chip, straw or other plant material, is not up against the tree trunk or tomato stem, and not too deep—water needs to get through. But you want to shade out the weeds. Most weed seeds require light to germinate. That’s why disturbing the soil with a hoe gives you an unending chore. Try pulling tiny weeds, which won’t disturb the soil much, and cutting off the big ones at ground level frequently.

            Finally, my new growing season resolution is to garden in smaller increments of time. Maybe an hour a day removing excess leaves and chopping up last year’s stems instead of a marathon day and a week of sore back. Besides, in spring the yard—and the park and the prairie—are changing quickly and worth frequent walk-throughs.


1 Comment

“Cheyenne Garden Gossip” review

WTE garden columns collected in new book: ‘Cheyenne Garden Gossip'” was published in the Wyoming Tribune Eagle Aug. 7, 2021.

“Cheyenne Garden Gossip: Locals Share Secrets for High Plains Gardening Success,” by Barb Gorges, Yucca Road Press.

By Barb Gorges

            Would you be interested in a collection of my Wyoming Tribune Eagle gardening columns? The book, “Cheyenne Garden Gossip: Locals Share Secrets for High Plains Gardening Success,” is available, so far, at the Cheyenne Botanic Gardens, Cheyenne Depot Museum, Wyoming Game and Fish Department and Wyoming State Museum gift shops.

            You can see a preview at https://yuccaroadpress.com/books/. [For those of you outside Cheyenne, the book will eventually be available on Amazon. If you can’t wait, contact me at bgorges2 @ gmail.com.]

            The book is a collaboration with more than 100 people–those I interviewed, plus people such as Chris Hoffmeister, the book designer; content reviewers Jessica Friis, Susan Carlson and Jane Dorn; and many Laramie County Master Gardeners. In the seven pages of acknowledgements, you might find  gardeners you know and what chapters they contributed to.

            The book’s advice aims to minimize expense, time, water and chemicals, and maximize the time you enjoy strolling in your garden. It includes 64 updated columns, a plant list, plant and garden photo galleries, a garden book list, lists of other resources and a key word index.

            Becoming a gardener changes your perspective. Mowing the lawn becomes a way to harvest green stuff for your compost. Raking leaves is gathering winter mulch to protect spring-blooming bulbs.

Giving up rototilling the vegetable patch every year means preserving soil microbes you need for a better harvest. Not mowing your patch of prairie out in the county more than every couple years means more bird song.

I can’t review my own book so instead, I’m giving you the foreword written by Shane Smith, the founder and director emeritus of the Cheyenne Botanic Gardens, who explains why we need our own gardening book around here. 

My back garden in early August is full of fruiting shrubs, tomatoes (under the hail guard), coneflowers, black-eyed Susans, blanketflower, beebalm, bees and birds. Photo by Barb Gorges.

Foreword by Shane Smith

“This is a book that speaks to you directly, by not only the author, Barb Gorges, but many accomplished gardeners on the High Plains in Southeast Wyoming. To be a successful gardener here is no easy task. In fact, I believe it is the most challenging garden climate in the lower 48 states.

“Why is gardening here such a challenge? Let’s look at Cheyenne, which is indicative of much of the High Plains. It has the highest average number of hailstorms per year in the nation, between 8 and 11. Cheyenne is the fourth windiest city in the nation with a daily average wind speed of 13 miles per hour. This means for every calm day you must have a 26-miles-per-hour day to make that average work.

“Cheyenne also has unpredictable spring and fall frosts. This kills fruit blossoms in spring and can turn a garden brown even in early September.

“Plants grow at night. The warmer it is at night, the faster they grow. Be­cause of Cheyenne’s 6,000-foot elevation, it has cool summer nights, staying mostly in the 40s and 50s. Gardens grow much faster when most of the nights are in the upper 50s to mid-60s. This is why that 65-day tomato still takes 80 days to produce.

“Finally, Cheyenne often has many winter days with little or no snow cover. There are years when Cheyenne has fewer days with snow on the ground than other lower altitude Front Range towns. This lack of snow cover combined with the relentless wind desiccates plants. That is why you often must drag out the hose in winter to water your trees, shrubs and perennials to keep them alive and in maximum health. Whew! Gardeners on the High Plains deserve a medal for their harvests and beautiful flowers.

“Because of the challenging climate, Cheyenne and High Plains gardeners must do things differently. To have a successful garden in this climate you often need different scheduling and different varieties, and you must develop creative hail-protection strategies. On top of all that, it helps to become an accomplished weather watcher.

“In this book, Barb has put together a diverse and experienced group of expert gardeners, who first appeared in her regular writings for the Wy­oming Tribune Eagle in her excellent Cheyenne Garden Gossip column and blog. Barb also offers up her own great tips from her extensive garden­ing experiences.

“This book has a wide breadth of gardening and landscaping subjects. Besides the traditional flowers and vegetables, Barb discusses how to suc­cessfully grow habitat gardens, rain gardens, xeriscapes, ground covers, fruit trees, worm farms, hoop house gardens, straw bale gardens and more. Both newbies and experienced gardeners are sure to find enlightening information.

“While the High Plains are an exceptional challenge, this book will help you even the odds in your garden’s favor. Go get your hands dirty!

“Best Regardens!

Shane Smith

Founder and Director Emeritus of the Cheyenne Botanic Gardens


2 Comments

Spring gardening pleasures

May 4: Tiny hail shower engulfs species tulips. Photo by Barb Gorges.

Published in the Wyoming Tribune Eagle May 7, 2021, “Finding new growth is a spring gardening pleasure”

By Barb Gorges

We had to buy new grow lights because we had so many tomato seedlings this spring. If you arrive at the Laramie County Master Gardener Plant Sale early enough, you can buy one.

Mark saved seed from our Anna Maria’s Heart heirloom tomatoes and our friends’ ‘Sunrise’ cherry tomatoes. He doesn’t test for seed germination, just seeds thickly. This year, he has 96 tomatoes growing on shelves in the bathtub and in the basement.

April 29: Mark Gorges uses fluorescent and LED (bottom shelf) lights to augment a skylight over the bathtub of this small bathroom to grow tomatoes for the Laramie County Master Gardener plant sale. Photo by Barb Gorges.

We bought two new shop light-type grow lights. These have red and blue LEDs. I was surprised to see that within a year of my last visit to Menard’s lighting department, there is not a fluorescent bulb to be found. You either buy a new fixture with integrated LEDs, or LEDs in a tube that can be made to work with some types of old fluorescent fixtures.

            I thought the 30-inch snowstorm mid-March (technically still winter) made my bulbs late to bloom. Then I realized I needed to remove a layer of leaf litter from over the crocuses. Later, when I glimpsed what I thought was a piece of windblown trash, it was really the big white “Giant Dutch” crocuses finally open.

April 10: “Giant Dutch” crocus. Photo by Barb Gorges.

Last spring my gardening was curtailed when I leaned over to pick a piece of trash out of the garden and wrenched my back. This year I’m trying not to do too much at one time. Then it snows or rains or blows too hard and limits me anyway.

            I was out again the last week in April pulling more leaves, finding many of my perennials sprouting greenery. Our front yard is a wind-swept expanse on which I’ve established mini windbreaks by planting a couple 18-inch-high junipers and by not cutting back my perennials in the fall. It works great for catching leaves and snow and protecting over-wintering pollinator insects.

I leave a lot of leaves as mulch to save moisture and to compost in place, but not so many that self-seeding plants can’t get some light. Later in the summer I add leaves back to suppress weeds.

            I also spent several hours in April cutting back last year’s perennial stems, chopping them into 3 to 6-inch segments and leaving them to become mulch/compost.

Some gardeners would have you leave old stems up longer or let them decompose without help, but in a publicly visible place like my front yard, or the Cheyenne Botanic Gardens Habitat Hero garden, where a crew of volunteers made cutting back go fast, it’s better to do it in April. Plus, it makes it easier to see the small, early bulbs blooming: crocus, squill, grape hyacinth and iris reticulata.

            Mark and I bought a new whiskey half-barrel planter, with the “Jack Daniels” stencil barely visible. Our old barrel lasted more than 30 years and two others the same age persist in more protected locations.

            Five years ago, in one of the few sunny spots in the backyard, I planted daylilies and iris I received free. Unfortunately, it is right where anyone needing access to our electrical connections needs to stand. I think it is time to move those plants and try a hardy groundcover planted between flagstones, maybe the “Stepables,” www.stepables.com. The trickiest part will be to find some to buy.

May 5: Perennial seeds planted in milk jugs in February (milk jug tops scrunched into the bottoms) sprout. Photo by Barb Gorges.

            In February I planted 24 milk jugs with perennial flower seeds and left them out in a cold, snowy corner of the backyard (see “winter sowing” at www.CheyenneGardenGossip.wordpress.com). I moved them all to a sunnier location mid-April and all but five have seedlings already [the last five sprouted by May 8]. The question is, where do I plant them in June?

            I’ve been studying the front yard all winter from my office window. There’s still some lawn I can dig up to expand a bed and yet leave a wide margin of lawn along the sidewalk for shoveled snow, dogs on loose leashes and energetic children. I’ll continue to leave little turf trails for the mail carriers’ shortcuts.

            If you are tree planting this spring, be sure to remove all the burlap, twine and wire. Gently spread those roots out and get the transition from roots to trunk right at ground level. See Steve Scott’s excellent how-to at www.cheyennegardengossip.wordpress.com, “How to plant a tree in Cheyenne, Wyoming.”

            It’s a grand time to be in the garden, discovering all the new flowers and green growth, with the accompaniment of birdsong.

May 1: Honeybee visits Nanking cherry bushes in our backyard. Photo by Barb Gorges.


Assessing the gardening season

Varieties of New England Aster, Symphyotrichum novae-angliae, a North American plant native to central and northeastern U.S. and southeastern Canada, are popular fall garden flowers. These are at the Cheyenne Botanic Gardens’ Habitat Hero Demonstration Garden. Photo by Barb Gorges.

Published Oct. 10, 2020, in the Wyoming Tribune Eagle, “Assessing the season: How did your garden grow?”

By Barb Gorges

I’m trying to follow my own advice to use a notebook to track what I plant (and where) and what the results are. That way, in the depths of winter, when the catalogs and nurseries tempt me with their 2021 offerings, I might review my notes and make better informed decisions.

Growing season 2020 in Cheyenne started out well. We had Laramie County Master Gardeners interested in submitting photos for “Show and Tell” for the Zoomed monthly membership meetings in the spring.

But then some gardens were hit with hail in July and sometime in August we realized it hadn’t rained in more than a month and we were having record-breaking heat. Then in early September we had an inch of snow with ice that brought down tree branches but didn’t freeze the perennials. A few weeks later we had a day of thick smoke and ash from the Mullen fire.

The early September snow and ice storm brought down a large branch that barely missed our new trellis (upper left). Photo by Barb Gorges.

Seedlings

 In late spring I transplanted part of my January winter sowing—perennials started from seed in milk jugs with tops cut off and then replaced (https://cheyennegardengossip.wordpress.com/2016/03/21/winter-sowing/). Some seedlings went in my own garden, some to the Cheyenne Botanic Gardens and Board of Public Utilities Habitat Hero gardens and the rest in 1-gallon pots on the patio to hold over for fall planting.

Sally guards the winter sowing milk jugs (and kitty litter jugs) back in May. Photo by Barb Gorges.

The CBG transplants did not do well because the lack of rainfall eventually made it evident the irrigation there needed to be reconfigured. Because volunteers were absent for several months at the beginning of the pandemic, it took a while before the overworked staff could adjust it.

Funds to buy more plants are lacking since our Habitat Hero workshop in February used the online ticket seller, Brown Paper Tickets. It refuses to pay the $2000 we are owed, citing the pandemic. They have many other victims across the country.

Thrips

The seedlings survived several light hail storms. Mark built a second hail guard when the seedlings were up-potted. Photo by Barb Gorges.

Because of the threat of hail, I had crowded all the patio starts under free-standing hail guards Mark knocked together. They look like wooden card tables with hardware cloth mesh tops. I watered but didn’t look closely until late August when I realized all the patio plants had an infestation that looked like yellow designs drawn on the upper surfaces of the leaves.

Catherine Wissner, Laramie County Extension horticulturist, diagnosed thrips and asked me to take a photo of the leaf undersides too, where I saw little flighty white things. These were the plants I was planning to add to the Board of Public Utilities’ Habitat Hero garden.

Bare-root planting

I read that thrips lay their eggs in the soil so when we planted a couple weeks later, we washed the white insects off with water. Then we knocked off as much potting soil as we could and swished the roots in a bucket of water before planting.

More and more experts are recommending planting without any of the previous soil attached, especially trees, shrubs and perennials. That’s how the crevice garden by the front door of the CBG conservatory was planted.

The advantage is the roots immediately reach out into their new surroundings instead of staying curled up in a pot shape.

Fall-blooming asters

The BOPU garden is looking good—see it at 2416 Snyder. One species, a New England aster variety, is buzzing! Frequently “improved,” this native species now comes in a variety of sizes and shades of white, pinks, lavenders and purples that bloom in fall.

At the Cheyenne Board of Public Utilities Habitat Hero Demonstration Garden, this variety of New England Aster is “New England Pink.” Can you find the five bees? Photo by Barb Gorges.

Kathy Shreve’s plant choices for this garden are, this third growing season, filling in nicely and attracting butterflies and birds as well as bees. But the runnerless strawberries that made it through the first winter quit the second winter.

Stressed trees

At the LCMG summer meetings, Catherine shared problems she was seeing on yard calls. Many were trees receiving too little water, becoming stressed, leading to diseases and pests.

I was concerned about the pocket park in my neighborhood and the survival of the eight trees in it when the city cut back its number of employees and didn’t water it this summer. One spruce died. But I’m happy the city found the money to turn the sprinklers on in September. Every little bit helps, even once-a-month watering in winter.

Tomatoes

Catherine’s photos of tomato diseases were alarming, but more easily solved, at least next growing season, by not planting tomatoes in the same location for the next two years and picking disease resistant and better varieties for our area.

This hot summer, the Anna Maria’s Heart short-season, Russian heirloom tomatoes did very well. Photo by Barb Gorges.

Here in our garden, the record-breaking heat gave Mark the best crop of Anna Maria’s Heart Russian heirloom tomatoes in the six years he’s been growing them. Friends who bought his starts at the LCMG plant sale agreed they were early, huge and tasty.

In conclusion, an experienced horticulturist can predict what plants will do well in a particular garden, but every site and every growing season is unique. All you can do is your best to try to match the plant with expected conditions and see what happens.

White Prairie Aster is an intriguing native I found this fall in the field in town where I walk the dog. It’s only a few inches tall in this location and would make a good garden groundcover. Photo by Barb Gorges.
I planted this unknown variety of New England Aster 30 years ago here in the front yard. It grows about 2 feet tall and has loose panicles of flowers. Photo by Barb Gorges.
A friend passed on this unknown variety of New England Aster. In my yard it grows about 3 to 4 feet tall with all the flowers in a topknot. Photo by Barb Gorges.
This more modern (unknown) variety of New England Aster grows short and compact, forming a small mound about 1 foot tall. Photo by Barb Gorges


How to be a vegetable gardener in Cheyenne

veggies

My beginner’s garden included green beans, cherry tomatoes, eggplants, peppers and summer squash.

Also published May 15, 2020, in the Wyoming Tribune Eagle.

How to be a vegetable gardener in Cheyenne

By Barb Gorges

Mail-order seed companies report that they are running out of seed—vegetable seeds primarily. Seems like we’re all wanting to take a step towards self-sufficiency this spring when there are so many other aspects of life beyond our control.

Catherine Wissner, University of Wyoming Extension horticulturist for Laramie County, assured me Cheyenne’s garden centers, including the big box stores, have plenty of seeds. And the Laramie County Master Gardeners plan to have their annual plant sale, one way or another, May 31, including a virtual plant sale already in progress, https://www.lcmg.org/.

The UW Extension folks have a variety of videos and recordings about Wyoming gardening available at https://www.uwyo.edu/barnbackyard/live/recordings.html.

While my book on how to garden in Cheyenne won’t be ready for several months, the contents are currently available online at https://cheyennegardengossip.wordpress.com/ as an archive of all my Wyoming Tribune Eagle garden columns since 2012. You can search for information about growing vegetables and it will be suited to Cheyenne and in more detail.

If you’ve gardened elsewhere in the country, there are three things you need to know about vegetable gardening in Cheyenne: use drip irrigation, prepare hail protection and never add lime to our alkaline soils.

If you’ve never gardened before, well, it’s mostly about choosing the right vegetables for our climate and season length, giving plants the right amount of water, and mulching.

2016-6a raised beds 2

Cheyenne gardener Barb Sahl uses several kinds of raised beds. Raised beds can also be made with wooden boards or cinder blocks.

Step 1 – Find a spot for a vegetable bed or containers.

It should be sunny for at least 6 hours a day, preferably morning, and relatively level and within reach of a hose or a drip irrigation system.

Keep the veggies close to your back door so that it is easy to saunter out every day to admire them and pull a couple little weeds.

If the site currently doesn’t even grow weeds well, it could be subsoil left behind by the builders. The soil can be amended and over time, become productive. But for success this season, think raised bed or containers (see my archives).

Also, if this is your first attempt at vegetable gardening, keep the size of the bed reasonable, maybe 4 feet wide (what you can reach across from either side) by 6 or 8 feet long.

Step 2 – Prepare the bed.

I have never used a rototiller. I prefer the (husband with) shovel method. Digging by hand will keep you from creating a bed bigger than you can manage, especially if this is your first garden.

If you have any compostable material, like last year’s tree leaves, lawn mowings not treated with pesticides, vegetable debris from the kitchen or any old plant materials that don’t include weed seeds or invasive roots, you can dig that in.

Dedicated gardeners will send soil samples out for analysis on exactly what the soil needs for growing vegetables. Think about doing that later this season.

Some gardeners work their soil until it’s as fine and chunk free as cocoa powder, but that isn’t necessary—in fact, it’s hard on the soil microbes that can help you. You might want to smooth a row a few inches wide for planting tiny seeds and make sure there aren’t any canyons that will swallow the cucumbers.

Gold Nugget tomatoes

Gold Nugget cherry tomatoes are an early (55 days to maturity), determinate variety. These were grown with seed from Pinetree Garden Seeds, a mail order company in Maine.

Step 3 – Shop for seeds.

If you know any successful gardeners in our area, see if they will gift you some seeds.

Otherwise, you need to read the seed packets carefully. Keep in mind our average last day of frost is around May 25 and our average first day of frost is mid-September. It’s a short season. You need to look for short season vegetables.

Each packet will tell you how many days from seed germination until maturity (harvest). Remember, some seeds take a week or more to germinate. Look for vegetable varieties that are in the range of 45 to 70 days. Next year you can try starting tomatoes indoors or growing them with some kind of season extender like a hoop house or row cover.

Meanwhile, look for tomatoes, eggplants, cucumbers and peppers ready to transplant.

Easy to grow from seed are the squashes, beans, kale, chard and leaf lettuces (not head lettuce).

Step 4 – Plant seeds and transplant plants.

Follow the seed packet directions on when and how to plant. Make sure your soil is moist already.

For transplanting, normally you plant the plant so it sits at the same height as it did in the pot. However, if it’s a tomato that looks a little leggy, you can bury a few inches of its stem.

Step 5 – Mulch.

We use old tree leaves and pesticide-free grass clippings at our house. Straw is good, but not hay or anything with seeds. An inch or two of mulch will keep down the weeds and keep the soil from drying out too fast.

Step 6 – Water.

Catherine said consistency is most important. Once the plants are established, you can let the top inch of soil dry out (test it with your finger) in between thorough waterings, but if you are not consistent with providing enough water, you will not get good yields.

If you seem to have impenetrable clay soils, try watering for a couple minutes, then water elsewhere and then come back 15 minutes later and see if the soil will absorb the rest of the water it needs.

Step 7 – Fertilize.

Seedlings don’t need fertilizer for a few weeks, but vegetables are soon hungry. Organic gardeners use compost—like your mulch as it decays, or “teas” made from soaking compost—read up first. Avoid all manure, Catherine recommended. It tends to be salty (bad for our soils), full of weed seeds and may harbor pathogens. Avoid chemical fertilizers with too much nitrogen too—nitrogen grows great leaves but little if any fruit. Do not use weed and feed products—they will kill your veggies.

Step 8 – Weed.

If you mulch and don’t overwater, you shouldn’t have much of a weed problem. Visit your veggies every day and pull them or use a dandelion digger (don’t hoe) on any little green interlopers. It’s much easier than waiting until the weeds grow roots to Earth’s core and shed seeds across the continent.

Step 8 – Protect.

Everything is out to get your veggies before you can harvest them: frost, wind, hail, antelope, rabbits, insects, diseases. There are preventative and non-chemical actions you can take. Check my archives.

Step 9 – Harvest.

I remember the first summer after I became a Master Gardener. I told my husband, our family’s vegetable grower, that I wanted to try to grow vegetables myself from start to finish. I did, and they had the most incredible flavor.

2019-01 sandra cox vegetable garden

Cheyenne gardener Sandra Cox used large amounts of compost when starting a garden at her new house and had fantastic results.


Seed-starting lights

2020-03 lights-seeedlings

Mark started tomato seedlings under a fluorescent shop light a week before this photo was taken. We have utility shelves set up in the unused bathtub in the hall bathroom. The rest of the year the shelves are filled with houseplants that do well with only light from the bathroom’s skylight.

Published Mar. 15, 2020, in the Wyoming Tribune Eagle, “Better lighting means stronger seedlings”

By Barb Gorges

When hours of daylight are quickly lengthening and seed packets are showing up at garden centers, you know it’s time for flower and vegetable seed starting. If you’ve never tried, it’s time to learn how.

You can go to my archived columns at https://cheyennegardengossip.wordpress.com/ and search “seed starting.” You’ll learn how starting from seed saves you money and gives you options for tomatoes and other vegetables adapted to Cheyenne. Get tips on selecting seeds, potting soil and pots. Learn how to time planting, how deep to plant seeds, how and how much to water and how to avoid damping off. Then learn how to harden off seedlings before transplanting them.

This year I want to talk about light. The right light will give you nice, stocky green plants instead of spindly, sickly ones.

There’s a misconception that windowsills work great for starting vegetable seeds. After all, millions of houseplants can’t be wrong. But houseplant origins are typically the shady understory of tropical forests. Vegetables prefer full sun. Also, many windows are now treated to improve energy efficiency (lowering heat transference) by blocking parts of the spectrum. Greenhouses work better than windows because they give plants direct light from more directions for more hours per day.

Without a greenhouse—glass or hoop house—we’re talking supplemental lighting. On a recent trip to my nearest big box store I found all kinds of grow light bulbs that will fit in a lamp but are not adequate for more than a couple pots. The store also had ordinary 4-foot-long fluorescent shop lights which fit perfectly over two flats of seedlings and will produce decent growth, whether you find full-spectrum bulbs or special grow light bulbs.

But LED lights are taking over. At the same big box store, I found 4-foot LED shop lights. The bulbs are integrated with the fixture and come in a variety of brightnesses, 3,200 to 10,000 lumens, with a range of prices to match, $15 to $75.

There are also LED bulbs, both regular and grow lights, that will replace the bulbs in your T8 or T12 fluorescent fixtures, but they won’t be quite as energy efficient as the integrated ones.

You’ll notice LED bulbs can be about four times more expensive than normal fluorescents, but they cost less than half as much to run and are supposed to last longer.

Then there are the industrial LED grow lights that emphasize blue and red lighting—the important part of the spectrum for growing plants. They come with industrial prices as well. Choosing one gets quite technical. Check out the Colorado cannabis grow suppliers for advice.

However, the few weeks of light our tomato seedlings need hardly justifies industrial lighting.

Light set-up

Because you want to keep the light about a couple inches above the tops of the seedlings, you need to be able to adjust the distance as they grow. Too close and seedlings dry out. Too far and they get spindly. Hang the shop light using the chains that come with it, shortening as needed. Joe Lamp’l, host of PBS’s Growing a Greener World, suggests using ratchet pulleys instead.

Or, rather than move the light, you can stack boxes under the flats to bring them up to the light and remove the boxes to adjust the distance as the plants grow.

How do you hang the shop light? You can hang it from the ceiling over a table, especially somewhere like an unfinished basement room.

A set of adjustable utility shelves works well if there is a way you can attach your light fixtures to the underside of the shelves and adjust them. Keep in mind the distance between shelves must accommodate seedling height at six or eight weeks plus a couple inches of space and the light fixture thickness.

Mark and I put freestanding utility shelves in our unused bathtub. For the top shelf we put an expandable shower curtain rod over it and hang the shop light from it.

Plugging it in

Some shop lights can be strung together. Otherwise, if you have multiple lights, you are looking at a power strip, giving you a handy way to flip them off at once. Or, plug the power strip into a timer. Lamp’l’s latest home research shows 16 hours of light per day is about right—seedlings need to sleep too.

Additional tip

Mark and I use electric heat mats under the flats and clear plastic domes or plastic wrap over them to keep the moisture in. But at the first sign of seed germination, they should both be removed.


Vegetable growing advice


IMG_6356.JPG

Laramie County Master Gardener Kathy Shreve prepares a trench for seeds in a raised bed set up with soaker hoses. Photo by Barb Gorges.

Published in the Wyoming Tribune Eagle June 4, 2017, “Time to get your garden growing.”


By Barb Gorges

I spent a recent evening in the garden with Kathy Shreve, Laramie County master gardener, reviewing what to know about local vegetable gardening. The topics mentioned here are covered in greater depth in the “gardening” section of the Cheyenne Botanic Gardens website, http://botanic.org, which also has the link to the archive of my previous columns.

Timing

Wait until the end of May or later to transplant tender veggies like tomatoes, eggplants, cucumbers or put them under a season-extending cover like a low tunnel. You can also plant them in containers you can scoot in and out of the garage.

However, Shreve started cabbage and onion plants indoors and planted them before the snow May 18-19 and they were fine. Some vegetables, like members of the cabbage family, don’t mind cold as much.

While peas, cabbage types, lettuces and other greens, can be planted earlier than the end of May, most vegetable seeds planted directly in the garden prefer warmer soil temperatures. Measure with a soil thermometer found at garden centers.

Shreve said we can plant as late as June 20. Plant fast growing crops as late as July if you want a fall harvest.

Location

Keep in mind the vegetable garden needs a minimum of six hours of sun per day, preferably morning sun.

IMG_6357

Shreve transplants cabbages she started indoors. Photo by Barb Gorges.

Transplants

Because of our short growing season, tomatoes and other tender vegetables are started indoors. Always look for the short season varieties of these plants. Shreve said she looks for 80 or fewer “days to maturity.”

If the plant was not outside when you bought it, it will need hardening off. Start with the plant in the shade for two or three hours and day by day increase the amount of sun and the length of exposure by a couple hours. Keep it well watered.

When transplanting, Shreve advises digging a hole for your plant, filling it with water, then letting it drain before planting.

To remove a plant from a plastic pot, turn it upside down with the stem between your forefinger and middle finger. Squeeze the pot to loosen the soil and shake it very, very gently.

If there are a lot of roots, you can gently tease them apart a bit before putting the plant in the hole.

Hold the plant by the root mass so that it will sit in the hole with the soil at the same level of the stem as it was in the pot. Fill soil in around the roots, then tamp the soil gently.

However, tomatoes can be planted deeper since any part of their stem that is underground will sprout roots, the more the better. In fact, Shreve said to pinch off all but three or four leaves and bury the bare stem.

Lastly, keep plants well-watered, not soggy, while they get established. Wait a couple weeks before adding fertilizer to avoid burning the plants.

Mulch

Shreve mulches with certified weed-free straw available at local feed stores, but grass clippings and last year’s leaves can also be used.

Placing mulch 2 to 3 inches deep keeps the soil from drying so fast, shades out weeds and keeps rain and overhead watering from spattering dirt onto plants, which may spread disease. It can also keep hail from bouncing and inflicting damage twice.


IMG_6354

Seed

Root crops, like carrots and beets, don’t transplant well, so you are better off starting them from seed.

While fresh is good, Shreve said she’s had luck with seed seven years old. But the germination rate isn’t going to be great. She might spread carrot seed a little more thickly if that was the case, and it’s easy to thin to the proper spacing (and the thinnings can be tasty).

Because Cheyenne is dry, Shreve plants in a little trench. That way, when moisture comes, it will collect down where the plants are.

Seed packets tell you how deep to plant. The rule of thumb is three to four times deeper than the breadth of the seed. Lay the seed in the bottom of the trench and sprinkle that much dirt on them. Then water well, but gently, so you don’t wash out the seeds. Keep the soil surface moist until the seeds germinate.

Lightly mulch when the seedlings are visible, adding more as the plants get bigger.

Mark rows with popsicle sticks or plastic knives left from picnics.

Water

Once plants are established, let the top 1-2 inches of soil dry out between waterings. Test by sticking your finger in the soil. Water deeply.

Shreve waters every other day using soaker hose and drip irrigation systems, except when it rains. She originally tested her system for 30 minutes to see if water made it to the root depth and decided on 40 minutes.

Water in the morning, or at least make sure leaves are dry before dark.

Bugs and weeds

Mulch should eliminate most of the need to weed. Shreve said to keep up with it—it’s easier to pluck weed seedlings than to have them establish deep roots and go to seed.

For bugs, Shreve said it is easy to Google “what insect is eating my cabbage,” or take the critter, or evidence, to the Laramie County Extension horticulturist, Catherine Wissner. Her office is now out at Laramie County Community College, fourth floor of the new Pathfinder Building.

Never use pesticides until you identify your problem, and then try the least toxic method first. Again, more is not better. Never apply more than the directions indicate.

Slugs—my nemesis—indicate a garden is too wet.

Shreve said to roll newspaper to make 1 to 2-inch-diameter tunnels. Place rolls around affected plants in the evening. By sunrise, the slugs will be inside the rolls to get away from the light and you can dispose of them, rolls and all.

Fertilizer

Never add wood ash or lime to our alkaline soils as those work only on eastern, acidic soils.

Shreve likes slow-release products which are less likely to burn the plants, as are the natural fertilizers. Additionally, compost tea is a good soil conditioner.

Again, more is not better. Shreve uses half of what is directed until she sees how the plants respond.

Over-fertilization of fruit-producing vegetables like tomatoes often keeps them from producing the flowers that become the fruit. Shreve said they need to be stressed a little bit because it gets them thinking about preservation of the species and producing seed, rather than just enjoying life and producing leaves.

“Just leaves” is OK if you are growing leafy vegetables like lettuce, kale, spinach and chard.

Trellis and cage

If you are growing vining vegetables, getting them off the ground means fruits stay cleaner and don’t rot, and they are easier to find and pick. Use old chain link gates, bed springs, or anything else—be creative.

Hog panels make sturdy tomato cages 5 feet high and 2.5 feet in diameter for larger, indeterminate varieties, with chicken wire over the top for hail protection. Otherwise, use jute twine to loosely tie the stem to a bamboo stake.

Add flowers

Adding annual flowers like alyssum, marigolds and sunflowers, or herbs including dill and oregano, attracts pollinators and beneficial insects to your garden.


Grow Tomatoes in Cheyenne, Wyo.

silvery fir tree tomato

Silvery Fir Tree Tomato is a short-season heirloom variety I grew in 2013.

Published Sept. 16, 2012, in the Wyoming Tribune Eagle, “Learn a thing or two from Cheyenne’s own tomato guru.”

By Barb Gorges

I have seen the tomato forest, right here in the heart of Cheyenne, and I want to tell you about it.

Because my initial tomato gardening experience this summer has been essentially problem-free, I thought I should find someone to talk to who has much more tomato experience, for the benefit of any of us that need advice.

That is how I found myself immersed in Michelle Bohanan’s tomato forest, though perhaps “jungle” would be a better term since plants seemed to be climbing on each other to reach the best sunlight.

Heirloom queen of the plains

Michelle, a Laramie County Master Gardener, grew 40 varieties of heirloom tomatoes from seed this year, one plant of each, down from 70 varieties last year. Each plant gets its own over 5-foot tall, 16-inch-diameter cage formed from concrete reinforcing mesh—the kind with the wires welded about 6 inches apart—wide enough to reach through to pick fruit yet suitable for tucking in a straying branch.

The tomato plants are spaced about three feet apart in the main tomato patch in the side yard and tucked into other spaces as well. By the time I visited Aug. 22, some plants had shot up and spilled over their cages, summer squashes were climbing the outsides of others, winter squash filled the paths between, hiding basketball-sized fruit, and tassels of corn waved overhead.

Beans and parsnips added to the solid mass of dark green leafy textures. Flowers punctuated the vegetables and overflowed the flower beds.

This island of vegetative exuberance was only six or seven years ago a desert of pea gravel spread over native clay soil. Michelle has worked bag after bag of fall leaves into her beds, plus compost from her co-workers. She used to use a rototiller, but now that her beds are three bricks high, a multi-tined digging fork can do the job better. No additional fertilizer is necessary.

Heirloom growing

Michelle finds heirloom tomato diversity through the Sand Hill Preservation Center and Seed Savers Exchange, both out of Iowa, as well as groups of online seed exchangers.

About the end of February, beginning of March, she starts 10 seedlings of each variety. When they are big enough, she moves them to her plastic-wrapped back porch which is warmed by the sun, the dryer vent and heat escaping from a basement window. The excess plants she takes to the annual Master Gardeners’ plant sale in May.

She shares some of her harvest with her co-workers and cans whatever isn’t eaten fresh. Michelle hasn’t always been keen on eating tomatoes, but now that she has taste-tested so many varieties, she has found her favorites.

I was sent home with samples of five varieties, including one called “Absinthe” which has a peppery taste and stays green even when it is ripe.

Psyllid stuff

I was hoping someone with so much tomato growing experience could tell me what to do in case of insect pests and diseases, but Michelle has only one pest, psyllids, tiny little things that inject poison right into a tomato leaf, leaving parts of plants looking like a collection of brown and green rags, with fruit growing half its normal size.

Michelle learned by saving seed from afflicted plants that they do not grow more resistant in the next generation. Rather, the next generation is more likely to succumb to psyllids more quickly.

Less than 10 percent of her plants seem to be affected. Incredibly, the plants next to the afflicted ones can be completely untouched. Perhaps they attract more lacewings and ladybugs or whatever preys on psyllids.

Other tomato pests and diseases

Those of us who have read the standard tomato cultivation information worry about diseases in crowded conditions, such as powdery mildew on leaves, but using soaker hoses and Cheyenne’s normally breezy weather helps keep leaves dry and those types of diseases at bay in Michelle’s garden.

I attribute the success of my tomato patch (a fraction of Michelle’s, most plants growing no more than waist high) to growing in a virgin location, where tomatoes had never been planted before. I found only the occasional fruit gnawed or drilled with holes.

A few of my branches became leafless, maybe denuded by the tomato hornworm, but as a percentage of overall growth we’re talking a hundredth of a percent, certainly not something needing any kind of chemical warfare. Besides, I found out tomato hornworms are just one stage in the life of hawk moths, those hummingbird-sized hoverers that enjoy my tubular flowers.

What fueled my belated interest in tomato diseases and pests was rediscovering on our bookshelf “The Encyclopedia of Natural Insect and Disease Control” by Roger B. Yepsen, Jr., published in 1984 by Rodale Press. The color pictures are icky–all those chewing and sucking insects, all those viruses and funguses!

Prevention seems to be the best cure. Follow good cultivation practices: Grow well-watered and well-fed plants with plenty of fresh air and sunshine. Provide trap crops that divert predators or companion plants that ward off attacks.

Diversity seems to work in Michelle’s tomato patch the same way it does in wild nature. There are always varieties that resist problems more than others, or are better suited to a particular garden’s climate and micro-climate.

Rather than rotating tomatoes on a three year-cycle with other crops, Michelle achieves a rotation of tomato varieties.

Weeds?

Nearly the last thing I realized while touring Michelle’s garden was that there were no weeds in sight. She doesn’t have to weed. There aren’t any because her crops shade out everything else, though self-seeding cosmos have to be uprooted from the middle of the path to the rose garden.

Night bloomers

Michelle and I were still discussing finer points of tomato preservation when I realized twilight had deepened and the datura had quietly unfurled the evening’s choir of large white trumpets to broadcast thick perfume on the breeze.

Evening primrose, which holds its petals primly vertical all afternoon, was open flat out. The petals, forming landing pads for moths, would be discarded the next day. Nicotiana, also known as flowering tobacco, another night-bloomer, should have had perfume, however, it seemed to blend with the datura.

But the olfactory signals were doing their job, bringing in moths to do the pollination.

And then I caught sight of something else much larger flying overhead, a great horned owl. What a great finish for an evening visit to a special garden.

 Barb’s garden report

Here are the production figures as of Sept. 12:

Eggplants (three plants) – 13

Yellow cherry tomato (seven plants) – 1246

Red cherry tomato (two plants) – 219

Cinderella squash (one plant) – 3 on the vine

Jack-Be-Little gourds (one plant)  – 4 (this is different from last month’s squash count as there was some confusion over which little yellow things were which).