Cheyenne Garden Gossip

Gardening on the high plains of southeastern Wyoming


We are what we eat and so are plants

“Gardening Without Work” by Ruth Stout

Published Nov. 14, 2020 in the Wyoming Tribune Eagle

By Barb Gorges

 “You are what you eat,” is a phrase first attributed to a Frenchman in 1826, then a German in 1863. In 1942 it was the title of a book by American Victor Lindlahr. Plants are what they eat, too.

A multitude of sources today tell us we are healthier eating less fat, sugar, and salt. We are also healthier without the chemicals of conventional farming and food processing, as are farmworkers and ecosystems. The enormous growth of the organic food industry in the last decade shows consumers are listening. Even Cheyenne has an all-organic grocery store now.

Back in the 1970s, the organic food co-op I shopped off-campus expected me to bring my own containers and measure out my selections. Today, organic food may come in bulk quantities, but it is often packaged for convenience, even as frozen dinners.

 Organic convenience food costs more than what people may be willing to pay to switch to organic. But there are three ways to make eating organic more affordable.
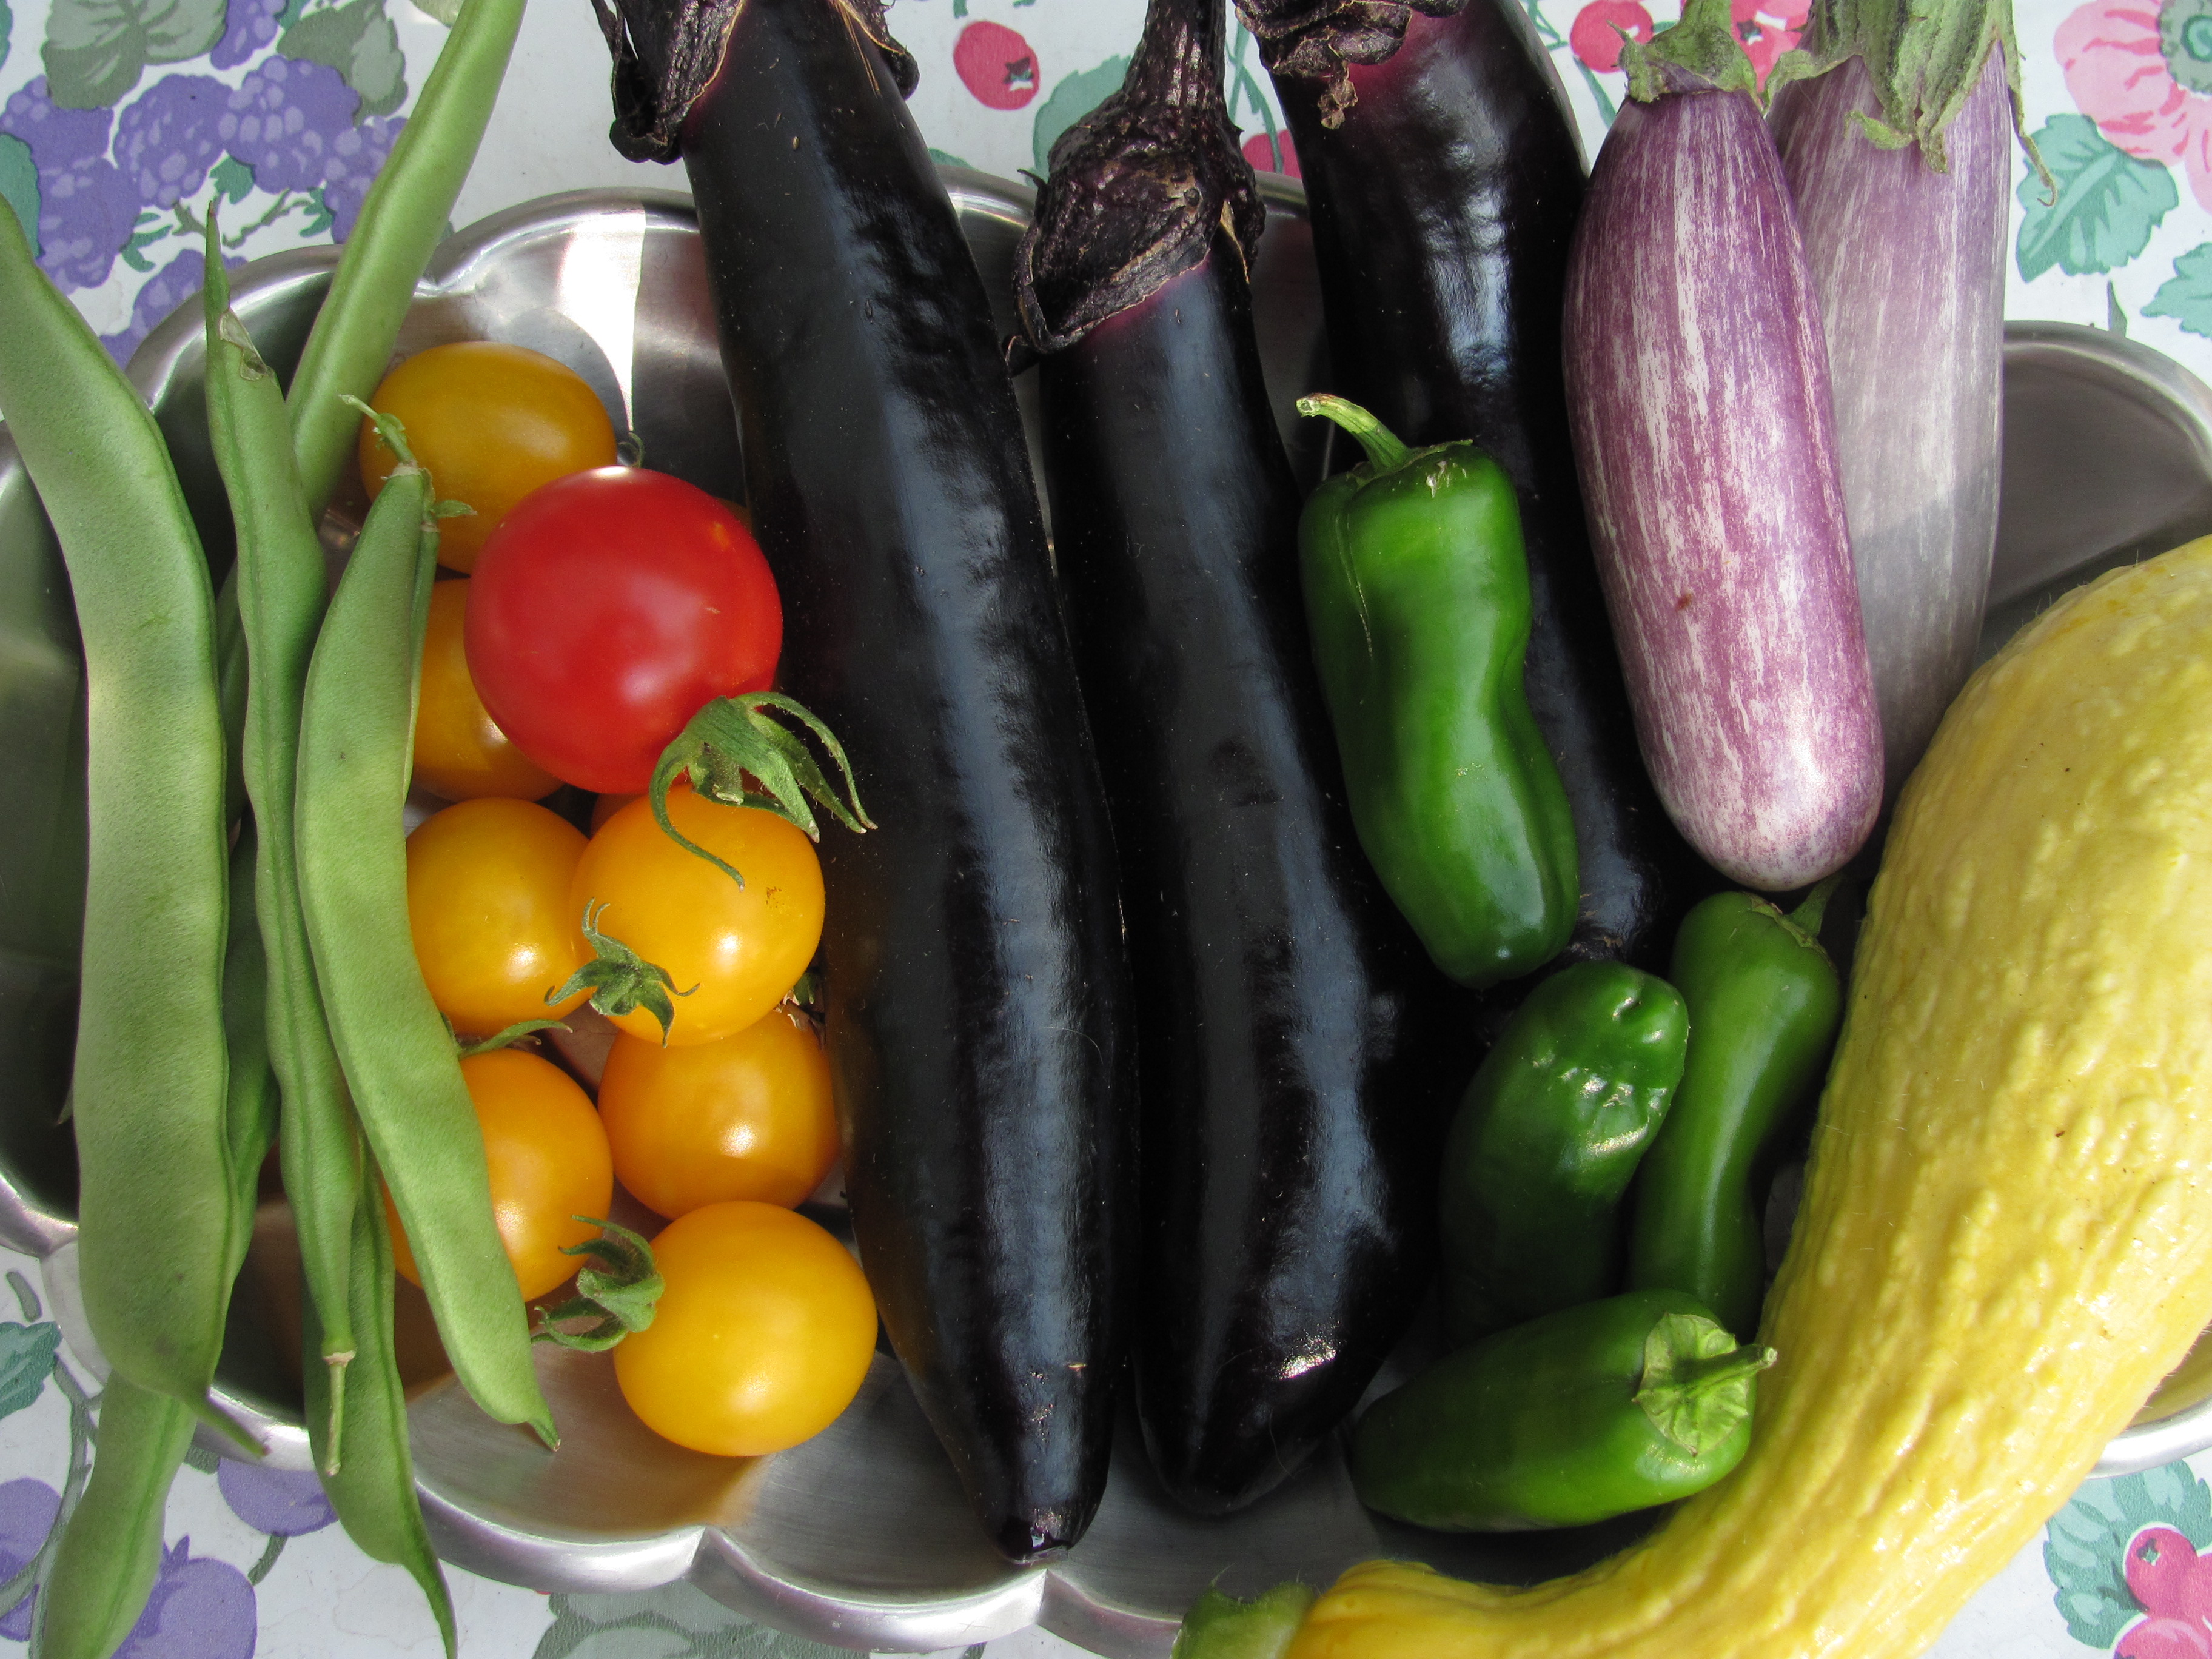
1) Buy basics

And buy a freezer or take up canning if you buy in bulk. But even if you don’t do food preservation, buying already frozen produce is fine. Simple protein-vegetable-fruit meals from scratch don’t take that long to cook if you plan a bit (observes the woman who lets her husband do much of the cooking).

2) Plan for leftovers

Get them in the fridge or freezer asap so they don’t become part of the 40 percent of food thrown out in this country. Soup I make from last night’s leftovers is my favorite lunch and dinner is often creative casseroles.

Cooking mostly from scratch and not wasting food goes a long way to making organic food affordable.

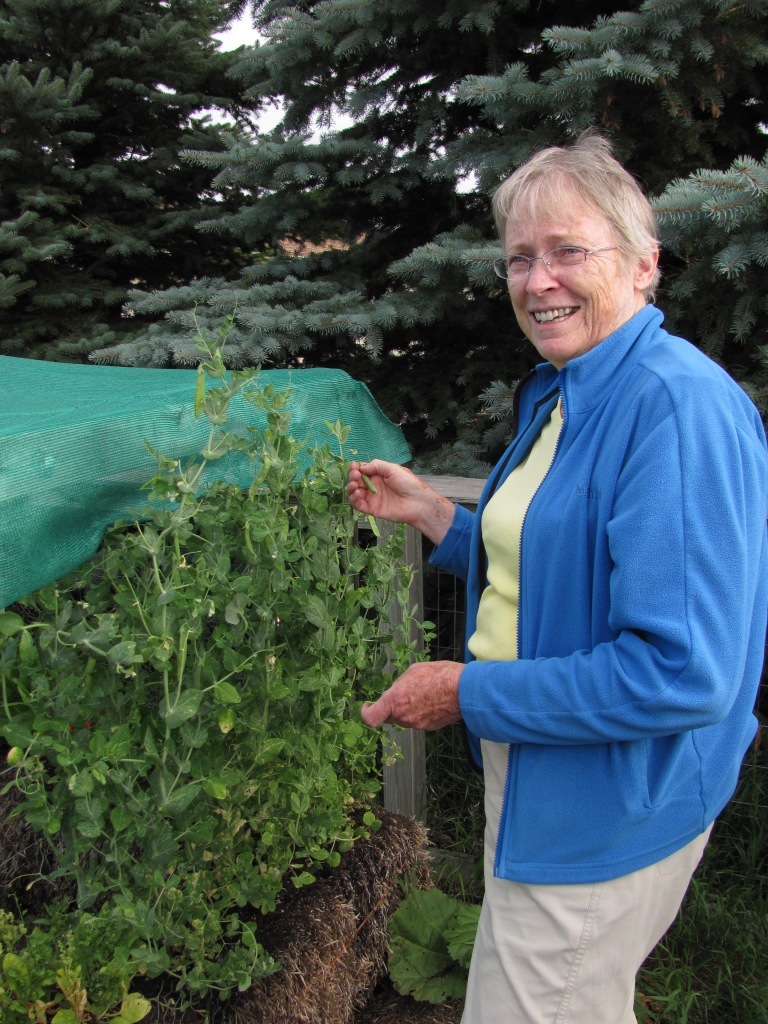
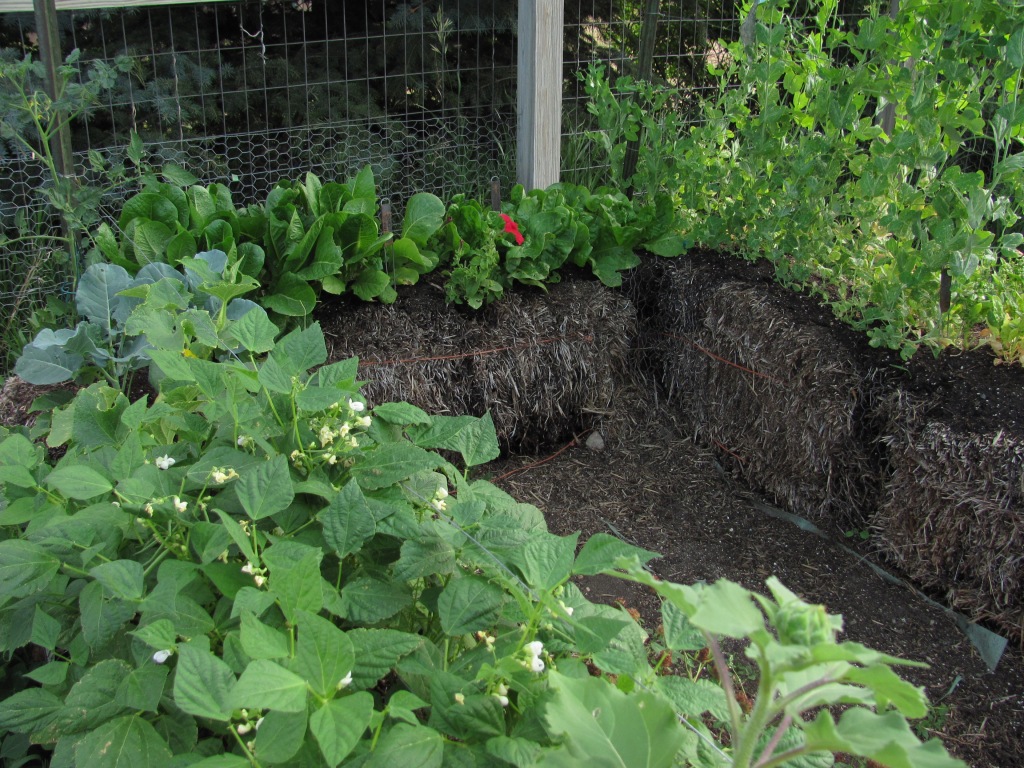
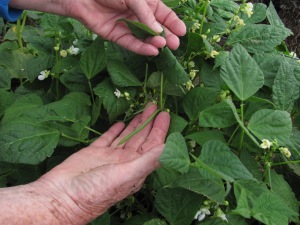
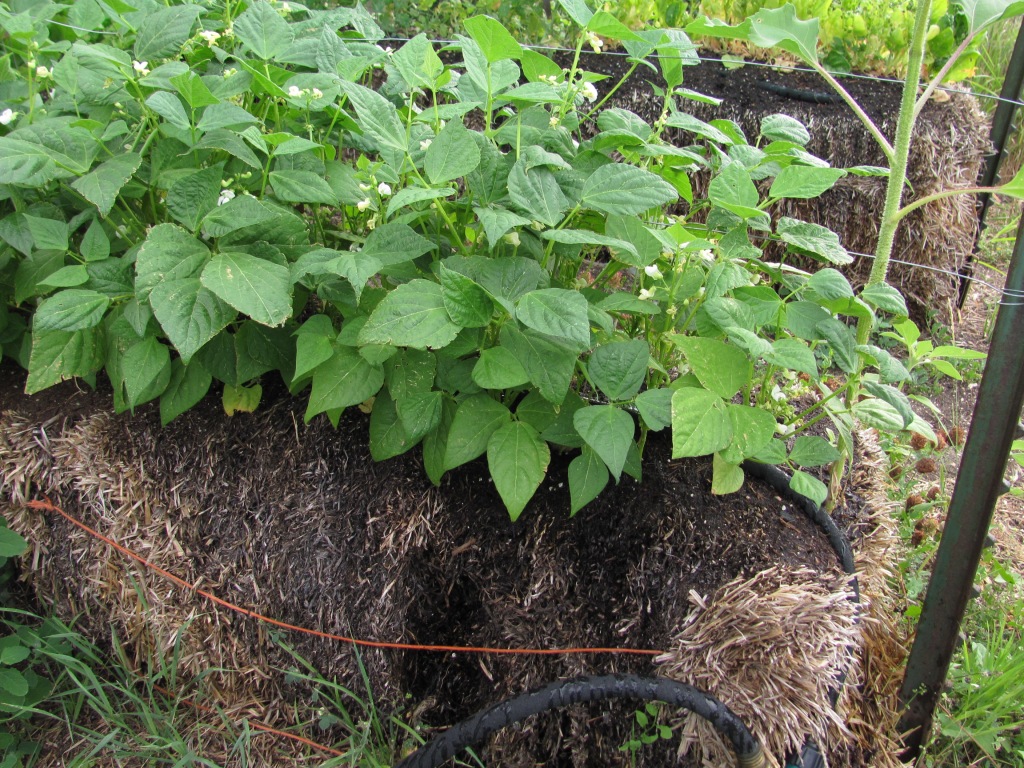
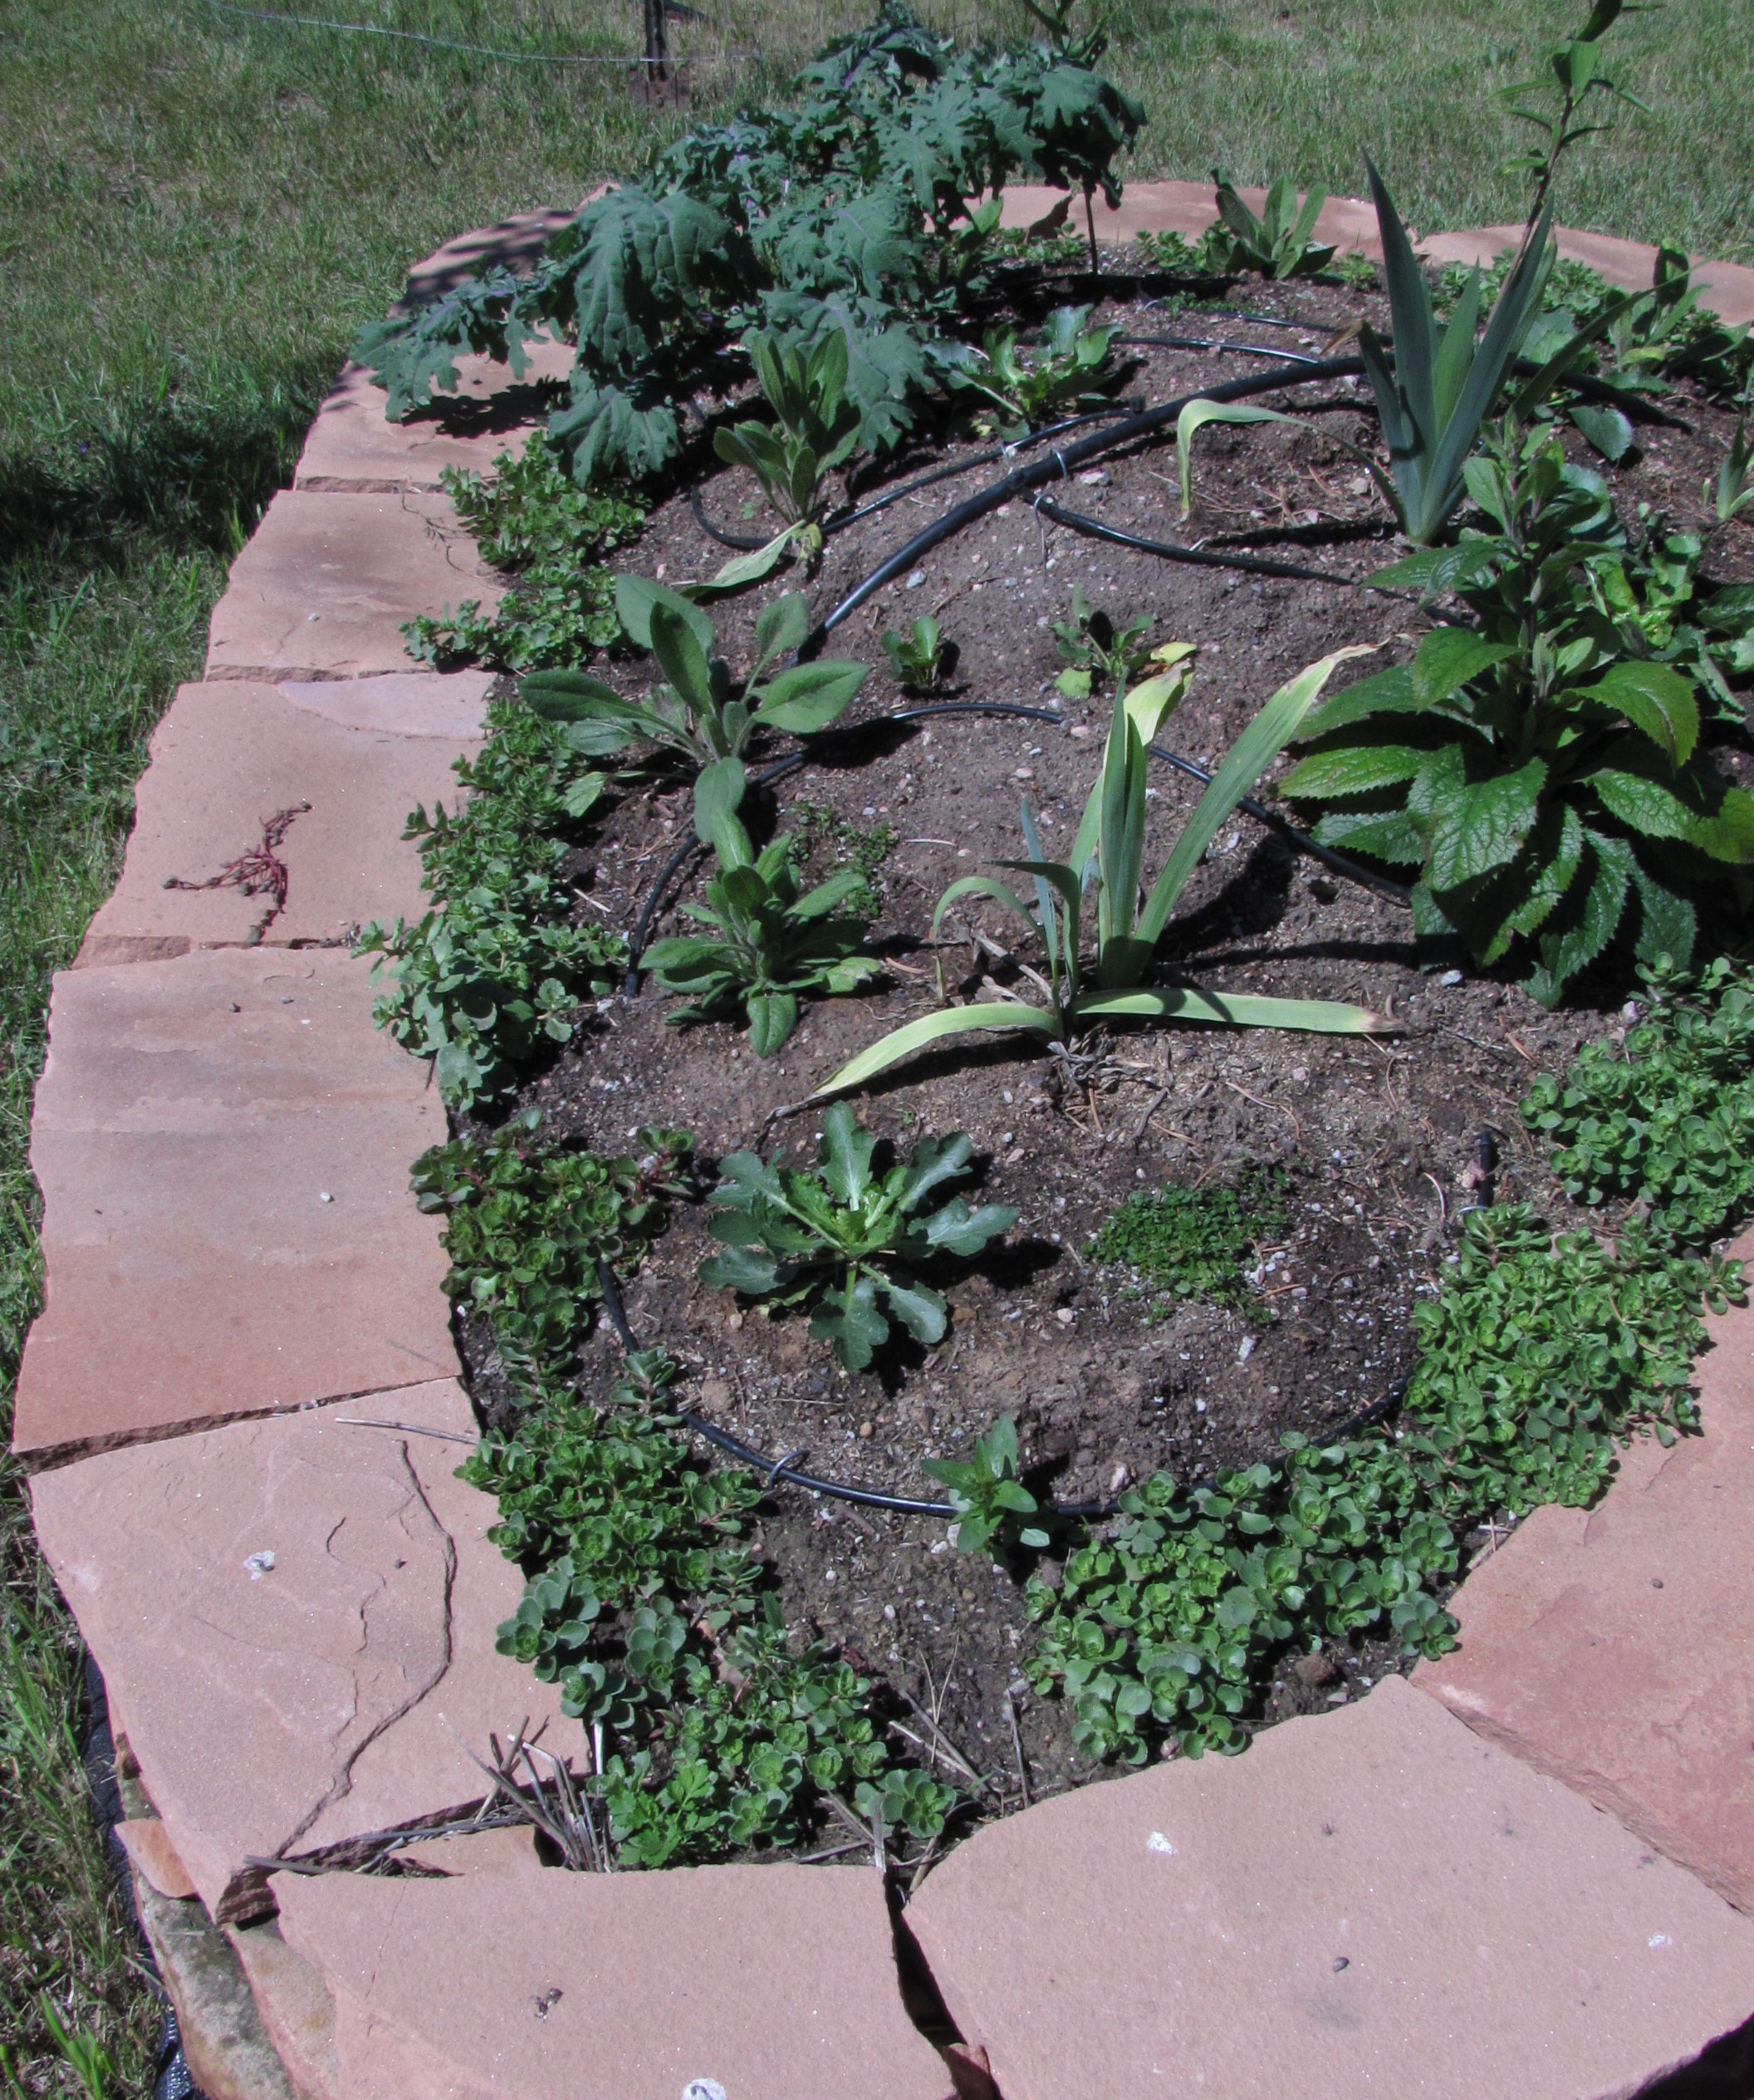
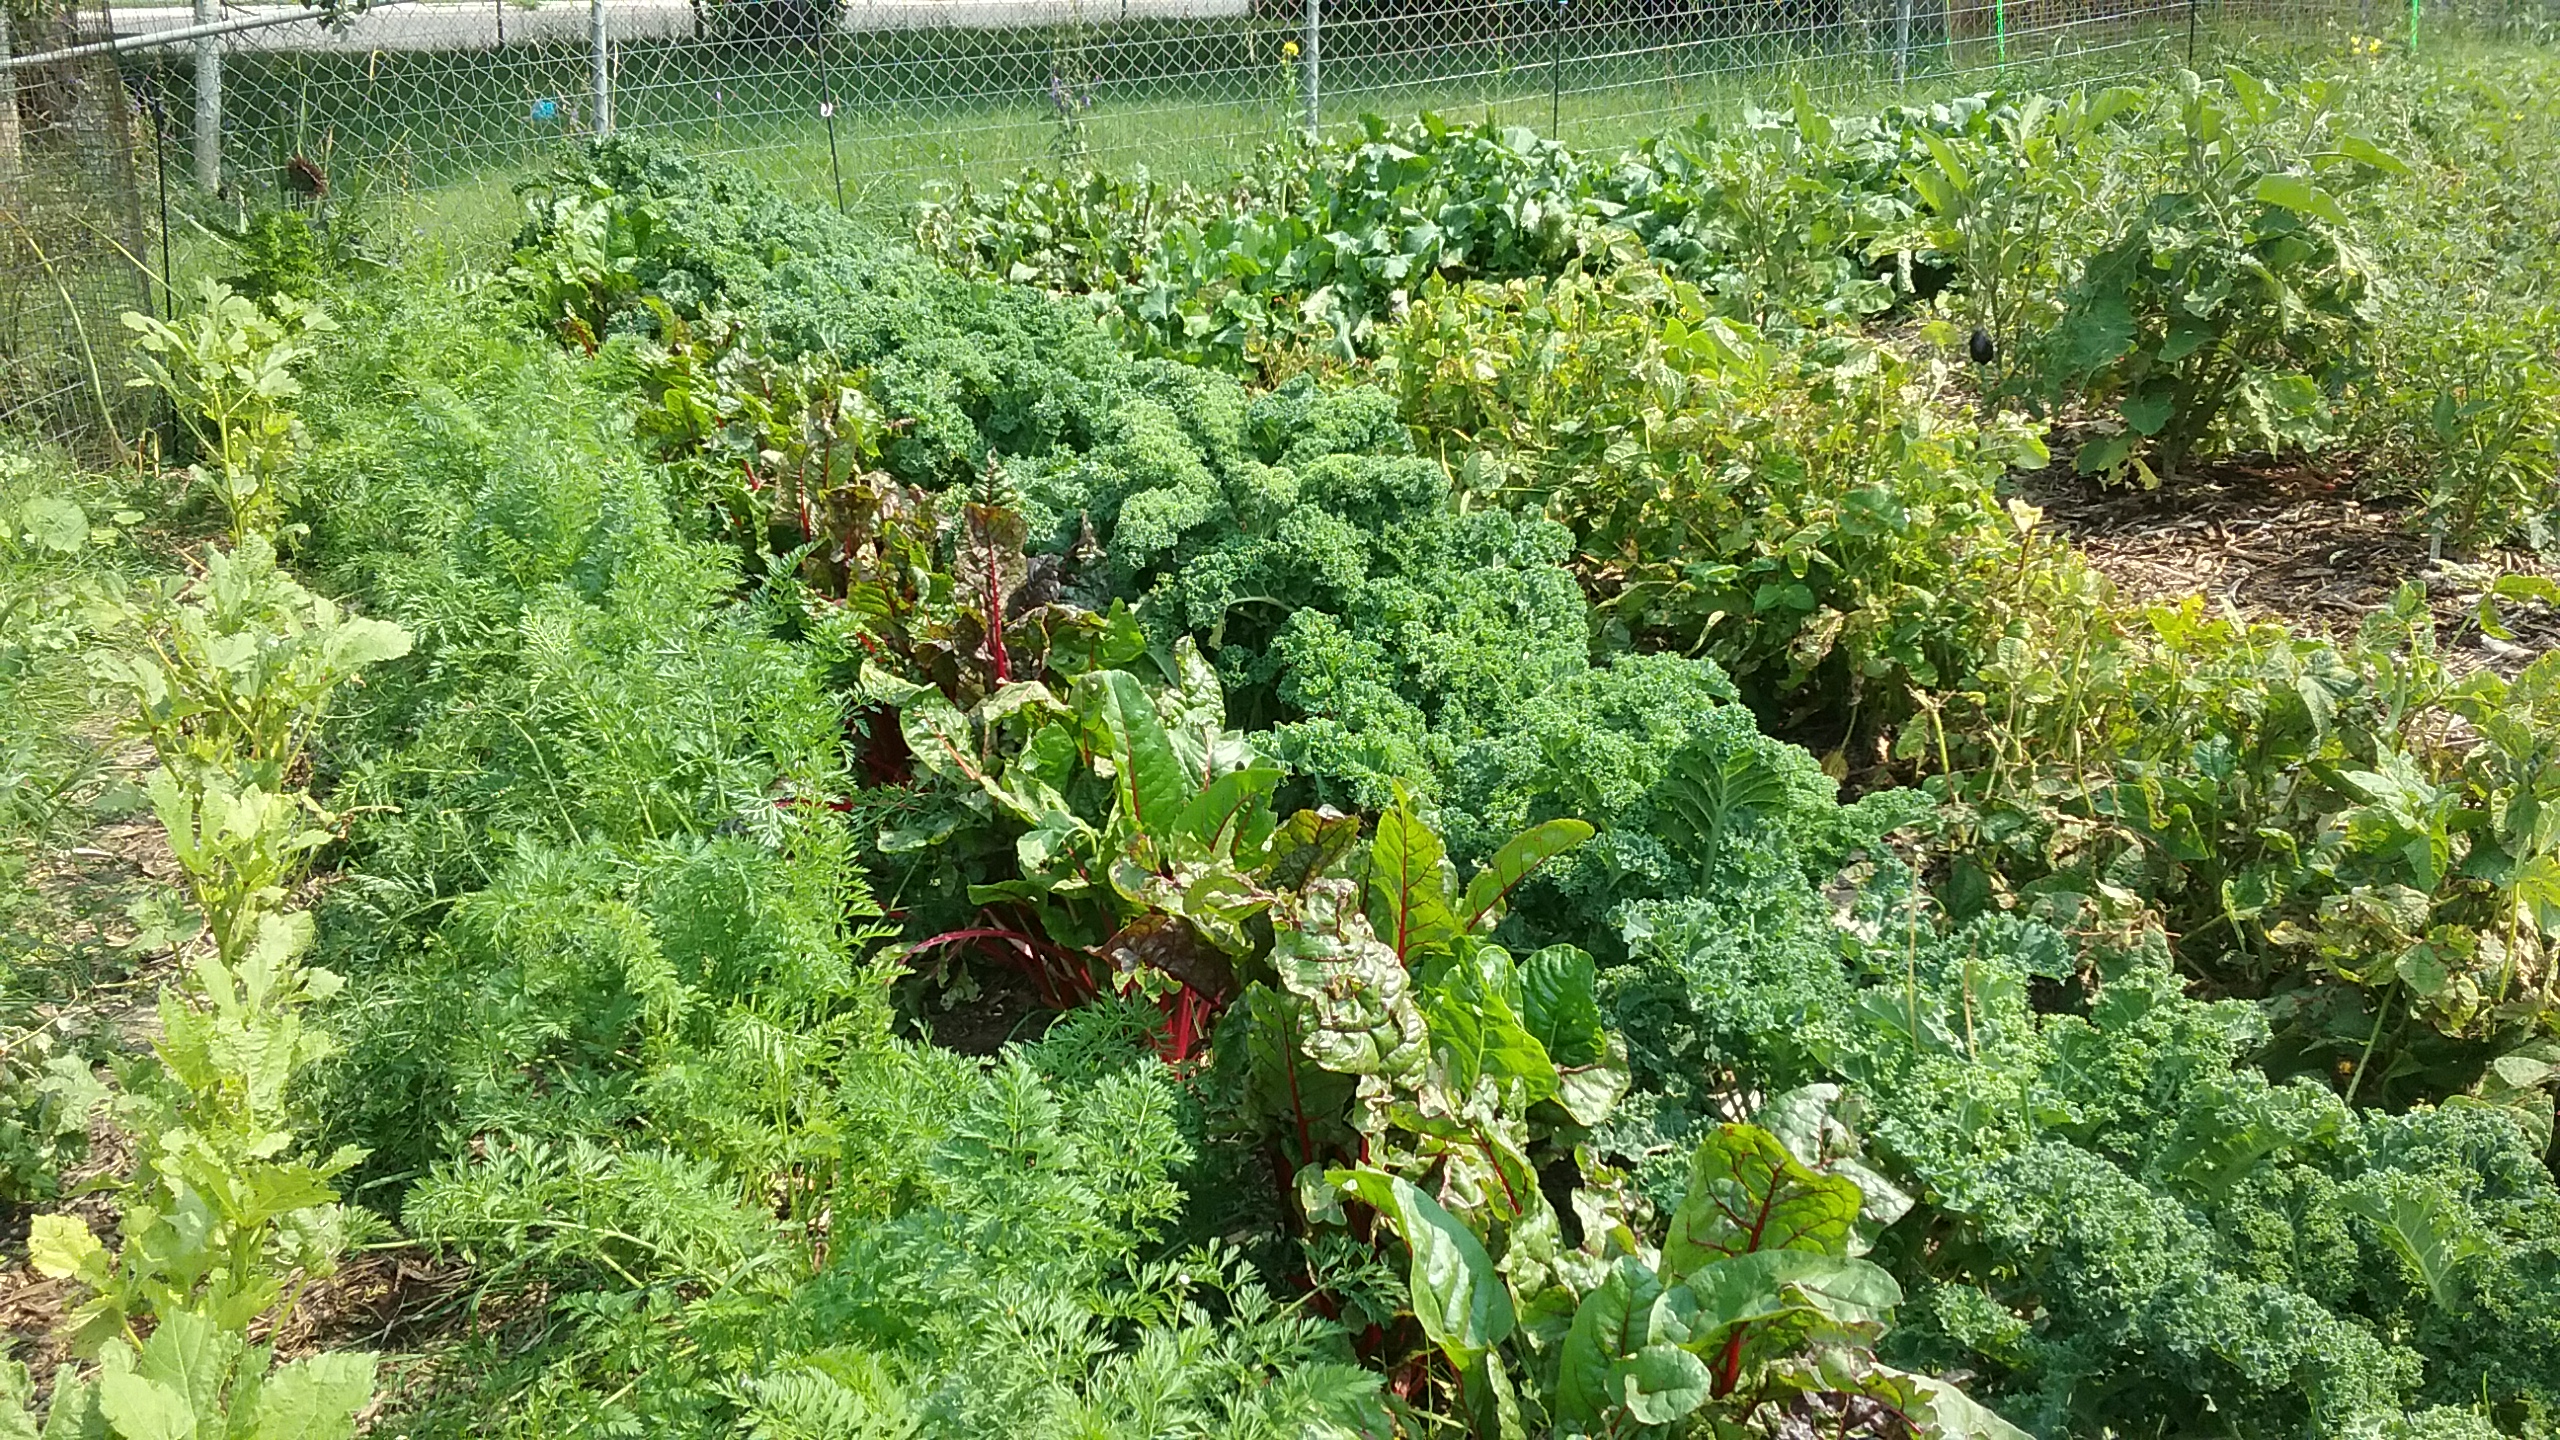
3) Grow your own food.

But not all home-grown produce is created equal.

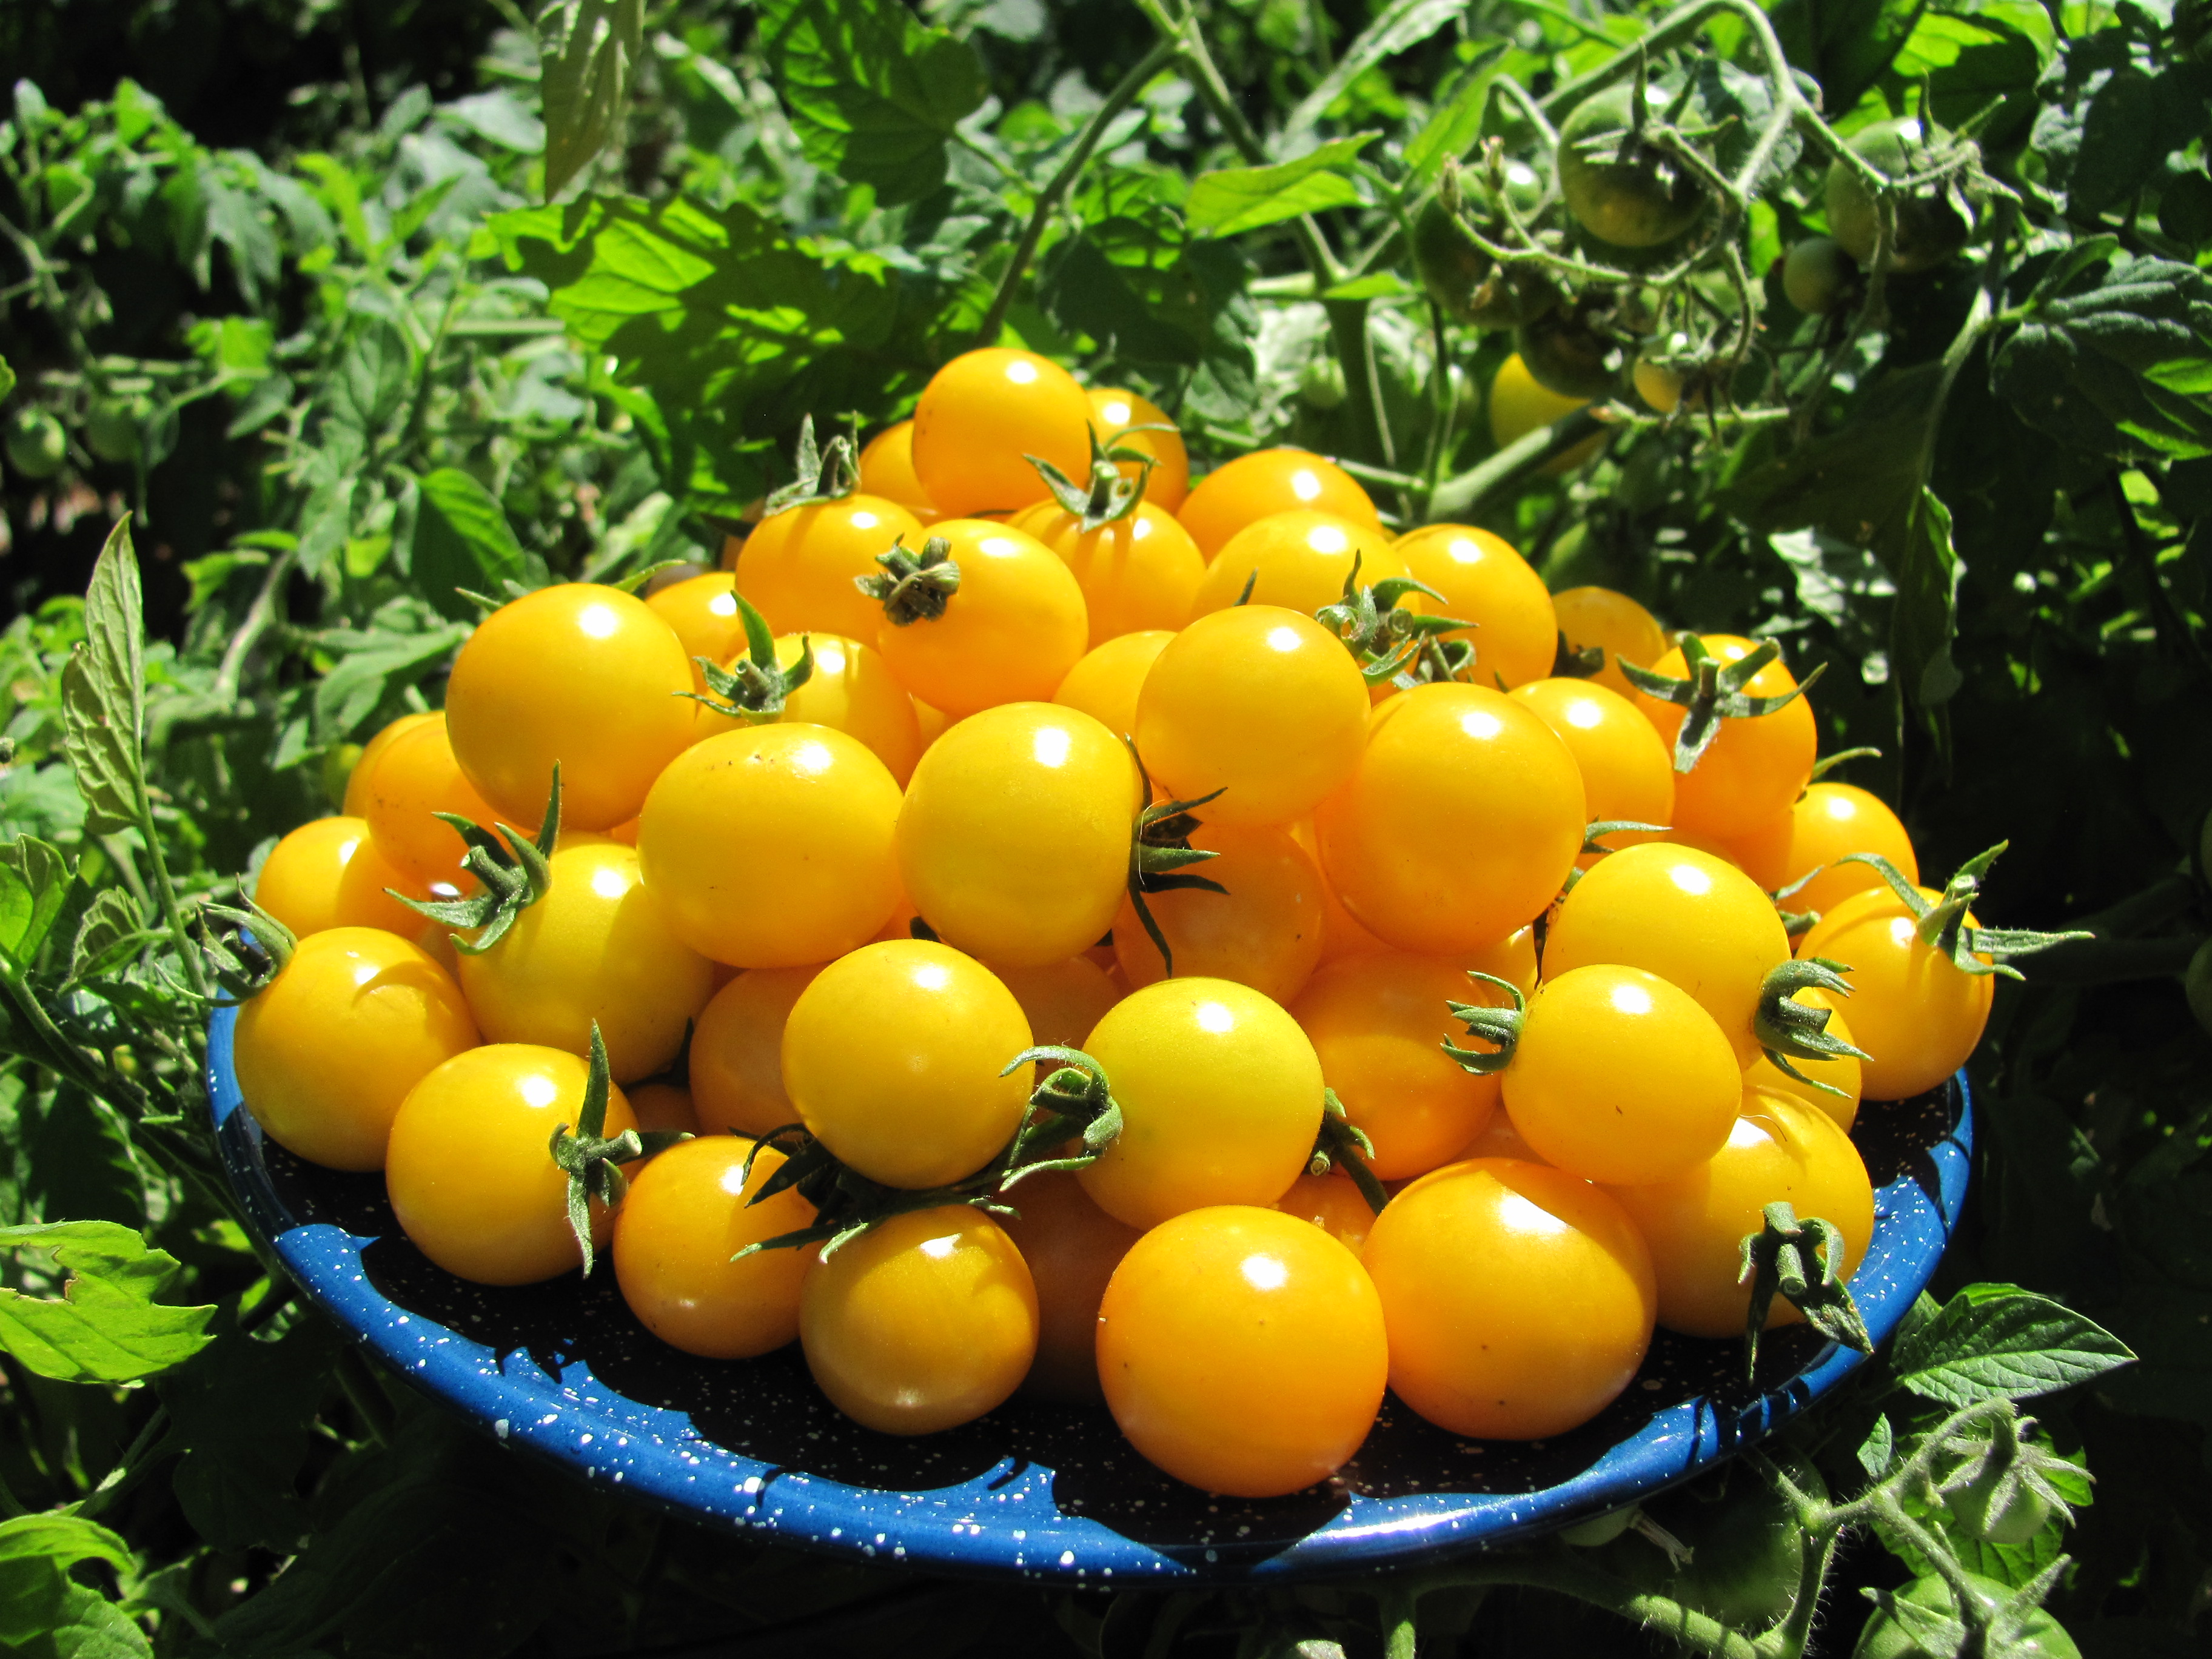
Your tomato is what it eats—the nutrition it gets from the soil. To get nutritious soil, skip conventional farming and gardening methods, and conventional commercial fruit and vegetable varieties.

 Donald Davis, University of Texas at Austin, was the lead on a 2004 study titled, “Changes in USDA Food Composition Data for 43 Garden Crops, 1950 to 1999.” It reported that many nutritional elements are lower in today’s varieties because they have been developed to grow fast.

“Uptake of nutrients has not kept pace with their rapid growth,” Davis said.

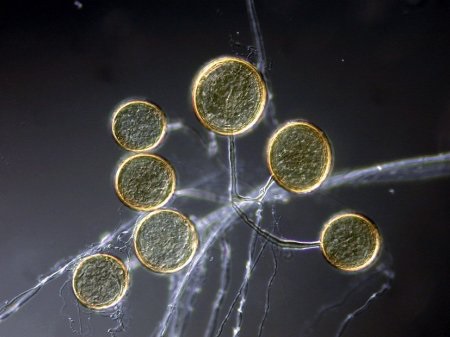
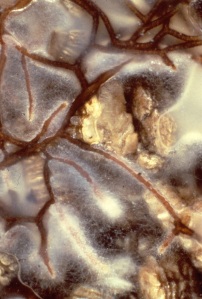
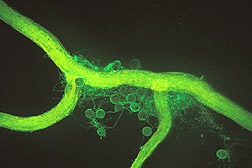
 Other studies also show a drop in nutrient values over the decades is due to fewer nutrients available in the soil. The more synthetic fertilizers and pesticides are poured on, the less nutritious the soil becomes because beneficial microbes are starved or killed.

And the more you need to keep pouring on. The for-profit chemical companies have had great marketing campaigns since the 1940s to make you think theirs is the only way to grow.

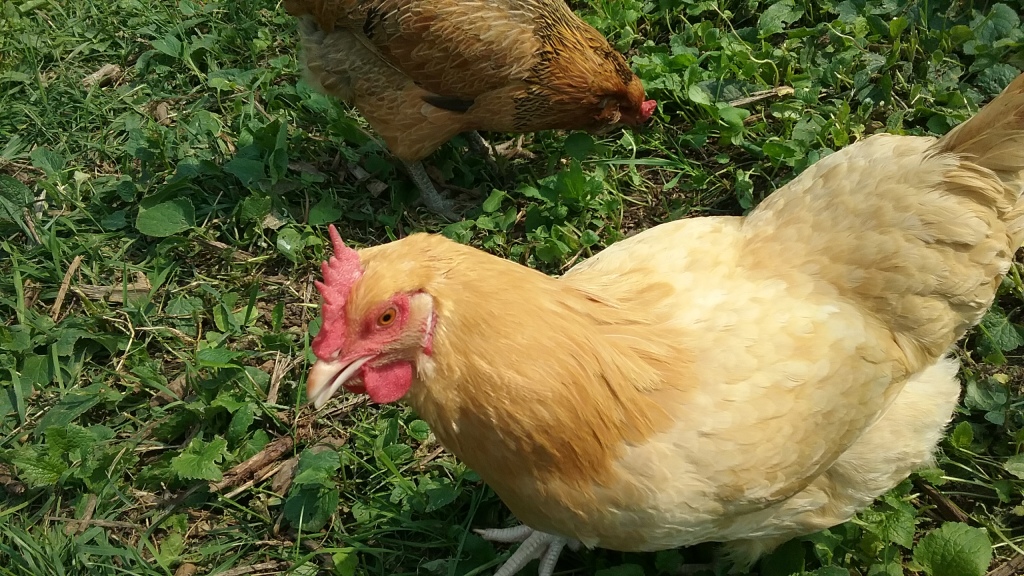
The alternative is to encourage soil microbes to grow in your garden. What do they eat? Compost and mulch, plant and animal materials. And then they feed your plants. See my column, https://cheyennegardengossip.wordpress.com/2017/05/07/soil-microbes-better-than-rototilling/.

 J. I. Rodale was one of the early proponents of organic growing, and even the inventor of the term, “organic” to refer to the method. He started the magazine, “Organic Farming and Gardening” in 1942.

“Organic Gardener’s Companion: Growing Vegetables in the West” by Jane Shellenberger

Now the Rodale Institute is focused on regenerative organic agriculture. Not just sustainable agriculture but methods that improve ag land. It includes techniques such as permaculture, agroforestry and no-till farming. And organic gardening.

My favorite find at a used bookstore is any book by a garden writer pre-World War II, or even WWI, to find out how they gardened before the age of pesticides and synthetic fertilizers.

Most are not how-to books, however one written in 1961 by Connecticut gardener Ruth Stout is: “Gardening Without Work: For the Aging, the Busy & the Indolent.” The cartoon-like cover also says, “no plowing, no hoeing, no cultivating, no weeding, no watering, no spraying.” That describes organic.

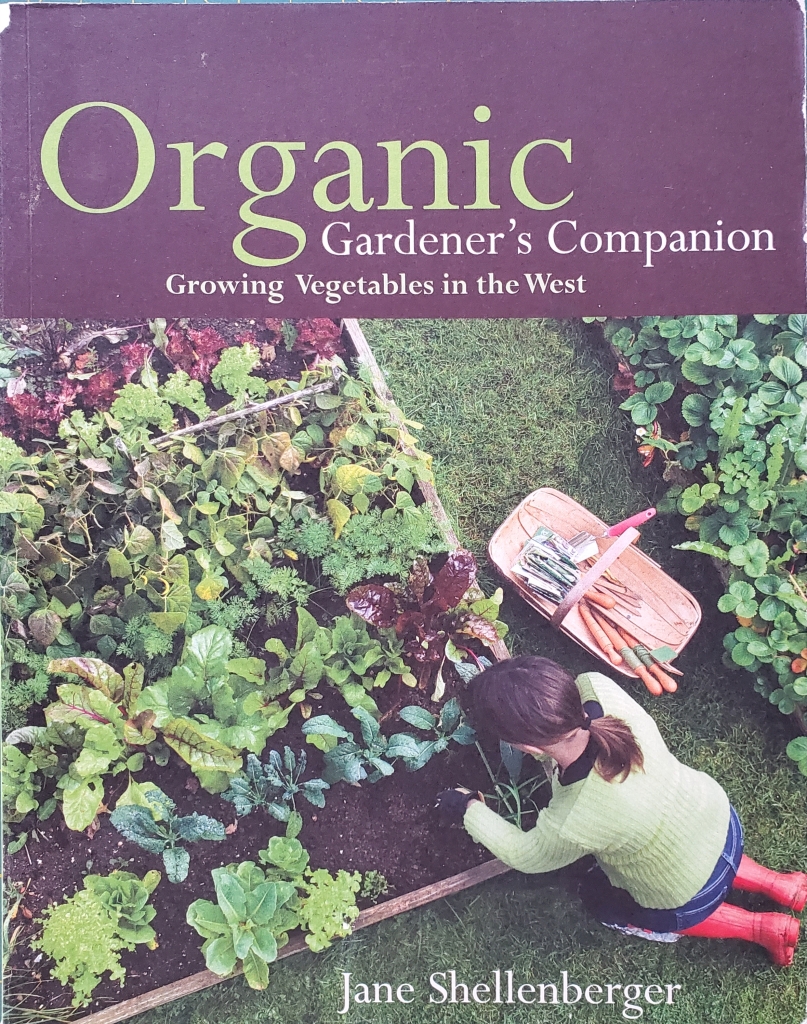
A more available book better suited for us is Jane Shellenberger’s “Organic Gardener’s Companion: Growing Vegetables in the West,” published in 2012. She is the publisher and editor of “Colorado Gardener” magazine. Read all issues free online at https://www.coloradogardener.com/.

See my past columns for how to start your new vegetable garden and smother the grass over the winter where you want it to be. Also, Google “organic vegetable seed companies.” You deserve to eat well and be well.


How to be a vegetable gardener in Cheyenne

veggies

My beginner’s garden included green beans, cherry tomatoes, eggplants, peppers and summer squash.

Also published May 15, 2020, in the Wyoming Tribune Eagle.

How to be a vegetable gardener in Cheyenne

By Barb Gorges

Mail-order seed companies report that they are running out of seed—vegetable seeds primarily. Seems like we’re all wanting to take a step towards self-sufficiency this spring when there are so many other aspects of life beyond our control.

Catherine Wissner, University of Wyoming Extension horticulturist for Laramie County, assured me Cheyenne’s garden centers, including the big box stores, have plenty of seeds. And the Laramie County Master Gardeners plan to have their annual plant sale, one way or another, May 31, including a virtual plant sale already in progress, https://www.lcmg.org/.

The UW Extension folks have a variety of videos and recordings about Wyoming gardening available at https://www.uwyo.edu/barnbackyard/live/recordings.html.

While my book on how to garden in Cheyenne won’t be ready for several months, the contents are currently available online at https://cheyennegardengossip.wordpress.com/ as an archive of all my Wyoming Tribune Eagle garden columns since 2012. You can search for information about growing vegetables and it will be suited to Cheyenne and in more detail.

If you’ve gardened elsewhere in the country, there are three things you need to know about vegetable gardening in Cheyenne: use drip irrigation, prepare hail protection and never add lime to our alkaline soils.

If you’ve never gardened before, well, it’s mostly about choosing the right vegetables for our climate and season length, giving plants the right amount of water, and mulching.

2016-6a raised beds 2

Cheyenne gardener Barb Sahl uses several kinds of raised beds. Raised beds can also be made with wooden boards or cinder blocks.

Step 1 – Find a spot for a vegetable bed or containers.

It should be sunny for at least 6 hours a day, preferably morning, and relatively level and within reach of a hose or a drip irrigation system.

Keep the veggies close to your back door so that it is easy to saunter out every day to admire them and pull a couple little weeds.

If the site currently doesn’t even grow weeds well, it could be subsoil left behind by the builders. The soil can be amended and over time, become productive. But for success this season, think raised bed or containers (see my archives).

Also, if this is your first attempt at vegetable gardening, keep the size of the bed reasonable, maybe 4 feet wide (what you can reach across from either side) by 6 or 8 feet long.

Step 2 – Prepare the bed.

I have never used a rototiller. I prefer the (husband with) shovel method. Digging by hand will keep you from creating a bed bigger than you can manage, especially if this is your first garden.

If you have any compostable material, like last year’s tree leaves, lawn mowings not treated with pesticides, vegetable debris from the kitchen or any old plant materials that don’t include weed seeds or invasive roots, you can dig that in.

Dedicated gardeners will send soil samples out for analysis on exactly what the soil needs for growing vegetables. Think about doing that later this season.

Some gardeners work their soil until it’s as fine and chunk free as cocoa powder, but that isn’t necessary—in fact, it’s hard on the soil microbes that can help you. You might want to smooth a row a few inches wide for planting tiny seeds and make sure there aren’t any canyons that will swallow the cucumbers.

Gold Nugget tomatoes

Gold Nugget cherry tomatoes are an early (55 days to maturity), determinate variety. These were grown with seed from Pinetree Garden Seeds, a mail order company in Maine.

Step 3 – Shop for seeds.

If you know any successful gardeners in our area, see if they will gift you some seeds.

Otherwise, you need to read the seed packets carefully. Keep in mind our average last day of frost is around May 25 and our average first day of frost is mid-September. It’s a short season. You need to look for short season vegetables.

Each packet will tell you how many days from seed germination until maturity (harvest). Remember, some seeds take a week or more to germinate. Look for vegetable varieties that are in the range of 45 to 70 days. Next year you can try starting tomatoes indoors or growing them with some kind of season extender like a hoop house or row cover.

Meanwhile, look for tomatoes, eggplants, cucumbers and peppers ready to transplant.

Easy to grow from seed are the squashes, beans, kale, chard and leaf lettuces (not head lettuce).

Step 4 – Plant seeds and transplant plants.

Follow the seed packet directions on when and how to plant. Make sure your soil is moist already.

For transplanting, normally you plant the plant so it sits at the same height as it did in the pot. However, if it’s a tomato that looks a little leggy, you can bury a few inches of its stem.

Step 5 – Mulch.

We use old tree leaves and pesticide-free grass clippings at our house. Straw is good, but not hay or anything with seeds. An inch or two of mulch will keep down the weeds and keep the soil from drying out too fast.

Step 6 – Water.

Catherine said consistency is most important. Once the plants are established, you can let the top inch of soil dry out (test it with your finger) in between thorough waterings, but if you are not consistent with providing enough water, you will not get good yields.

If you seem to have impenetrable clay soils, try watering for a couple minutes, then water elsewhere and then come back 15 minutes later and see if the soil will absorb the rest of the water it needs.

Step 7 – Fertilize.

Seedlings don’t need fertilizer for a few weeks, but vegetables are soon hungry. Organic gardeners use compost—like your mulch as it decays, or “teas” made from soaking compost—read up first. Avoid all manure, Catherine recommended. It tends to be salty (bad for our soils), full of weed seeds and may harbor pathogens. Avoid chemical fertilizers with too much nitrogen too—nitrogen grows great leaves but little if any fruit. Do not use weed and feed products—they will kill your veggies.

Step 8 – Weed.

If you mulch and don’t overwater, you shouldn’t have much of a weed problem. Visit your veggies every day and pull them or use a dandelion digger (don’t hoe) on any little green interlopers. It’s much easier than waiting until the weeds grow roots to Earth’s core and shed seeds across the continent.

Step 8 – Protect.

Everything is out to get your veggies before you can harvest them: frost, wind, hail, antelope, rabbits, insects, diseases. There are preventative and non-chemical actions you can take. Check my archives.

Step 9 – Harvest.

I remember the first summer after I became a Master Gardener. I told my husband, our family’s vegetable grower, that I wanted to try to grow vegetables myself from start to finish. I did, and they had the most incredible flavor.

2019-01 sandra cox vegetable garden

Cheyenne gardener Sandra Cox used large amounts of compost when starting a garden at her new house and had fantastic results.


Transplanted NY gardener blooms in Cheyenne


2019-01 sandra cox vegetable garden

Sandra Cox’s vegetable garden did extremely well its first season. Photo by Barb Gorges

Published Jan. 6, 2019, in the Wyoming Tribune Eagle, “Transplanted gardener helps local yard bloom.”

By Barb Gorges

There’s only one thing that beats Sandra Cox’s love of gardening: It’s love for her family.

In July 2017, she gave up gardening in the Hudson Valley of New York state to move to Cheyenne at the invitation of her son and his family. She left behind a newly planted orchard and everything she knew about gardening there to start over at her new home.

When Sandra arrived, no one had watered her new yard for some months, and our clay soil required a pick ax to plant the calla lilies she brought with her. But with care and mulch, by the end of the season, time to dig them back up, she was pleased to see a healthy population of earth worms.

Sandra’s garden in New York was in the same Zone 5 USDA growing zone (coldest temperature rating) as Cheyenne. But there are five major differences:


  1. Cheyenne has alkaline soils rather than acidic so adding lime or wood ash is a no-no.
  2. Cheyenne has a shorter growing season. Sandra’s learned she will have to start her peppers and eggplant indoors earlier and put them outside, with protection, earlier.
  3. Cheyenne has 12-15 inches of precipitation annually, one-third of New York’s. Watering is necessary much more often here. She’s thinking about installing an irrigation system.
  4. Cheyenne has hail. Although the tomato plants this summer made a comeback, the tomatoes themselves were scarred. Sandra’s planning to protect them with wire cages next year.
  5. Cheyenne has different soil—clay instead of sandy.

Although arriving mid-summer 2017, Sandra went to work establishing a vegetable garden. “I disturb the soil as little as possible to avoid disrupting the earthworms because they do all the work for you,” she explained.

Instead, she spread leaves over the abandoned lawn, laid down a layer of cardboard from the packing boxes from her move, then covered them with wood chips from the city compost facility. To keep the chips from blowing away, she laid wire fencing over them and pegged it down. She removed the fencing and planted directly into this mulch the next season.

Sandra researches the best varieties to plant in our climate. Her first fall, she planted grapes and an apple and a plum tree. Last spring, she planted pear, peach and sweet cherry trees. The cherries did very well.

In the north-facing front yard, Sandra’s planted shrubs for privacy and perennials for pollinators and pleasure. The city’s street tree planting program, Rooted in Cheyenne, came out and planted a burr oak and a linden. A huge spruce tree shades the house on hot summer afternoons.

One day last fall, she called and asked if we’d come harvest some kale and Swiss chard since she had too much. What an oasis of lush green! And her giant sunflowers were at least 12 feet high. A sunny yard helps, but much of her success can be attributed to her dedication to compost—she composts everything, and her chickens help break it down.

2019-01 sandra cox chicken

Sandra’s chickens are an important part of her gardening. Photo by Barb Gorges.

Sandra hasn’t used fertilizer yet—other than fish emulsion and well-aged chicken manure. She’s planning to do a soil test this next year to see if she has any deficiencies, but her plants didn’t seem to show any signs.

Pests are not a problem so far. Sandra thinks it is only a matter of time before the pests catch up with her. Already she’s concerned about the big spruce tree being attacked by the ips beetle. It has killed other spruces in her neighborhood, she thinks. The city forester recommended winter watering—good for all her newly planted trees and shrubs, but also good for older trees for which drought stress makes them more susceptible to pests.

Unlike New York which normally has constant winter snow cover, Cheyenne has snowless weeks plus days when the temperatures are above freezing—good days for watering trees.

Sandra remembers that growing up on the family farm was a constant delight, from taking care of the goats to eating apples while high up in the branches to joining her parents and five siblings in the field after dinner to weed, joke around and enjoy each other’s company. Her siblings still enjoy gardening and farming, as does her son, who has a degree in horticulture. Her granddaughters have caught the family enthusiasm as well.

“Bloom where you’re planted” is an old axiom that doesn’t just mean, “make the best of a situation.” For Sandra, it means with a little studying up, she can joyfully grow a garden anywhere, even here.

2019-01 sandra cox garden

Sandra’s sunflowers are more than a story high. Fencing protects new trees and other plantings from the chickens. Photo by Barb Gorges.


Young worm farmers prepare for vegetable growing season

2018-03WormsBoys&GirlsClubofCheyenne byBarbGorges 1

Boys and Girls Club of Cheyenne worm farmers show off their worm compost bin. Photo by Barb Gorges

This column was also published at Wyoming Network News: https://www.wyomingnetworknews.com/young-worm-farmers-prepare-for-vegetable-growing-season.

Published in the Wyoming Tribune Eagle Mar. 18, 2018.

By Barb Gorges

2018-03WormsBoys&GirlsClubofCheyenne byBarbGorges 3

No squeamishness! Photo by Barb Gorges.

Have you ever seen a girl handle a worm without expressing squeamishness or a boy hold a worm without trying to scare a girl? I have.

Out at the Boys and Girls Club of Cheyenne there is a worm composting bin. The kids, self-proclaimed worm farmers, gave me a tour of their livestock the other day. Taking off the lid, they moved the partially composted material to one side with a hand-sized rake and didn’t hesitate to plunge their hands in to wrangle a red wiggler or two and bring them out for inspection.

After I’d been introduced to the worms and enlightened about their biology, the worms were carefully returned to the bin. The kids washed their hands and then dried them with paper towels.

2018-03WormsBoys&GirlsClubofCheyenne byBarbGorges 4

Two of the boys gently rake the kitchen scraps looking for the red wigglers. Photo by Barb Gorges.

Maggie McKenzie, a volunteer at the club who works under Carlos Gonzales, youth development professional, oversees the worm farm. She reminded the kids to throw the paper towels in the bin for the worms to process. The worm castings (worm poop) will go into the club’s garden outside as soon as it is warm enough. It will be great fertilizer for the vegetables which are grown organically—without chemicals.

Back three months ago, I witnessed McKenzie and two other Master Gardeners, Susie and John Heller, give this batch of compost its start.

Bins

Vermicomposting, composting with worms, is simple. You can build your own bin using a well-washed 5-gallon bucket that has a lid. John Heller said at home they have used the plastic buckets kitty litter comes in.

Punch holes 4 inches up from the bottom edge for aeration. Punch another few in the bottom for drainage of the worm urine. It’s valuable natural fertilizer you’ll also want to collect, according to http://www.wormfarmfacts.com.

The Hellers donated a fancy bin to the club. It comes in removable layers, like a layer cake. The worms start off in the lowest one and as compost is finished in that layer, bedding material and food is added to the next layer up. The worms migrate to it through its mesh bottom. This leaves the compost in the first layer to be harvested.

Bedding and food

The Hellers start with a sheet of black ink newspaper (no color) laid in the bottom of the bin. For bedding they shred or tear newspaper into 1-inch-wide strips, moisten it like a wrung-out sponge, and then crumple it into a 1-inch layer.

Next, 2 to 3 inches of food are placed on top. Kitchen scraps are best, but not meat, dairy or grease. Susie Heller said to think about what nutrients are needed in the garden. We have a lot of calcium in our soil, so leave out the egg shells. The smaller the scraps of food are, the faster the worms will digest them. The Hellers sometimes dice theirs.

A little sand is needed because worms, like chickens, have a crop and a little rough sand in their crop helps them break up and digest tough fibers.

Some things are too hard for worm digestion, like avocado pits. Seeds from tomatoes and other fruits pass through unscathed and will sprout. The worms are not fond of citrus fruits. A little goes a long way. However, the worms will eat Starbucks coffee filters and tea bags, said Susie Heller.

2018-03WormsBoys&GirlsClubofCheyenne byBarbGorges 5

Red wigglers are more active than earthworms, and make compost faster. Photo by Barb Gorges.

Worms

The Hellers added a pound of worms they ordered for about $6 from the Wyoming Worm Wrangler, wyowormwrangler@yahoo.com. Red wigglers, smaller and redder and more active than garden-variety earthworms, work best. The worms placed on top soon crawled below to get away from the light.

The lid was placed firmly on top of the bin. It’s important to keep the worms in the dark, said Susie Heller. And if there isn’t at least a little light outside the bin 24 hours a day, the worms will come out to explore.

Temperature is important too. If it drops below 45 degrees F, the worms will go into hibernation. If it gets above 80 or 90 degrees F, the worms in the bin will die. In nature they can crawl deeper in the soil to stay cool, said Susie Heller.

Maintenance

McKenzie brings in a produce bag of kitchen scraps about every week to 10 days, “I usually add some paper at the same time —newspaper and paper towels—which helps keep odors down if I overload the worms.”

The worm bin should smell like clean dirt. If it gets a rotten smell, add more newspaper—or old brown tree leaves if you have them. McKenzie’s one worm failure though, was due to letting the bin dry out too much.

Harvest

If you use a one-bucket system, in three to six months you’ll have a bucket of worm castings to spread on your garden. At that point you’ll want to sort out the worms and save them for your next batch. Push all the worm-laden compost to one side and put fresh scraps on the other side. The worms will move to the greener pasture on their own in a few weeks. If all went well, they’ve been reproducing, laying little white eggs.

As the Boys and Girls Club kids will tell you, it’s fun to be a worm farmer. There’s nothing quite like the gentle, cool touch of a hard-working, compost-making, red wiggler when it gets a break from the bin to explore the palm of your hand.

2018-03WormsBoys&GirlsClubofCheyenne byBarbGorges 2    
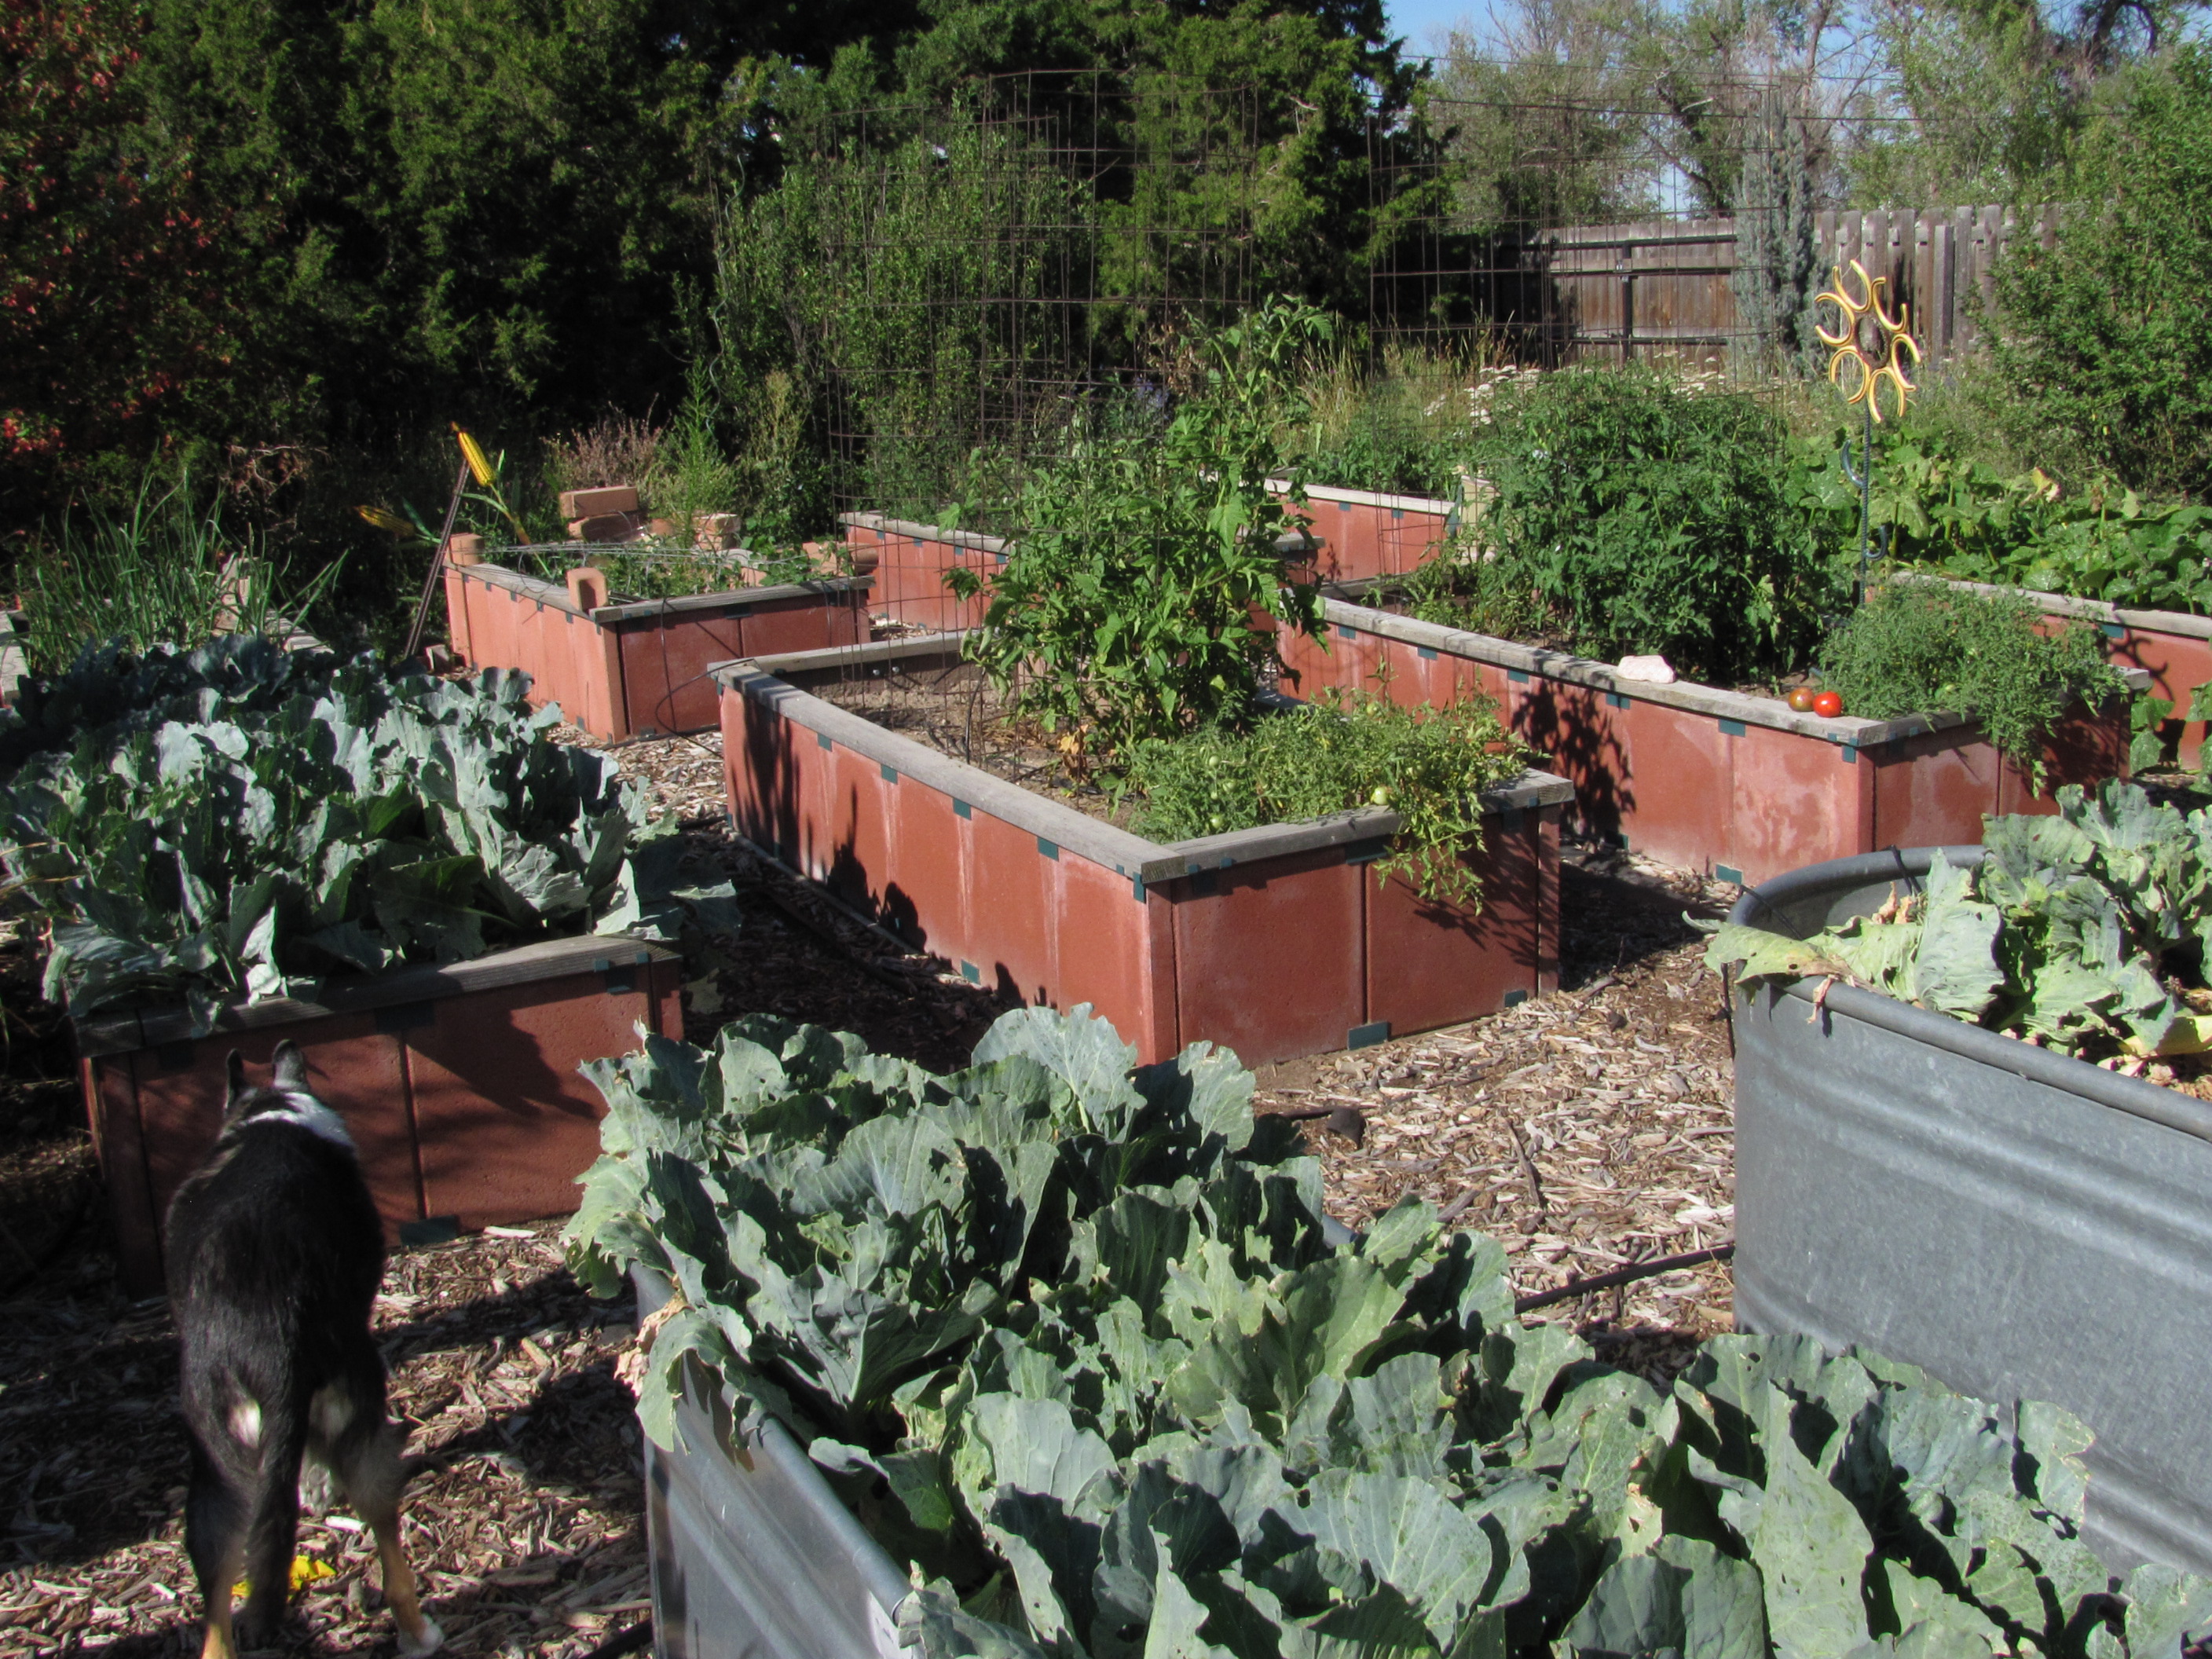
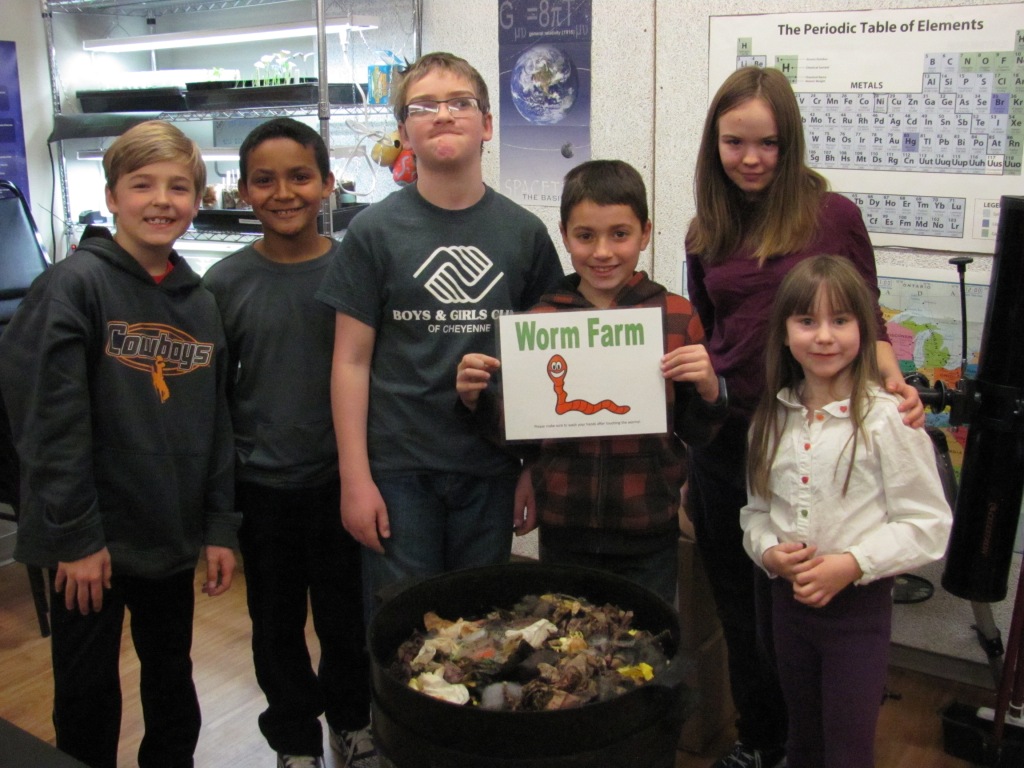
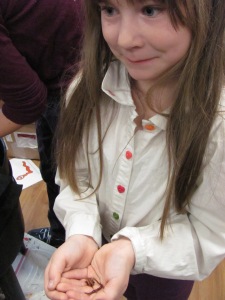
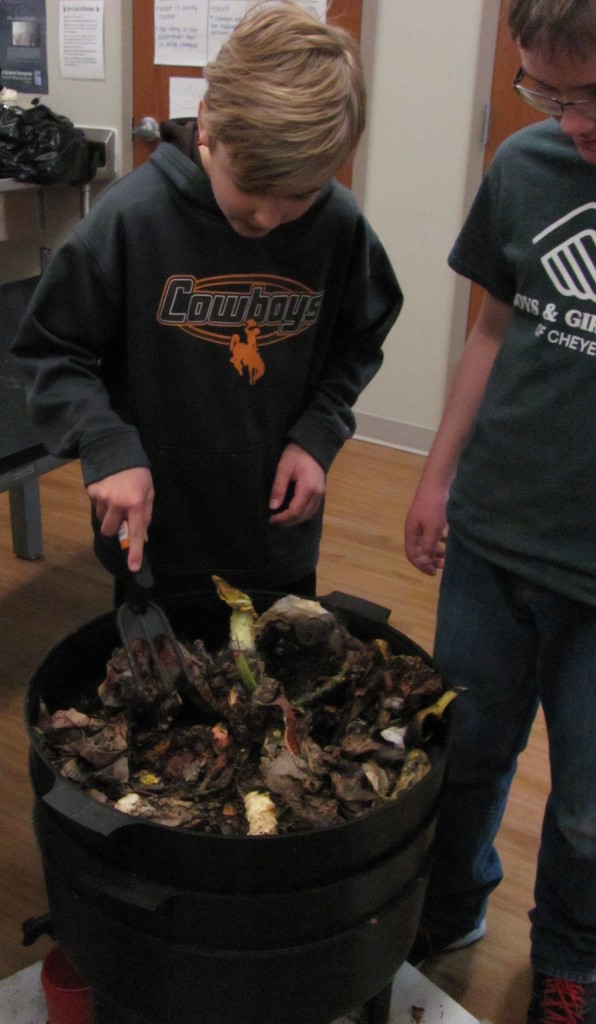
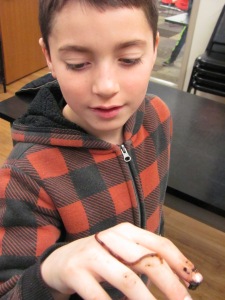
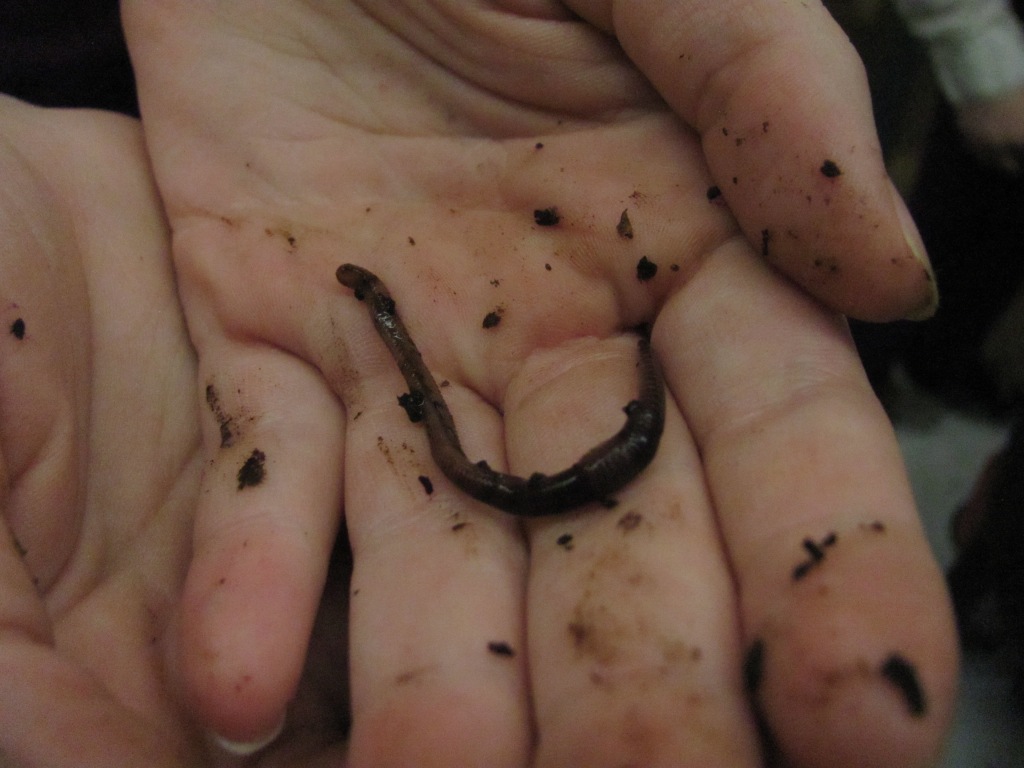
The Boys and Girls Club of Cheyenne gave permission to take and post these photos with this story. Red wiggler photo by Barb Gorges.


Soil microbes better than rototilling

2017-05Lowenfels-Endomycorrhizal fungi

Endomycorrhizal fungi spores are ready to grow into plant roots, carrying nutrients and moisture. Photo courtesy of Jeff Lowenfels.

Published May 7, 2017, in the Wyoming Tribune Eagle, “Soil microbes, no rototilling key to next generation of gardening”

By Barb Gorges

Twice in the space of a month this spring I heard rototilling renounced for the sake of keeping soil microbes healthy.

One speaker was Jeff Lowenfels, garden columnist and author from Alaska who spoke at the Cheyenne Botanic Gardens/Laramie County Master Gardener spring lecture series. The other was Ron Godin, recently retired extension agronomist in western Colorado, speaking at the Wild West Gardening Conference in Cheyenne.

There are a billion microbes in a teaspoon of healthy soil. The interactions of the whole community of microbes is a giant web of who eats whom and who feeds whom.

Basically, decaying plant material feeds microbes and in turn, microbe “excrement” feeds plant roots.

Microbes include nematodes, bacteria, fungi and protozoa. There are some bad actors, but in general, everything balances and plants grow. For example, prairies and forests have self-sustaining soil microbial communities—no synthetic, chemical fertilizers or pesticides are required.

But when European farmers landed in the New World, they opened things up with the plow and have continued to plow ever since. Regular plowing (or hoeing or rototilling) disrupts the soil microbes. They can’t do their jobs. Farmers repaired damage somewhat with applications of manure and compost. But then came the 20th century’s inventive use of nerve gas left over from World War I as insecticide, and leftover nitrogen-based bomb-making materials from World War II became the perfect fertilizer.

Except that it wasn’t healthy for the microbes.

2017-05 Lowenfels-Ectomycorryhizal fungi

Ectomycorrhizal fungi grow close to the surface of roots and grow webs around them carrying water and nutrients. Photo courtesy of Jeff Lowenfels.

Synthetic fertilizers starve the microbes in a way and pesticides kill off beneficial organisms, causing the need for a never-ending cycle of synthetic fertilizer and pesticide application. This was great if you owned stock in the large chemical companies, but bad when you understand the side effects including health issues animals and humans—especially farmers, because the chemicals get into drinking water and food.


Lowenfels happily dispensed advice on garden chemicals for years until someone sent him two electron microscope photos, one of a fungus that had trapped a root-eating nematode, and the other of a nematode happily chomping a tomato root unimpeded.

In the first photo, the plant was secreting a substance that attracted the fungus, which in turn attacked the nematode. In the second photo, the fungus was missing due to the use of synthetic fertilizers and pesticides.

After his conversion, Lowenfels wrote three books. He said the essential one is “Teaming with Microbes, The Organic Gardener’s Guide to the Soil Food Web,” coauthored with Wayne Lewis. You’ll notice the play on words in the title–healthy soil is teeming with microbes, and you’ll be teaming with them.

Put away the rototiller

First, put away your rototiller. It’s still handy if you are turning your lawn into a pollinator garden, but otherwise, annual rototilling is detrimental to the soil microbe community. Godin said this advice translates to farming as well.

It will take time to undo the cultural tradition of breaking soil down into a fine, clump-less and smooth expanse of dirt. But there are two reasons for disturbing the soil as little as possible, even in a vegetable garden.

First, every time you dig into soil, you bring up weed seeds, most of which require light to germinate. You just made more work for yourself. Cut weeds off at the soil surface rather than digging them.

Second, microbes feeding your plants and fending off bad stuff can’t function if you break them up. Keeping them intact means less work for you, less fertilizer spreading, less watering since healthy soil holds water better. Pesticides are a last resort for serious problems. Re-inoculate your soil with microbes soon after.

In windy Cheyenne, there’s also a third benefit to not tilling your soil into fine dust: microbes “glue” things together and the resulting clumpy soil doesn’t blow away.

2017-05Lowenfels-Glomalin--green stain--coating with spores

In this electron microscopic view, Glomalin, stained green and coated with spores, is produced by a group of common soil fungi. It coats soil particles like super glue, sticking them together in clumps. Photo courtesy of Jeff Lowenfels.

To plant seeds or transplants, make an opening just large enough. The roots will find their way without the soil being “fluffed.” Healthy soil has lots of air spaces already. Then mulch.


Godin’s rule is 100 percent cover, 100 percent of the time. Cover for large gardens or farms could be annual cover crops later mowed to form mulch. In small gardens use leaves, grass clippings and compost.

Replace chemical fertilizers

In the years chemical fertilizers have been around, studies show fruits and vegetables have dropped in nutritional value. It’s due to the missing micronutrients soil microbes used to pull from decomposing plant material and mineral soils. Synthetic fertilizer is incomplete.

Traditional organic gardening recommends digging compost into the soil, but  Lowenfels says digging breaks up the soil community. Better to side-dress plants, leaving the compost (or mulch) on the soil surface where microbes will get at it and break it down. It works on the prairie and in the forest—there’s no 100-year-old pile of dead grass, leaves or pine needles.

Lowenfels said there are three different groups of plants in your yard. Perennial flowers, shrubs and trees want their nitrogen in the form provided by fungally dominated soils. The compost that promotes this is the brown stuff (mixed with a little green): dry leaves, bark, wood chips, twigs, branches—like the forest floor.

Annuals, including vegetables, prefer their nitrogen produced by bacterially dominated soil. This is green stuff (with a little brown), grass clippings, freshly picked weeds (without seeds) and fruit and vegetable kitchen scraps.

The prairie, like your lawn, falls in between. It appreciates finely shredded brown fall leaves and thin layers of green grass clippings.

Brew compost tea

Compost tea, compost soaked in water, is another way to inoculate your garden with microbes and feed them too. If compost and compost tea smell ugly, that’s anaerobic activity. You need aerobic activity—more air.

Lowenfels gives directions for making a bucket into “a simple actively aerated compost tea brewer using aquarium pumps and air stones.” Fertilizing your plants, and yes, your houseplants too, is as easy as watering them.

While chemical companies made their fortunes keeping our soils addicted to their products, new companies are offering to aid us in bringing our soils back to health. They are building better compost tea brewers. Labs can estimate your microbe population. Our local independent garden centers will sell you mycorrhizal fungi in powdered form you mix with water.

This new era of catering to microbes has gone mainstream. Lowenfels reported that at the 2016 Garden Writers of America conference, none of the tradeshow vendors was pushing synthetic fertilizers or pesticides.

For the last 35 years, my husband, Mark, and I have cared for our lawn and garden without a rototiller or synthetic fertilizers and pesticides. We mulch the garden and use natural lawn fertilizers. I look forward to adapting Lowenfels’ ideas to step it up.

[If you are also adapting to the new era in gardening, let me know how it is going. Contact me at bgorges2 at gmail.com.]

More information:

Besides “Teaming with Microbes,” his first book, Lowenfels has also authored:

–“Teaming with Nutrients, The Organic Gardener’s Guide to Optimizing Plant Nutrition”

–“Teaming with Fungi, The Organic Grower’s Guide to Mycorrhizae.”


Straw bales conquer garden problems

2016-8 straw bale 1, Susan Carlson, by Barb Gorges

Laramie County Master Gardener Susan Carlson shows off peas growing in her straw bale garden. The spruce trees protect the garden from north wind and the shade cloth protects the delicate lettuce in the rest of the garden from too much sun. Photo by Barb Gorges.

Published Aug. 14, 2016, in the Wyoming Tribune Eagle, “Straw bales conquer many garden problems.”

By Barb Gorges

Did the thought of the work involved in starting a vegetable garden keep you from having one this year? Did time for all that rototilling or digging in of compost never materialize? Or maybe you tried a garden in our clay soils and results were poor?

2016-8 Straw Bale Gardens cover

Straw Bale Gardens, by Joel Karsten, Cool Springs Press.

Susan Carlson, a Laramie County Master Gardener, can recommend a solution: straw bale gardening. Her stepson, who lives in Minnesota, brought her the book by Minnesota native Joel Karsten describing his miraculous method.

This is the second season Carlson has used rectangular straw bales for vegetables and her results look good. She also included flowers.

The idea is that a straw bale is compost waiting to happen. Before the growing season begins, over a couple weeks, you add water and a little fertilizer—organic or inorganic—and it will activate an army of bacteria. The bacteria break down the straw, turning it into just what plants need. Plants can be inserted into the bale or seeds can be started in a little potting soil placed on top.

The bale is like a container or raised bed held together with baling twine. You can set it anywhere, even on a driveway. You don’t prepare the ground underneath.

And, depending on how clean the straw is, you will have few weeds, or wheat or oat sprouts, that can’t be easily removed by hand. You’ll have more sprouts if you accidently bought hay—which includes the heads of grain—instead of straw, which is just the stems.

Straw bales might also be the solution to vegetable plant diseases that persist in soil. Gardeners are always advised not to grow the same family of vegetables (especially the tomato-eggplant-pepper family) in the same spot more than once every three years. You can start a fresh bale each year, although Carlson managed to keep her bales intact for a second year.

Carlson studied Karsten’s book, “Straw Bale Gardens.” Here’s what she did:

First, obviously, she found straw bales.

I checked a local farm and ranch supply store and their regular bale, about 3 feet long and 60 pounds, runs about $7. Avoid the super-compressed bales.

A bale bought in the fall from a farmer should be cheaper than in the spring, after they’ve had to store them all winter. In fall, you can put your bale outside to weather.

If you’ve had problems with mice or voles, as Carlson has, lay chicken wire or hardware cloth down first. Cut a piece big enough to fold up and protect several inches of the sides of the bale.

2016-8 straw bale 2, set up, by Barb Gorges

Carlson’s straw bale garden consists of five bales forming a u-shape. They are planted with (from left) haricot vert green beans, cabbage, a tomato, lettuces, petunias and edible pod peas. Photo by Barb Gorges.

Lay out your bale prickliest side up, and so the sides wrapped with twine not against the ground. Carlson bought five bales and formed them into a u-shape to fit within an area fenced to keep out her dogs.

Because she planned to grow beans, Carlson made a trellis as well. She wedged two bales, lying end to end, between two 5-foot steel “T-post” fence posts (about $5 each) and then strung wire at about 10 and 20 inches above the bales. She can add more wire if the plants get taller. Karsten recommends 14-gauge electric fence wire (but you won’t be plugging it in).

On the ground inside the u-shape of bales (or between your rows), Carlson laid landscape fabric. You could use some other material to keep light from germinating weed seeds, like a layer of thick straw, cardboard, wood, wood mulch, etc.

Next, Carlson “conditioned” the bales, starting about two weeks before our last frost date, which is around May 22, though you can start a week earlier because the bales form a warm environment.

The first step here is to find cheap lawn fertilizer with at least 20 percent nitrogen content as Carlson did the first year. Do not use one that is slow-release or that contains herbicides.

You can also use organic fertilizers, like bone or feather meal, or very well-composted manure, but you need to use six times more than the amounts given for inorganic fertilizer. The second season, Carlson said, she is having good results using Happy Frog packaged organic fertilizer, but using much less since the bales were conditioned once already last year.

The conditioning regimen begins the first day with a half cup of inorganic fertilizer (or six times more organic) per bale sprinkled evenly all over the top and then watered in with your hose sprayer until all of it has moved into the bale and the bale is waterlogged, writes Karsten.

The next day you skip the fertilizer and water the bale again. Karsten suggests using water that’s been sitting out for a while so it isn’t as cold as it is straight out of the tap.

Days three through six you alternate between fertilizer-and-water days and water-only days.

Days seven through nine you water in a quarter cup of fertilizer per bale each day. The bales should be cooking by now and feel a little warmer on the outside.

On day 10, add a cup of 10-10-10 garden fertilizer. The numbers mean 10 percent nitrogen, 10 percent phosphorus and 10 percent potassium.

Next, lay out your soaker hoses on top of the bales if you are going to use drip irrigation as Carlson has.

On day 12, Carlson transplanted one cherry tomato plant directly into the bale, wedging it in. Smaller plants are easier to plant than large ones and will soon catch up.

“Bacteria are breaking down the inside of the bale and making this nice environment,” said Carlson.

2016-8 straw bale 4 beans by Barb Gorges

Carlson’s Haricot vert beans. Photo by Barb Gorges.

Mostly, Carlson wanted a salad garden and so she started everything else from seed: edible pod peas, Haricot vert beans (a type of tiny French green bean), lemon cucumbers, broccoli, spinach and various lettuces.

She packed a couple of inches of sterile potting soil (not garden soil) into the tops of the bales in which to plant the seeds. The warmth of the composting straw got them off to a good start.

She added shade cloth overhead to protect the lettuces from too much sun and started cutting romaine and butterhead lettuce by mid-June.

Carlson also used shade cloth on the west side fence to keep the wind from drying out the bales too quickly.

And there you have it, a vegetable garden—or a flower garden if you prefer—ready to grow. All you need to do then is to garden as you normally would: enough water, fertilizer once a month, and pull the occasional weed that may sprout, or pick off any little slugs or insects.

Maybe because of our dry western climate, Carlson was able to use her bales this second year. The bales shrank a little so she patched the gaps between bales with bits of chicken wire on the sides and filled them with potting soil.

One question is what to do with the old bales. They are great compost for conventional garden beds. Carlson reached into the side of one bale and showed me lovely black soil. If you don’t have any conventional garden beds to add it to, someone else would be happy to take the compost off your hands.

“This isn’t the prettiest thing,” Carlson says of her straw bale garden, “but when it starts growing, you don’t even look at the bales.”

2016-8 straw bale 3, detail, by Barb Gorges

While most straw bale gardeners start with fresh bales each spring, Carlson was able to use hers for a second season. She pulled away a little straw on the side of this bale and discovered it is full of rich compost. A soaker hose keeps the vegetables watered. The green steel fence post is part of the trellis system. Photo courtesy Barb Gorges.


Composting can be simple

Compost bins

These composting bins built by Don McKenzie of Cheyenne are crafted with a few extra features, such as handholds on the front boards to aid in sliding them up and out when the time comes for turning or removing finished compost. Photo by Barb Gorges

Published Aug. 2, 2015 in the Wyoming Tribune Eagle’s Journey section, “Don’t be afraid to compost. Put your food waste and yard waste to work; composting is easier than you might think. ”

By Barb Gorges

“Compost, 3. A mixture of various ingredients for fertilizing or enriching land.” (This definition first recorded in print in 1258 A.D.)—The Compact Edition of the Oxford English Dictionary.

It wasn’t long after agriculture was invented, I’m sure, that someone began talking about composting. Maybe it even predated agriculture, and someone simply noticed the plants growing next to refuse piles were larger than the rest.

Today, composting methods can vary, but they ultimately accomplish the same thing: provide a nutrient dense soil for your plants.

Styles of composting

There are the free-form methods of composting where, like jazz, we are inspired to experiment with what’s available. Whatever goes into the piles, eventually decays.

Then there are the methods requiring careful construction, like classical music: a particular size and construction of bin, proper proportions of green and brown materials, and a certain amount of moisture and manipulation to maximize the speed of decomposition.

And of course, rather than make their own music, many folks opt for the radio, sending yard waste to the city’s compost facility. And, hopefully, everyone is also picking up finished compost to use in their gardens.

Benefits of composting

Whatever kind of composting you choose, keep in mind the benefits of applying composted material to your yard:

–Compost provides nutrients, same as chemical fertilizers, plus more micronutrients.

–Compost has microorganisms that help plants absorb nutrients.

–Compost releases nutrients slowly so that plant growth is healthier.

–Compost helps the soil hold water.

–Composting by using leaves and grass clippings as mulch means you don’t have to buy other mulching materials. (If your yard doesn’t produce enough stuff to compost, visit the city compost facility or ask neighbors.)

At the most primitive level, composting can be accomplished with tools you already have for yard and garden maintenance, and with not much more effort than disposing of yard waste.

The science of composting

Over time, Mother Nature rots nearly every once-living thing. Still, there are a few principles to keep in mind for best results.

Several sources say the optimal size of a pile is a cubic yard, 3 x 3 x 3 feet. Using some kind of container–a bin, trash can or fencing–holds it together.

Composting requires the right amount of moisture. With our dry climate, you may need to add water sometimes.

Composting requires oxygen, or you may begin to get the odor of anaerobic decomposition. Holes in the side of the bin or wire mesh sides help. So does turning the pile, so that the stuff in the center trades places with the outer part.

Introducing good microbes speeds the process and is as easy as adding a little dirt—even soil clinging to weed roots may be enough.

Mixing green stuff, like grass clippings, with brown stuff, like dried leaves, with the addition of regular turning, can make the compost “cook” hot, possibly hot enough to kill weed seeds and diseases. But like me and my husband, most folks I talked to don’t manage their compost at that level–not enough to reach that sanitizing heat level.

What not to compost

We are primarily discussing composting yard and garden waste and so everything is a candidate. However, we should talk about a few exceptions:

–No seeds of weeds. Add weeds to compost before they go to seed.

–No weeds that sprout easily from little segments of roots, like bindweed and creeping bellflower. (Creeping bellflower has lavender bell-shaped flowers, and is common in Cheyenne.)

–No diseased plants.

–No woody stuff unless it is chipped into small pieces. If it doesn’t decompose in one batch, sift it out and add it to the next, or put it under your shrubs and trees as mulch.

–Nothing that has been treated with herbicides within two months. Same goes for pesticides, especially if it is intended for the vegetable garden.

Manure is a more complicated subject. It has to be from a grazing animal—not from cats, dogs or people. It could be full of seeds. It could be full of salts, which our soils do not need. It could be full of medications. It could be too hot—too strong—and burn your plants if it hasn’t aged enough.

Composting kitchen waste is something I’ve never been able to get my family interested in. But what I’ve learned is you want to stick to plant materials. No meat, no dairy, no grease, no oils, no salt, no processed food with unpronounceable ingredients. Maybe eggshells. To be safe, just stick to fruits and vegetables—including coffee grounds.

And no wood ash. Gardening books written by easterners forget that places like Cheyenne already have alkaline soils and wood ash will make it worse.

Methods

Years ago, Mark and I bought a system that is essentially a sheet of heavy green plastic with several stakes that fit into any of multiple slots in the sides to form it into a barrel shape 3 feet high and 8 feet around (2.5-foot diameter). We throw stuff in and when we need some compost, perhaps months later in the spring, we dig out the stuff at the bottom.

We have four large trees that shed plenty of crispy curled brown leaves in the fall. Some of those we layer in the vegetable garden after frost to decompose. Some I use in the perennial flower bed for winter insulation—thinning them out in the spring if necessary.

The rest we bag up to keep them from blowing away, saving them for spring. Then, we dig more of them into the vegetable garden, use them as mulch or add them to the bin between layers of lawn clippings—though clippings are often used as mulch as well.

I recently visited Laramie County master gardener Maggie McKenzie to see what she is experimenting with these days.

Her husband, Don, built a nice three-bin system, much like the one you can see next to the green shed at the Cheyenne Botanic Gardens. One bin is for collecting, one for cooking and one is available for spreading.

Lasagna gardening

Hugelkultur, a European gardening method in which compostable materials are layered over logs and wood debris, is catching on in the U.S. Maggie McKenzie established this bed last year and her husband, Don, decided to add the retaining wall. Photo by Barb Gorges.

She is also having success with “lasagna gardening.” To start a new garden bed, lay down a thick layer of wet newspapers (The Wyoming Tribune Eagle is printed with soy-based ink and is safe to use) or wet cardboard.

Top that with a 2-to-3 inch layer of peat, then a 4-to-8-inch layer of yard waste, then more peat, then more yard waste, until you have built up 18 to24 inches. As it ages, it will shrink. Letting it overwinter is best.

Maggie’s lasagna is for vegetables and is set up inside a raised bed frame, which keeps the wind from taking it apart. For annual upkeep, just add more layers. It is supposed to be ideal for starting and maintaining any kind of garden.


Hugelkultur

(Hugelkultur) Hugelkultur, a European gardening method in which compostable materials are layered over logs and wood debris, is catching on in the U.S. Maggie McKenzie established this bed last year and her husband, Don, decided to add the retaining wall. Photo by Barb Gorges

Maggie is also trying a variation of lasagna gardening that includes logs and other woody debris. Known as a hugelkultur bed, the woody layer is placed on top of the wet newspaper or cardboard.

The decomposing wood provides a steady supply of nutrients and holds moisture. Don finished the mounds nicely with retaining walls of sandstone.

Resources

Cheyenne Botanic Gardens, http://www.botanic.org. Look for the brochure on composting under “Gardening Tips.”

University of Wyoming Extension Department, http://www.wyoextension.org/publications. Search for “composting.”

“Organic Gardener’s Companion, Growing Vegetables in the West,” by Jane Schellenberger, editor of the “Colorado Gardener,” www.ColoradoGardener.com.

“The Colorado Gardener’s Companion,” by Jodi Torpey of Denver.

“Lasagna Gardening,” by Patricia Lanza.