
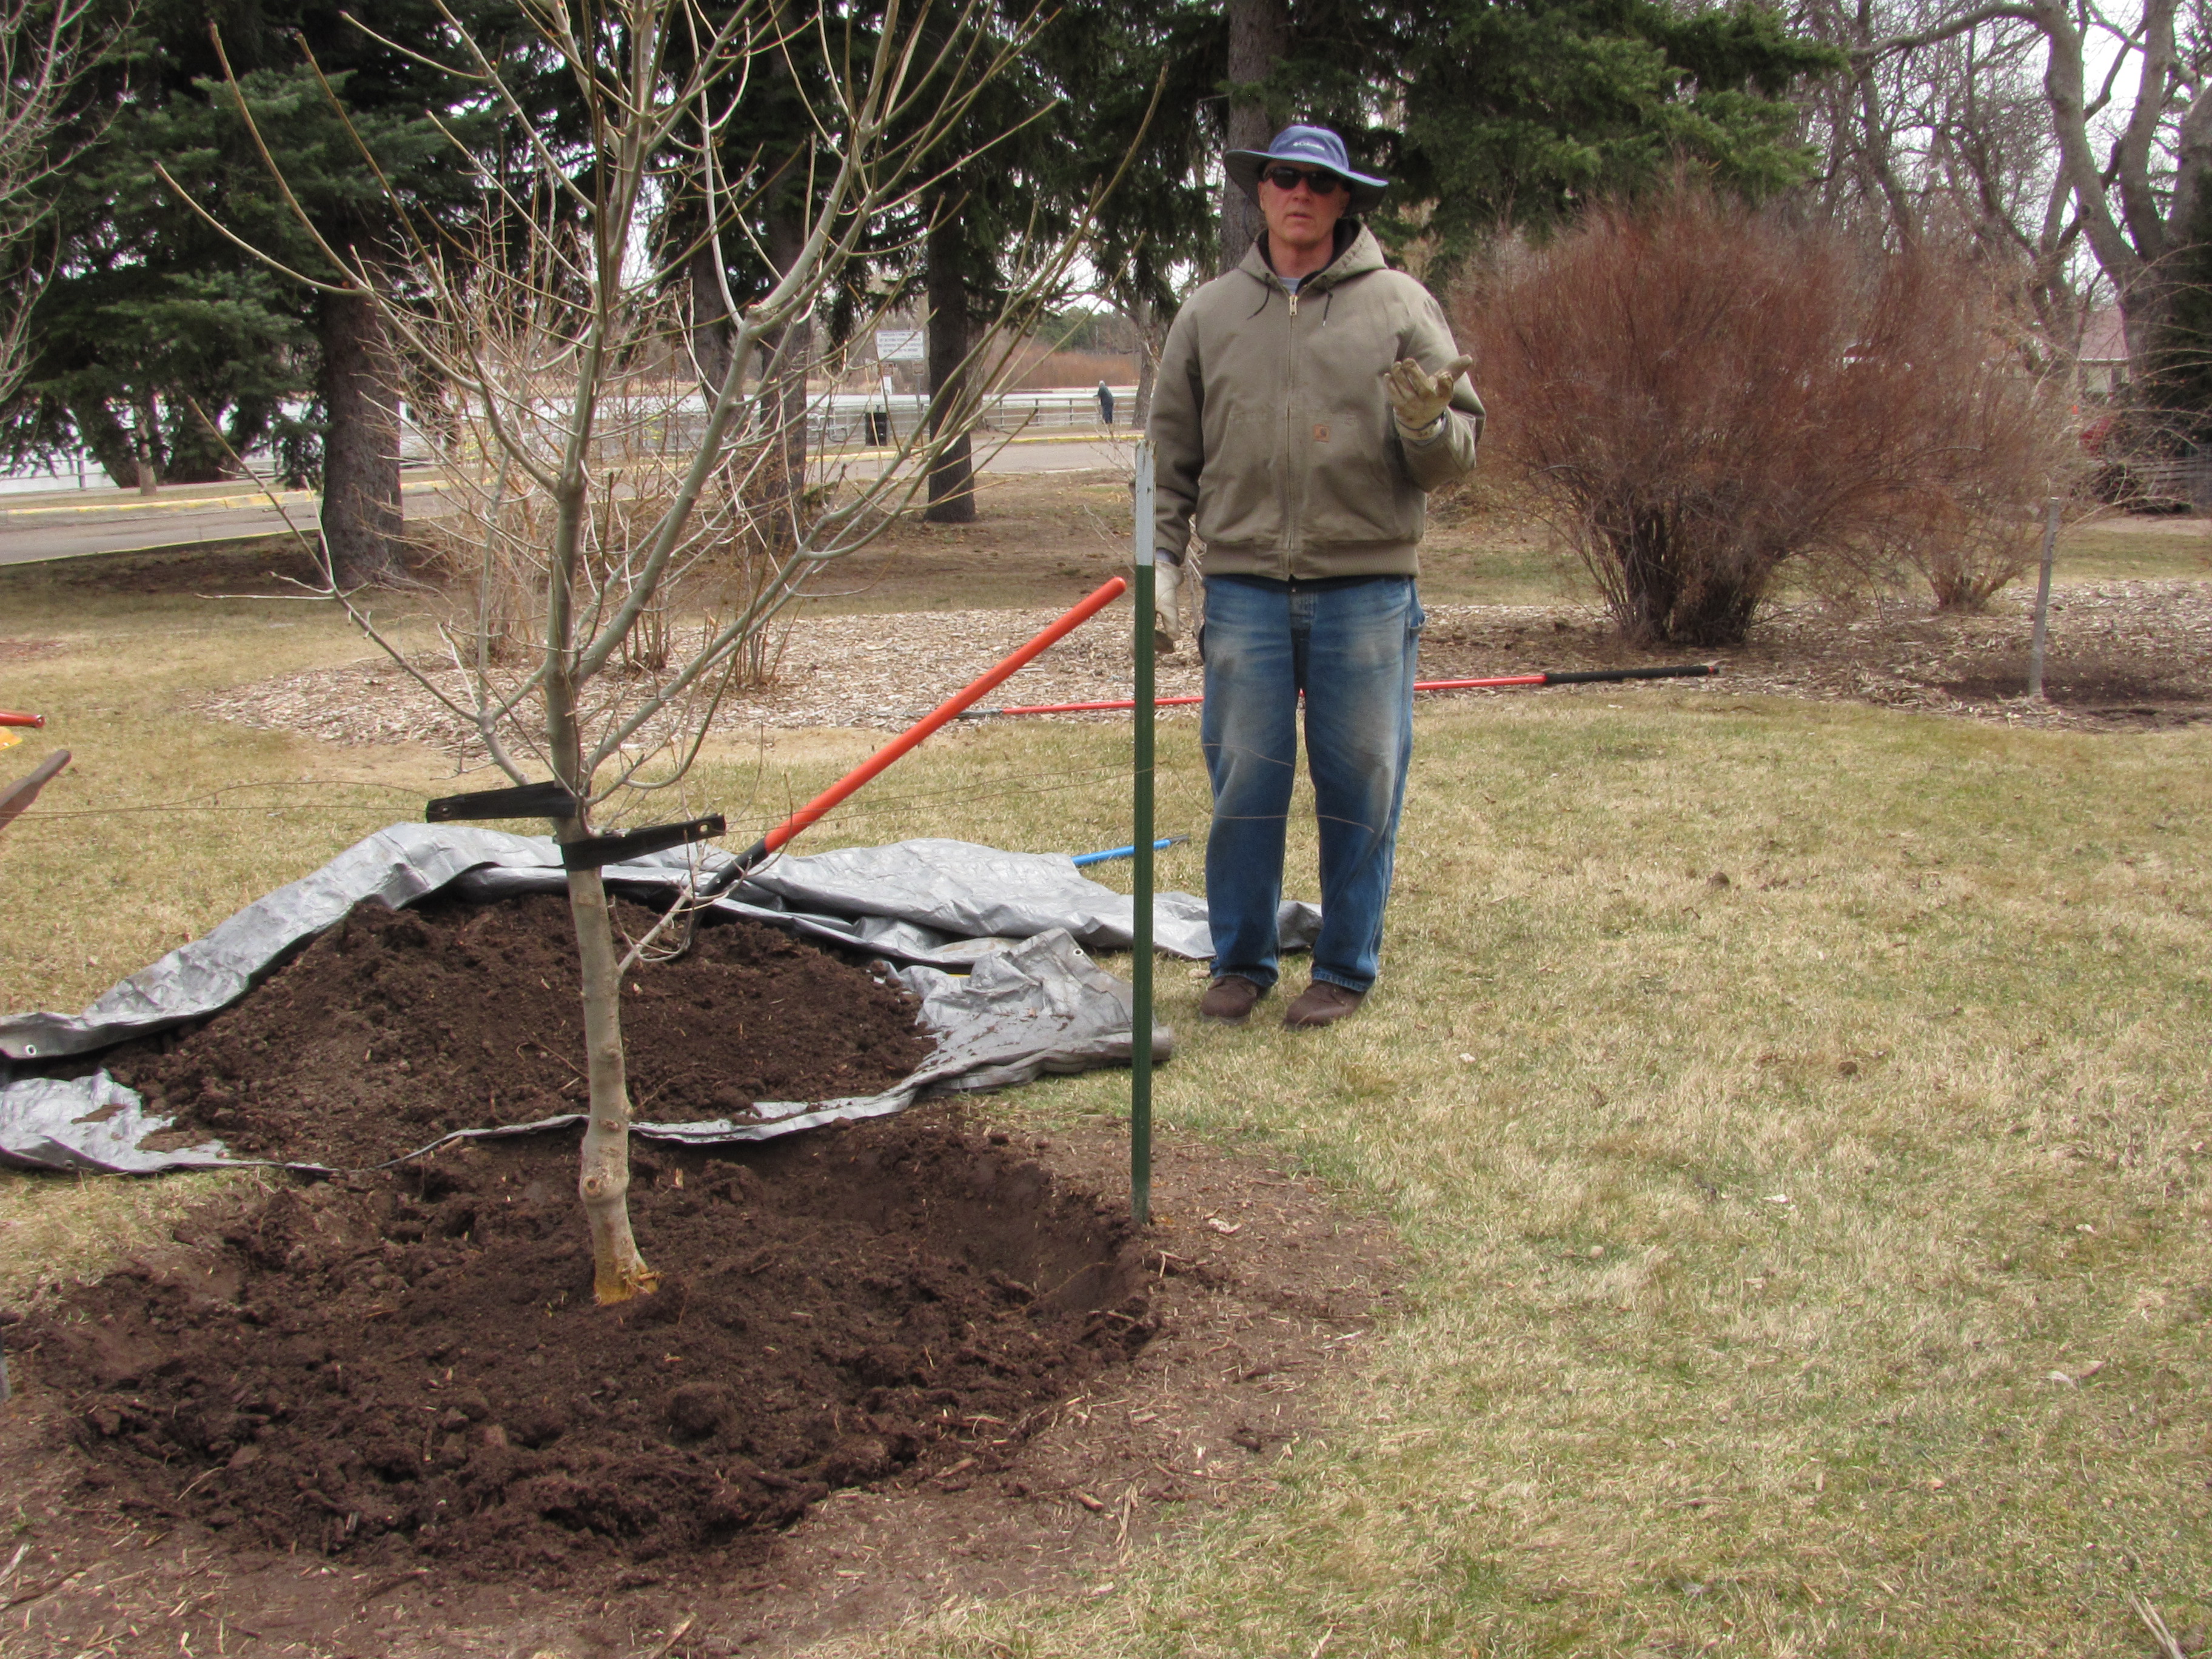
Steve Scott explains how to plant a tree. He is the head horticulturist at the Cheyenne Botanic Gardens in Cheyenne, Wyoming. Photo by Barb Gorges.
Published April 20, 2014, in the Wyoming Tribune Eagle, “How to plant a tree in Cheyenne: 21st Century planting techniques improve Cheyenne tree survival.”
By Barb Gorges
Tree-planting is, in theory, as simple as dropping it into any old hole in the yard. The tree might survive, but then again, it might not.
Just what, exactly, do you need to do to make sure the tree survives and thrives?
We turn to a local expert, Steve Scott, head of horticulture at the Cheyenne Botanic Gardens. He’s been planting trees at the gardens for 16 years, long enough to see the results of his techniques.
When and how to purchase
Steve believes spring–late March and April–is the best time to plant, before trees leaf out. It’s easier to get enough water to new trees in spring and summer. Plus, tree selection at the nursery is better than in the fall.
Trees are either grown in containers or grown in the field and dug up, leaving their roots bare or in a ball of dirt covered in burlap. Whatever type, it’s important that roots have not been allowed to dry out at any point.
Bare root trees
This is Scott’s favorite type. These might be little whips, 12 inches to 3 feet tall. Buying a bundle of them could be the way to go if you are establishing a windbreak or other large planting.
Besides being economical, studies show the smaller the tree, the more quickly it gets established and begins to grow. Within a few years, it will overtake a larger tree planted at the same time, even though that other tree started with a trunk diameter three times the size.
Scott demonstrated his planting techniques the day I visited with a tree he planted in the gardens’ nursery as a whip five years ago. Today it’s about 8 feet tall, maybe even 10.
Balled and burlapped trees
This is Scott’s second preference. Back in the old days, it was thought that buried burlap would disintegrate and roots would grow through the wire basket, but my husband, Mark, and I discovered burlap that survived 20 years–and roots that were deformed by the wire basket, causing deformed branches.
Scott suggests snipping away the wire basket at the bottom only, before setting the tree in the hole and then removing the rest of it, as well as any twine or fabric, before backfilling.
Container trees
These are the most problematic because the roots often start circling inside the pot. Scott doesn’t hesitate to lift a tree from its pot to have a look at the roots before deciding to buy it. Roots should be firm and whitish. A nasty-looking root mass can be “butterflied,” sliced in an X from the bottom, so that the roots can be spread out in the planting hole. Or in extreme situations, all the dirt can be washed off so the roots can be arranged properly.
The right tree in the right place
Don’t forget to give some thought to where you plant that tree.
The U.S. Department of Agriculture says Cheyenne is in Plant Hardiness Zone 5, minimum temperature of -15 to -10 F. But most Cheyenne gardeners select trees and other perennials for Zone 3 or 4 to avoid winterkill in those record-low years.
Around your house, plant evergreens on the north side to protect it from winter winds and cut heating bills. Plant deciduous trees on the south and southwest sides to shade the house in summer and lower air conditioning bills, and later, when the leaves fall away, winter sunlight will warm your house.
People forget to plan for mature sizes of trees. Plant too close to power lines and you and the utility company will have to keep hacking away branches every year. Also, Cheyenne’s safety zones require clearing vegetation 14 feet above the street and 8 feet above the sidewalk.
Aggressive growers, like silver maples, can damage concrete house foundations and driveways. Keep them at least 15 feet away.
Avoid planting trees with messy fruit, like mountain ash, where it will fall on sidewalks and parked cars.
Preparing the site
At least two days before you dig, you are required to call 811 to have your underground water, gas, sewer and electricity lines marked, at no cost, so you can avoid them.
Measure the depth of your tree’s root ball, from the top of the uppermost root, and dig your hole 6 inches deeper. Measure the width of the spread of the roots. Dig your hole twice as wide. You may want to also remove grass farther out because it will eventually steal moisture and nutrients from tree roots.
Next, add back a 6-inch mound of dirt in the center of the hole. This is where you will set your roots. Allow the roots to drape gracefully.
Do not add any fertilizer, organic matter or other amendments to the hole, Scott said, otherwise the roots won’t be encouraged to grow beyond that space, which they will need to do to anchor the tree firmly.

Steve uses a pole to measure to make sure the tree is sitting at the right depth. The top of the roots should be right about even with the ground surface. Photo by Barb Gorges
Setting the tree
One of the biggest reasons for the failure of trees to thrive is that they have been planted too deep, Scott said.
So after you set your tree in the hole, take a stick or a rake handle and lay it next to the trunk, across the hole, to see if the top of the roots is at ground level. If not, remove or add dirt to the mound as needed.
Staking the tree
Most people do this after planting, but Scott, because he usually plants trees by himself, finds staking holds the tree in place while he backfills.
He uses two metal, T-style fence posts set out a few feet from the trunk, to the north and south, so that the fence posts and trunk form a line perpendicular to the prevailing west wind.

Two straps of webbing used to stake the tree will be gentle on the bark. Photo by Barb Gorges
He uses two fabric webbing straps, gentle on tree bark, each looped once around the tree trunk at about one-third of the way up the tree’s height. A length of wire makes up the distance between the grommets in the ends of the straps and the posts.
The old-school folks staked trees much higher, but if a tree doesn’t get a chance to bend with the wind a bit, it won’t develop proper taper—the trunk should grow widest at ground level.
After a year, two at most, stakes are not needed anymore and need to be removed.
Backfill and water
Throwing dirt back in the hole seems simple enough, but when only half full, Scott used the hose to water the dirt down between the roots before adding the rest of the backfill. To avoid injuring roots, don’t tamp down the dirt with your feet or shovel.
Wait to prune until next year
Old-school methods would have you prune the top of the tree to match the size of the roots. But when the tree was dug up from the field for bare root or balled and burlapped, it lost 70 percent of its roots, Scott said.
You need all the leaves you can get because they gather the energy the roots need to regrow. Other than broken branches, wait until next year to start pruning for form.

The newly planted tree is expertly staked and mulched. Photo by Barb Gorges
Mulch
Mulch keeps down the competition, which is really important to your tree since most of its roots are in the top 12 inches of soil and will eventually extend several times farther out than the branches.
The great thing about organic mulch like wood chips is that unlike weed barrier cloth, it allows in the nutrients—and it actually provides nutrients as it breaks down. The city composting facility has a ready supply of wood chips to renew your mulch each year.
Three inches of mulch chokes weeds and doesn’t suffocate tree roots. But be sure to keep it several inches away from the trunk.
A side benefit to mulching trees is that it keeps the lawn mowers and weed whackers far away so they won’t injure the bark.
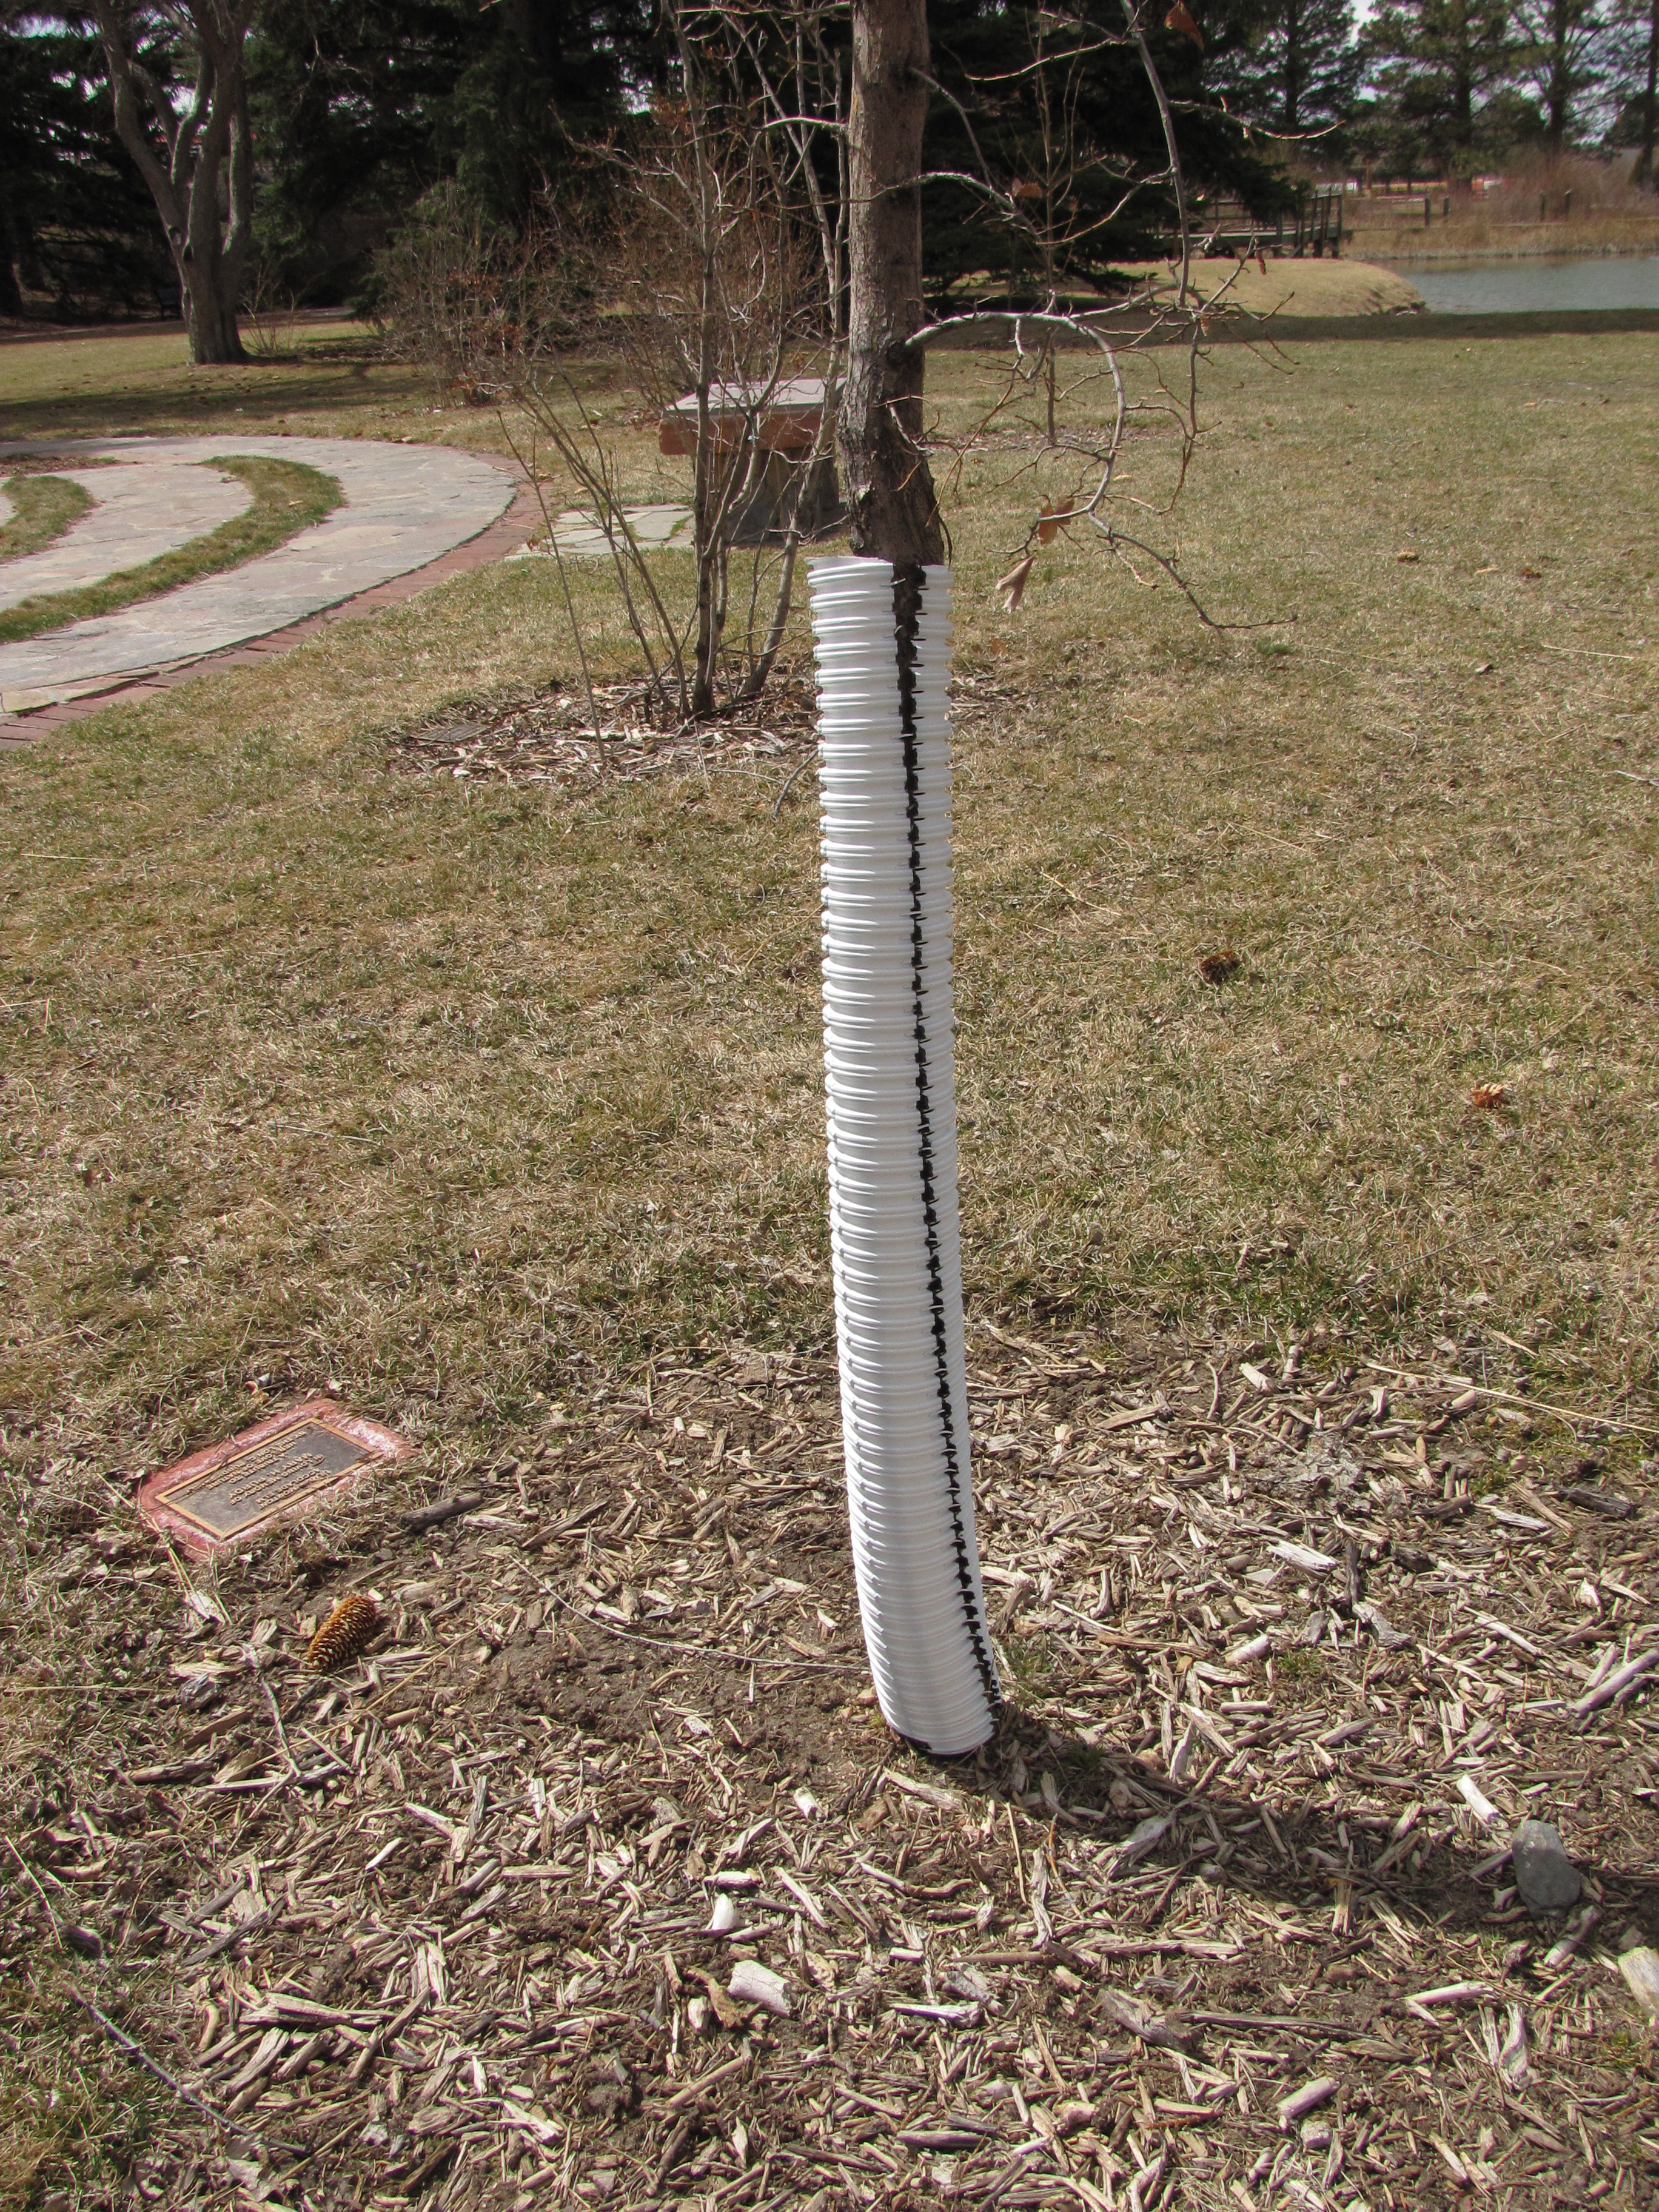
A previously planted tree no longer needs staking, but protection of the trunk with corrugated plastic drainpipe from November to April for a couple years will protect it from winter damage. Photo by Barb Gorges
Trunk protection
Scott said for two or three years while the tree is re-establishing roots, the trunk needs protection in winter. He uses corrugated plastic drain piping slit lengthwise, putting it on at Thanksgiving and taking it off by Easter.
Relax, enjoy—and water
Tom Heald, a former Casper Extension agent, recommends finding out how long you have to water to wet the top 12 inches of your yard’s soil—where most of the tree roots are. Water for an hour and then dig to see how far the moisture went. You may have to repeat the experiment in half hour intervals, but once you know, you’ll know how long to water.
The Cheyenne Urban Forestry Division has more information on tree care, including when to water in winter.
Trees recommended for Cheyenne
One of the best resources for researching kinds of trees is the Cheyenne Urban Forestry Division. Visit them at their office, 520 W. 8th Ave., or online, www.CheyenneTrees.com.
The other is the Cheyenne Botanic Gardens. You can pick up information at the greenhouse in Lions Park or go online, http://www.botanic.org/gardening/gardening-tips. They have also identified trees around the gardens so you can see what grows here.
